views
Smudging Pencil Liner
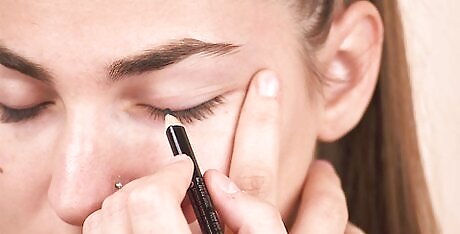
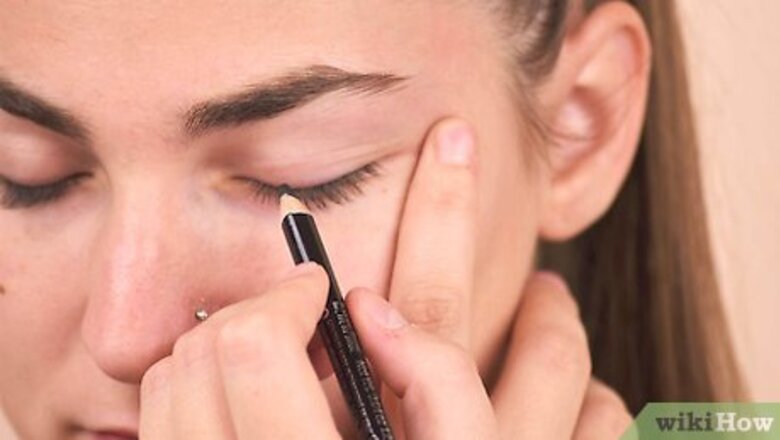
Pick a pencil liner when doing soft eyeliner. Pencil eyeliner works best because it’s subtler and easier to smudge. Go ahead and use black eyeliner if that’s what you normally apply. However, you might try a brown eyeliner for an even softer look. Waterproof liners are harder to smudge so stick with non-waterproof formulas. Some eyeliner pencils come with a smudger on the opposite end. You can soften the look of liquid eyeliner by applying eyeshadow over it, but it will probably end up flaking. It's best to start with pencil eyeliner for a soft look. For extra staying power, apply a primer on your eyelid before you put on your eye makeup.
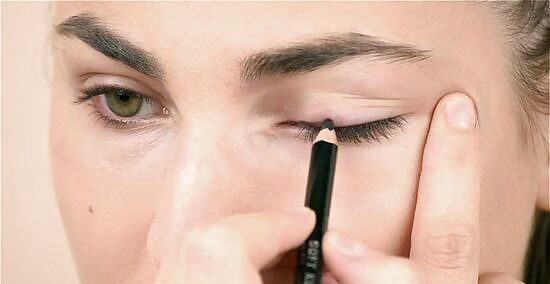
Draw short strokes along your upper lash line with your liner. Keep your eyeliner pencil close to your lash line as you draw the dashes. Start in the center of your eyelid and work your way out to the edge of your lash line. Then, return to the middle of your eyelid and continue the line to the inside of your eye. Follow the natural curve of your eye for a natural, subtle effect. Don’t worry too much about how you apply this first line. You’re going to smudge it later, so it’s okay to use any technique for drawing a straight line that works for you.
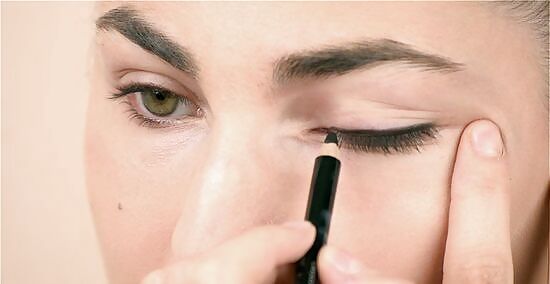
Swipe the pencil back-and-forth over the outer part of the line to thicken it. Start at the outer edge of your eye and lightly sweep the pencil toward the center of your eyelid. Then, go back out toward the edge of your eye. Do this 2 or 3 times to thicken your eyeliner from the center of your eye to the outer corner. This will thicken and smudge your eyeliner a bit to soften the look. Use light pressure so you don’t darken the color too much.
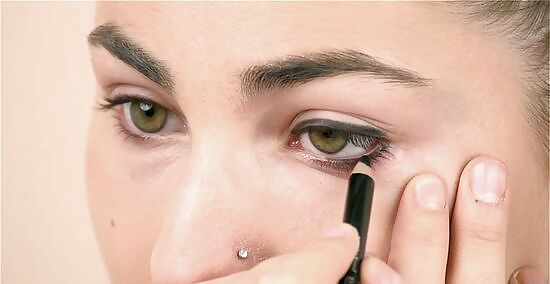
Line the outer third of your lower lash line if you like. You don’t need to line your lower lash line. In fact, you may prefer to leave it unlined for a more natural look. If you want to apply eyeliner to your lower lash line, swipe the pencil along just the outer part of your lower lash line. Start at the edge of your eye and slowly dot the liner over about 1/3 of your lower lash line. Doing just the outside 1/3 of your lash line will create a softer look than doing the entire lash line.
Rub the line with a sponge or your fingertip to finish your soft look. The secret to a soft eyeliner look is smudging the line. If you have a makeup sponge, blot the eyeliner with the thin edge of the sponge to blur it. Alternatively, lightly rub a clean fingertip over the eyeliner to smudge it. You can also use a sponge makeup brush or smudge makeup brush if you have them. Check that both sides look even after you smudge them. If they don't, use your sponge or fingertip to even them out.
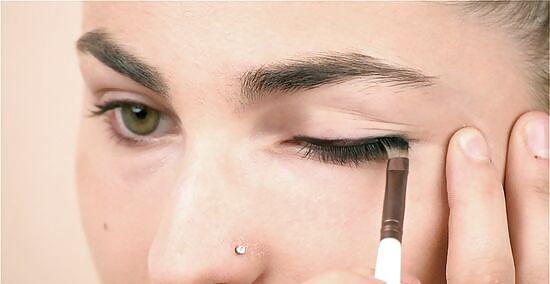
Apply matching eyeshadow over the liner to set it (optional). Dip your makeup brush into your eyeshadow to coat the bristles with color. Swipe the eyeshadow over the liner to keep it in place. This may also soften the look of your eyeliner. For instance, use matte black eyeshadow if you used black eyeliner or brown eyeshadow if you used brown liner.
Using Eyeshadow as Liner
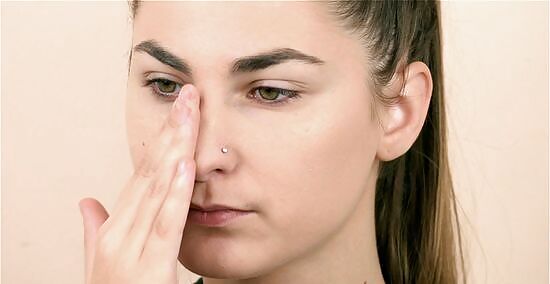
Do your eye makeup first so you can clean away excess eye shadow. Wait to apply your under eye concealer, foundation, and blush until after you do your eye makeup. When you use eyeshadow as liner, it’s pretty common for eyeshadow to fall down on your cheeks. Unfortunately, this creates unwanted shadows. Luckily, you can wipe the excess shadow away with a little makeup remover or cleanser. Since the eyeshadow you’ll be using for liner is so dark, the fallout will likely be more noticeable than with other colors of eyeshadow.
Apply your regular eyeshadow across your lid first. You can use a single color for a subtle look. Alternatively, apply a lighter shade first and then add a deeper shade over the crease of your eyelid and the outer corner of your eye. Use your eyeshadow brush to sweep the color across your eyelid and over the crease. Since you’re doing a softer look, you might apply a neutral brown shade or sheer metallic shade. Try putting a primer on your eyelid before you apply shadow for more staying power.
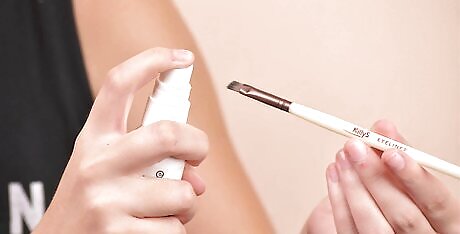
Spritz 1 or 2 squirts of a setting spray onto an angled eyeshadow brush. An angle brush is a great option for lining your lid with eyeshadow because the bristles come to a thin straight line. Dampen your brush with your favorite makeup setting spray before you dip it into the eyeshadow. The setting spray makes it easier to apply the eyeshadow as a liner and provides some staying power. Work while the setting spray is still wet. If the brush dries, go ahead and spritz it again.
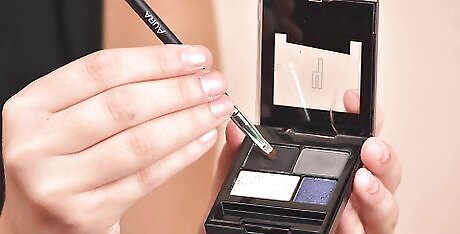
Dip the end of your brush into matte black eyeshadow. Gently rub the end of your makeup brush along the surface of the eyeshadow to coat the ends of the bristles with color. Only touch the end of the bristles to the eyeshadow since that’s what you’ll use to apply the liner. Use matte eyeshadow because it'll look like eyeliner once it's applied. You could also try a deep brown, navy blue, emerald, or plum eyeshadow if you want to play around with color.
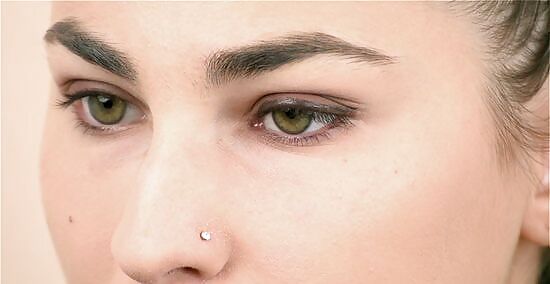
Draw a line along your lash line using your angled brush. Start in the center of your eyelid and work your way to the corner of your eye. Then, return your brush to the center of your eye and apply liner to the corner of your eye. If your brush runs out of color at any point, dip it back in the eyeshadow to collect more. Try to keep your brush as close to your lash line as possible so your line doesn’t get too thick.
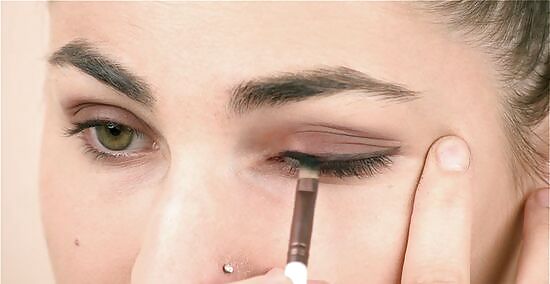
Go back over sparse areas to thicken the line. Don’t worry if your liner doesn’t look great after your first pass because you might need to tweak it. Use a mirror to closely examine your line. Look for areas that look thin or patchy. If you see any, dip your brush back in the eyeshadow and dab it over the areas that need more coverage. Check your work as you go so you can fill in any uneven spots. It might take you a while to master this technique, so don’t give up! With practice, you’ll be able to apply eyeshadow liner in no time.
Soften the line with a smudge brush or cotton swab if it's too dark. Eyeshadow liner already looks softer than regular eyeliner. However, you might still need to smudge it out a little. Additionally, finishing with a smudge brush or cotton swab will help you create a more even line. To do this, gently rub the tip of the brush or cotton swab over the eyeshadow liner to slightly blur it. It’s okay to skip this step if you like how your liner looks without the smudging.
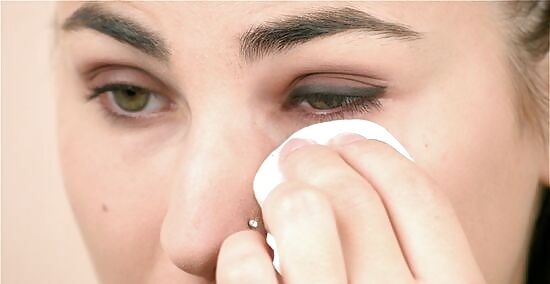
Swipe makeup remover or cleanser under your eye to get rid of fallout. Once you’re happy with how your eye makeup looks, it’s time to get rid of that eyeshadow fallout. Use your makeup remover or a damp cloth with a little cleanser on it to clean your skin. Simply, wipe the area under your eye with the cloth. If you’re applying more makeup, you can continue your routine as normal.
Doing a Winged Smokey Eye
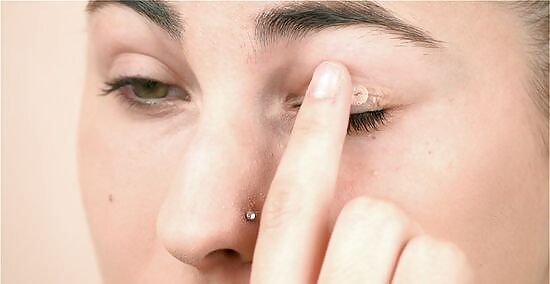
Apply primer to your eyelid so your makeup lasts longer. Put a dot of primer on your finger tip, then dab it over your eyelid. Next, blend the primer into your skin using your fingertip. Primer gives your makeup staying power, so it'll last longer.
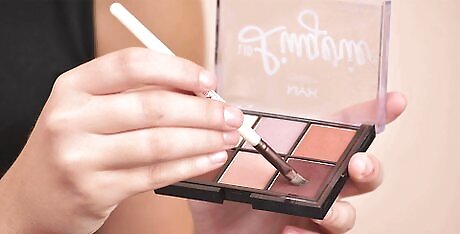
Dip an angled makeup brush into grey or brown eyeshadow. Use any dark shade other than black, since you'll use black eyeshadow as your liner. Coat the ends of your angled brush with the shade you want to use. Dark grey, charcoal, espresso, and raisin are all great color options. You can use matte or shimmery eyeshadow, depending on your preferences.
Brush the color in a thick line along your lash line. Use an angle brush because the bristles can create a clean line. Press the eyeshadow into your lash line and slowly drag it along your eyelid, following the lash line. Draw a line that's slightly thicker than you'd normally apply your eyeliner. Dip your brush back into the eyeshadow to pick up more color if necessary. This line will form a base for your smokey liner. Later, you'll blend a darker eyeshadow into it.
Drag your brush up at the corner of your eye to create the wing. Dip your brush back in the eyeshadow to pick up more color. Then, place your angled brush at the outer edge of your eye. Slowly drag the brush out and up to create a wing. Dab the brush over the wing to fill in the color. If you need help drawing your wings, try placing a piece of tape diagonally at the edge of your eye. Then, trace along the top of the tape to draw your wing.
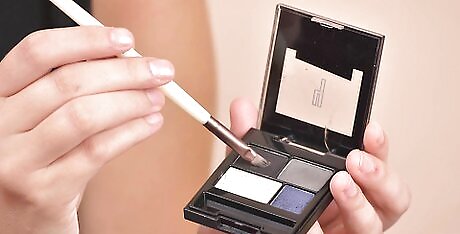
Dip a smaller angle brush in matte black eyeshadow. Use a smaller brush so this line will be noticeably thinner than the first one. Coat the ends of the brush with black eyeshadow. Use matte eyeshadow so it looks like traditional eyeliner.
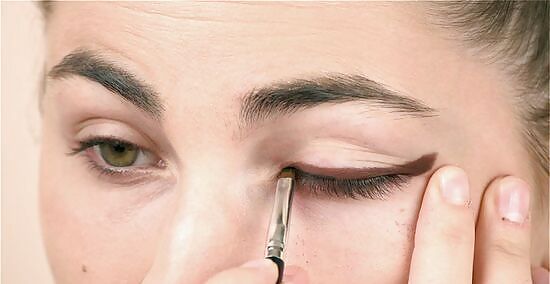
Draw a thin line along your lash line and the wing as eyeliner. Start at the center of your eye and work your way toward the inner corner of your eye. Then, return to the center and drag the brush out to the edge of your eye. Finish by tracing over your wing. Go slowly so you can get the line as straight as possible.
Use a fluffy brush to blend out your winged eye liner. Take a normal eyeshadow brush and swipe it over both lines to blend the colors. Sweep the brush over both your lash line and the wing. Go back and forth until the black line is smudged into the lighter line. Your eye should start to look smokey. If it's not dark enough at this point, apply more eyeshadow to build up the color.
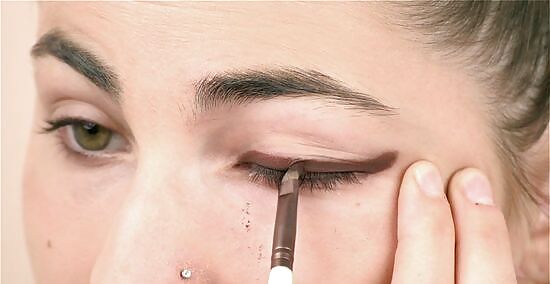
Repeat these steps until your winged smokey eye is dark enough. Grab your angled brush and apply more of your lighter shade along your lash line and wing. Then, use your smaller angled brush to line your eye with black shadow again. Smudge the colors together using your fluffy brush. Then, check your work to see if you're happy with your smokey eye. You may have to do several applications to get the color you want. Don't give up! A smokey eye takes several layers of eyeshadow.





Comments
0 comment