views
Preparing the Slide
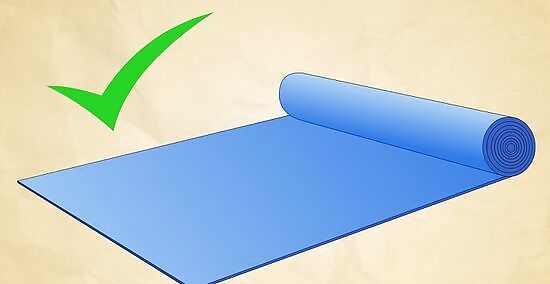
Buy a roll of plastic sheeting. Visit the nearest all-purpose hardware store, and buy a 10 x 100 foot (3 x 30 meter) roll of plastic sheeting. Look for sheeting in the paint supply section. You should be able to find a sufficient roll for $5-30 USD. You may find rolls of various lengths available; have a slipping-and-sliding space in mind while you're making your purchase, and try to buy a roll that will fit that space. If you're just using a backyard, 20-30 feet should suffice; if you'll be using a large, grassy hill, or a public park, you may plan for a 50-foot, 100-foot, or 200-foot slide. Remember that you can always fold the sheet over if it's too long or too wide, and you can always tape the ends of two sheets together to make an extra-long slide. Find the thickest plastic that you can. The sheet should be at least 4-6 feet wide--broad enough that you won't slide off halfway down the slide. As a rough rule of thumb: the longer the slide, the wider it should be. You may also consider using a standard tarp, although most tarps may not be long enough for a quality slide. If you're setting up a slide in your yard, then a large tarp should suffice. Tarps tend to be thicker and sturdier than plastic sheeting, but they're also much more expensive. Find the longest, thinnest tarp that you can.

Choose your sliding location. You'll need a large, soft, grassy area, preferably on a slope. Consider building a slide on the beach. Make sure that you'll be able to access a water supply. Make sure to choose a spot where you won't run into a driveway, a road, or any trees. Check for obstacles in the path of the slide: potholes in the grass, small bushes or stumps, or rocks that could be painful to a slider. Avoid all potential hazards. A grassy, gently-sloped hill is ideal, if you can find one. The steeper the hill, the faster you'll go--and the more likely that you'll take a tumble off the slide on the way down! Carefully consider who will be riding this slide. If you're making a slide for young children, choose a shorter, flatter run--a gentle, grassy backyard is perfect. If you're a teenager or an adult making a slide for other teenagers or adults, feel free to chase the adrenaline and pick the biggest hill you can find. Slide at your own risk. Make sure that the end of slide is safe, soft, and flat. Ideally, your slip-and-slide should run out onto a long, grassy lawn. You'll be coming down the slide pretty quickly, so be sure that you have plenty of room to land. Keep the end of the run far away from potentially painful surfaces: rocks, sidewalks, roads, walls. Consider running the slide out into a body of water: a pool, a pond, or a river. Always have an adult confirm that the space is safe to use. Better safe than sorry!
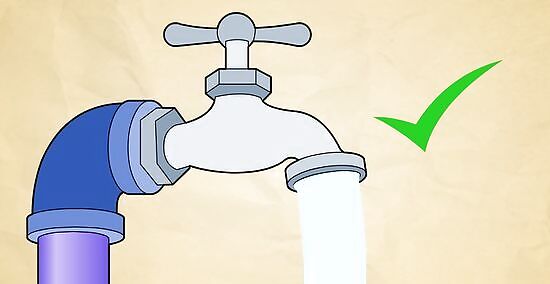
Secure a water supply. You'll need to keep the slide constantly lubricated to ensure a smooth and slippery sliding experience. If you're setting up the slide in the yard of your house, you can just use a standard garden hose. If you have any sort of spigot attachments--a spray hose, for instance--feel free to use it for more control. If you're slipping and sliding away from home--say, on a grassy hill, or in a public park--look around for a spigot. If you can find a spigot, then consider bringing a hose from home to hook up, but be aware that your community may frown upon you tapping into the municipal water supply. If you're away from home and you can't find a spigot, then you'll need to supply your own water. Bring a few buckets, and fill them up with water at the nearest tap. Pour out the water at the top of the slide and let it run down. Return to the tap to refill as needed. Your supply is low, so you shouldn't pour the water out until right before someone rides the slide. Check the forecast for rain. If it's going to rain soon, or if it's raining already, you can embrace the downpour as a natural lubricant for your slip-and-slide. On a drizzly day, set the slide out in the rain and allow it to grow slick with running water. Be warned: things might get muddy.
Setting Up the Slide
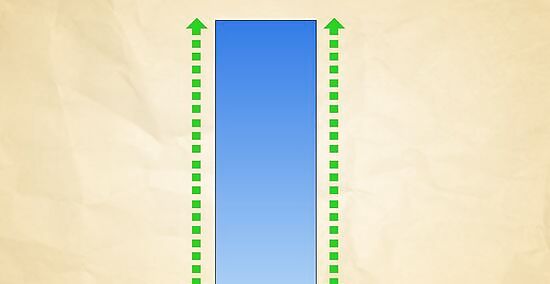
Roll out the plastic sheeting. When you're ready to set up the slide, spread your sheeting out over the sliding run. Make sure that the sheeting is as straight as possible. Smooth out any wrinkles. Align the course along the natural slope of the hill. You will start at the top (or on the hillside) and end up at the bottom. Fold the sheeting as needed to get the size and shape that you want. If you want a narrower slide, stick to 4-6 feet wide. If you prefer a wider slide, leave the sheeting as wide as you bought it. Use your best judgement, and above all make the slide safe. Remember: the longer the slide, the more time you'll have to tumble off the sides, especially if you start sliding at an angle. Consider leaving the slide wide for extra-long sheets. Consider holding the sheet taut, with one person holding each corner in the air, in order to ensure that it's been completely unfurled.
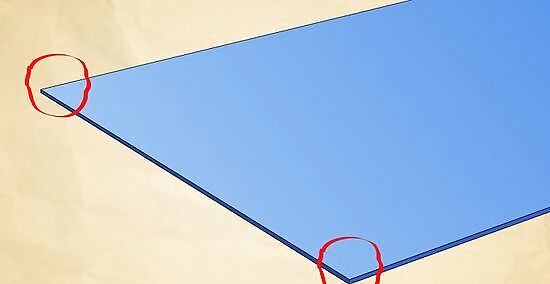
Anchor the sheet to the ground. You want to slip and slide on the slip-and-slide, but you don't want the slip-and-slide to slip and slide around while you're slipping and sliding. This is especially important for longer slides and slides on hills. Use metal stakes or tent pegs to hold the corners in place. You may want to stake down the edges of longer slides, at intervals, to ensure that everything stays where it should. You can use heavy objects to weigh down the corners of the slide, but don't use anything that will injure you if you run into at a high speed. Buckets and plastic containers (filled with water for weight) are good; chairs are good; anything that you can knock over without hurting yourself is good; anything soft but dense (like a hay bale) is good. Cinderblocks, heavy rocks, and bricks are not good; sharp objects are not good; anything that you wouldn't want to smash against your face is not good. Make sure that the slide is secured in place. Once people start sliding down the sheet, it will shift around and bunch up into itself unless you've stretched it taut. If you plan ahead, you'll save yourself the trouble of pausing the fun to adjust it later. A smoother slide is a safer slide. If the sheet bunches up, wrinkles, and shifts around, the water won't flow smoothly, and riders will be more likely to tumble off-course. This is especially true of long slides.
Spray the slide with water. If you have access to a hose, use a hose. If you don't, use a bucket to carry water to the slide. The larger the slide, the more water you'll need. Make sure to soak the entire length of the slide. If your slide lies on a slope, you can leave a hose running at the top so that a continuous stream of water courses down the sheet. You can do the same thing with a bucket, but be sparing if you're working with a limited supply. If you aren't running a hose continuously--whether it's a conscious effort to preserve water, or just because you're using a bucket--try to splash the slide directly before someone takes a ride. Make sure that the slide is consistently wet, from top to bottom. It's most important that the slide is wet at its beginning end. Consider adding a few cups of soap or detergent to the water, or pouring soap at the head of the slide. You can also use, say, bubble bath. The detergent will mix with the water and make for a delightfully slippery experience. Be careful not to get any soap in your eyes; consider wearing goggles in particularly soapy situations. If you're sliding in the rain, wait for the downpour to thoroughly drench the plastic sheeting. If it's wet and slick, you should be good to go. Be aware the rain might make for a muddy situation. Test out the slide Have a responsible person give the tarp a few test runs, just to be sure that it's safe. Make sure that there's plenty of room to stop at the end of the slide. Once you're given the go-ahead: limber up. It's time to slip and slide!
Slipping and Sliding

Slip. Slide. Start at the top of the slide, feel the water rushing around you, and push yourself into the stream. Keep your eyes on the prize: the end of the slide. Try to keep your body still. Go with the flow. Flat-ground technique (diving): If you don't have a hill to get you going down the slide, you'll need to create the initial force yourself. Stand 10-15 feet behind the slide to give yourself a running start, and make sure that your runway is clear. Sprint straight toward the slide. When you're a step or two away, tuck your body low and dive onto your belly. Don't dive deep, as if you were going into a swimming pool; dive forward onto the slide, parallel with the ground. Think of it like bowling, or skipping a rock: release yourself low so that you aren't falling, but rather sliding. Ride the slide as far as it will take you, and get off quickly. Flat-ground technique (standing): Instead of diving onto the slide, you're going to try to ride it like a surfboard. Run on to the sheet and plant your feet--you may need to jump onto the sheet to really get going. Ride the slide as far as you can go, and try to keep your balance. This may be much more difficult than it sounds. Consider sliding on your knees, your back, or your bum, to taste. Slope technique (beginners): Sit at the top of the slide and feel the water rushing around you. Look down the slope and make sure that this is something you want to do. Use your arms and legs to scoot yourself along until the natural slope of the hill carries you down. If the slope doesn't carry you fast enough for your liking, consider laying on your back (like a luge) or on your stomach, face down (which may be harder to escape). Once you really get going, stay with the stream of water and try not to tumble off the sides of the slide. The longer you ride--and the steeper the section of the hill you're on--the faster you'll go. Ride the slide out to the bottom of the run and try to spill out gracefully onto the lawn at the end. Remember: there's no shame in taking a spill off of the slide if you aren't comfortable with the speed. Slope technique (advanced): Get a running start. Make sure there's no one in your way. Spring or jog toward the slide. You can choose to dive headfirst onto the slide or to stay standing. If you're on a slope, you'll need to be especially sure to stay on course. Let the stream of water guide you. To build speed, try to stay in the center of the slide. Point your eyes toward the end of the slide and try to keep your balance. Ride the slide as far as it will take you, and get off quickly to make room for the next rider.
Be safe and respect other sliders. Before you slide, make sure that there's no one standing, sitting, or laying in the way. Look out for rocks, pavement, and other potentially painful surfaces. It's better to take a spill into the grass than to run into someone else at full speed. After you ride as far as you can go, get off the slide quickly to make way for the next slider. If it's a long slide, and the next slider can't tell whether you've gotten off, yell "All clear!" to give the go-ahead.




Comments
0 comment