

Making the Reflector
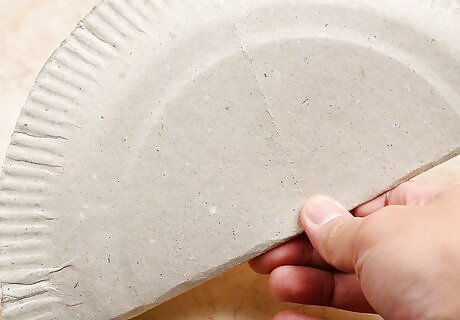
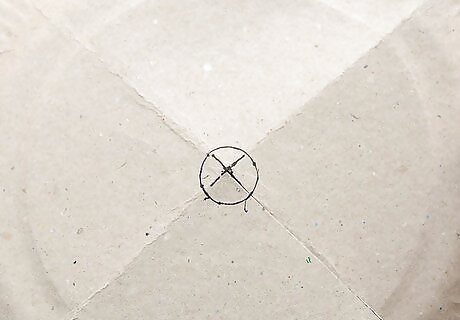
Determine the exact center of your circle. To do this, fold it in half. Do this at 90 degree angles to each other.
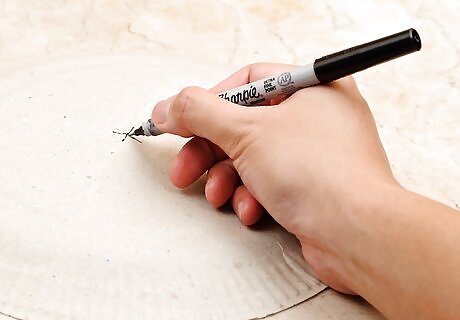
At the crease intersection, draw a light line in each direction. See the image for guidance.
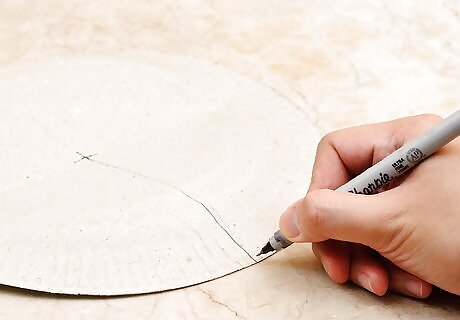
From the center of the plate, use one of the creases to draw a line from the center of the plate to the edge. This will be a cut line.
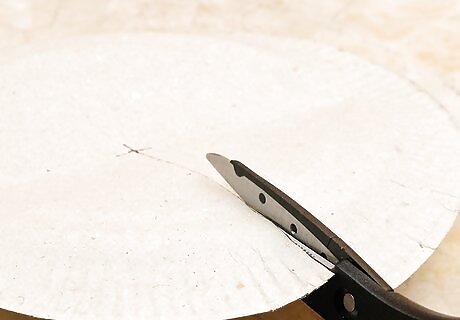
Using your scissors, cut the paper on the line you just drew.
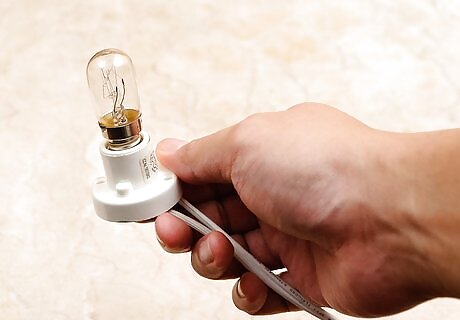
Depending on the size of your light source, cut a hole in the center of your plate/circle. Here, a circle was drawn so as to know the correct location, then a hole was cut.
If you don't have a white plate or need more light, coat the inside of the reflector/plate with something reflective.
Using the Paper Circle Reflector
Set up the light source needing a reflector.
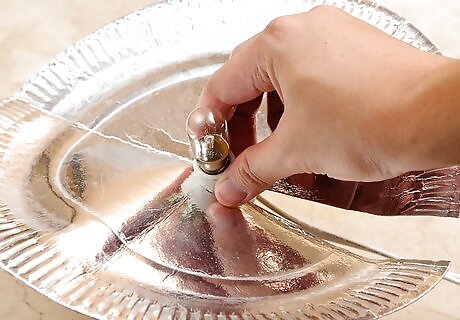
Put the paper circle on the light source. As shown here, the small hole goes around the light.
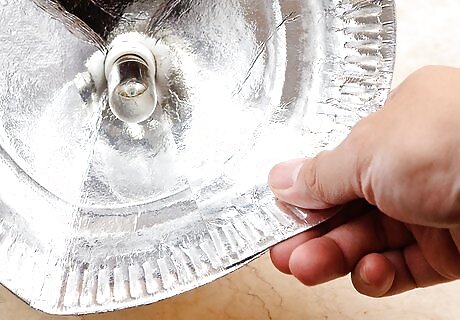
Overlap the cut edges. The more you overlap the paper circle, the more focused your light will be. The less overlapped it is, the broader your light source will appear.
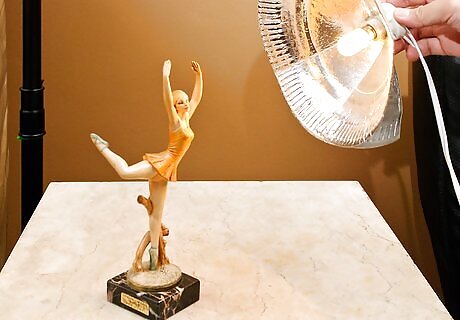
Use your reflector until you've finished the photography session. Then throw it away when done, if you choose.


Comments
0 comment