
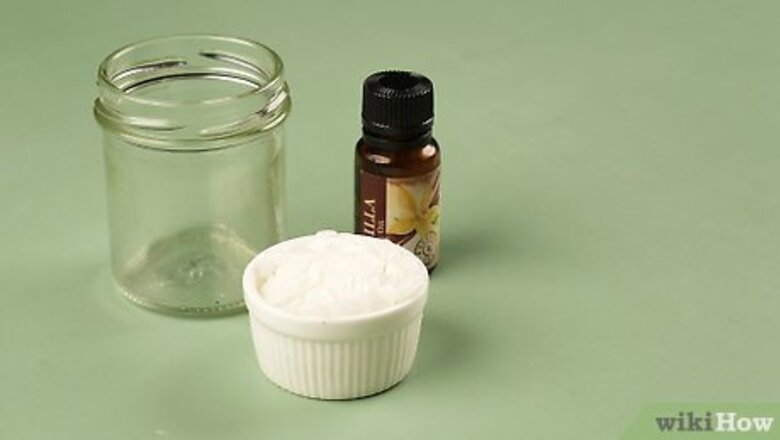
Pick a coffee mug or metal container for your candle.
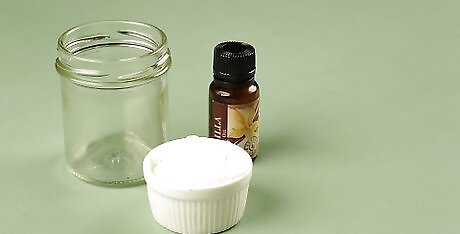
Thoroughly wash your candle holder with soap and water. Since you’re making a coffee scented candle, choosing a metal or tin coffee mug to hold your candle will add a nice, aesthetic touch, but other items like tin cans, mason jars, or glass candle votives will also work. Once you have chosen your candle holder, scrub and rinse it well with warm, soapy water, then dry it off with a towel. Avoid using containers made of plastic or wood, as these are highly flammable.
Insert a tabbed wick into your candle holder.
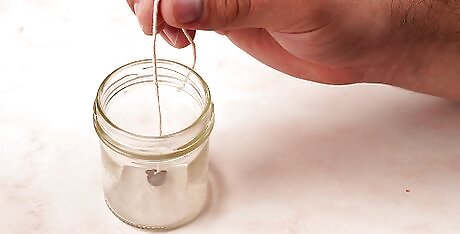
Put a dot of superglue on the wick’s base to adhere it to the mug. Choose a wick that’s taller than your candle holder; the exact height depends on the size of your candle, so use this chart to find the appropriate size. Make sure to align the wick with the center of the mug or candle holder and press down firmly with your finger. Let the glue dry completely to ensure the wick stays in place. If you don’t have superglue, use a piece of double-sided tape to hold the wick in place. It probably won’t be as secure as the superglue, however. Or, wait until your wax has melted, then pour it over the wick’s tab and let it harden to hold the wick in place. A tabbed wick is a pre-cut candle wick with a metal disk attached to the bottom. You can find it in the candle-making section of a craft store. For a rustic touch, super-glue a natural/wooden wick into the candle holder instead.
Use a pencil to hold the wick straight.
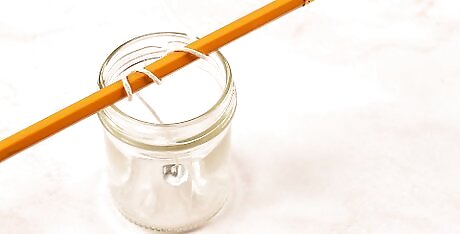
Wrap the wick around a pencil placed across the candle holder. Tie or wrap the loose end of the wick to the pencil so that the pencil touches the rim of the candle holder. This will ensure the wick stands up straight and doesn’t fall into the mug as you’re pouring the wax. If you don’t have a pencil, use a spoon, popsicle stick, or marker in its place. If your wick is too short for this, prop it up between 2 pencils instead. Use tape to hold the pencils together and keep the wick straight.
Melt the wax on the stove over medium-high heat.
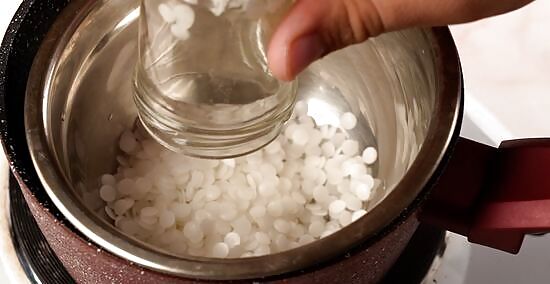
Pour wax into a glass measuring cup and set in a saucepan. Fill the pan with enough water to reach halfway up the measuring cup (or a metal can or bowl). Add enough soy wax flakes to the measuring cup to fill your candle holder 1.5 times. Heat the water on medium-high until the wax is completely melted (usually 10-15 minutes). You can also use a metal beaker made specifically for melting candle wax; find one in the candle-making section of a craft store. Do not let the wax get hotter than 200 °F (93 °C), or it may catch on fire. Use a candy-making thermometer to monitor the temperature, and do not leave the wax unattended. If you use a wax other than soy, check the label for the flash point. If you can’t find it, research it online.
Add coffee grounds to the melted wax.
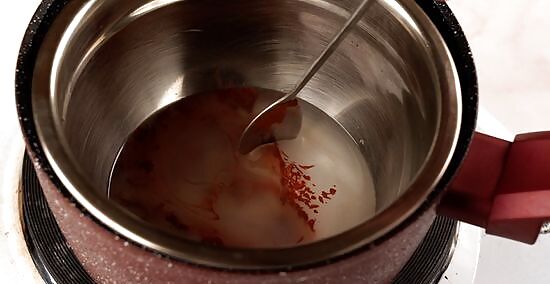
Stir in 1 tbsp (5 g) of ground coffee per 12 oz (340.2 g) of wax flakes. Use a wooden spoon, skewer, or craft stick to stir and cook the wax for 2 to 3 more minutes, giving the coffee time to infuse the wax with its fragrance and color. Mix thoroughly so the grounds dissolve into the wax, as they’ll float to the top otherwise. Do not let the temperature get higher than 200 °F (93 °C) for soy wax, or whatever the flash point for your wax is. If you want to make a candle with coffee beans instead of ground coffee, skip this step; you’ll add the beans when you pour the wax into the candle holder. If you don’t have real coffee, stir in 1.5 ounces (44.4 mL) of coffee-scented candle-making fragrance oil for every 1 pound (453.6 g) of wax to create the coffee smell. Check the oil’s label to find the flash point, and let the coffee cool to the right temperature, if needed. To deepen the color of your wax, add a bit of brown candle-making dye. Shave off a thin sliver with a knife and stir the wax until the color is consistent. Add more dye as needed until you get the color you want.
Pour the melted wax into the mug.
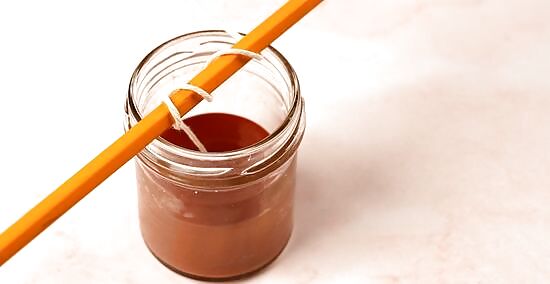
Add a light layer of wax and coffee grounds first. Let the wax to cool to about 100 °F (38 °C) before pouring it into the container, then sprinkle some coffee grounds around the edge of the container. Use a funnel to pour the rest of the wax. If you want, sprinkle more coffee around the top of the candle for decoration, but don’t get the grounds too close to the wick, as they will burn when lit. To prevent craters from forming, pour ¾ of the wax into the candle holder and let it cool completely before adding the rest. This can take anywhere from a couple of hours to a full day depending on the size of the candle. Reheat the remaining wax when you’re ready to add it to the candle. It’s okay to pour all of the wax if you’re in a hurry, however, or if you don’t care about wells forming in the center. If you're using whole beans instead of grounds, follow the same process. Pour a light layer of wax and sprinkle in the beans before pouring the rest of the wax. Add more beans to the top of the candle before the wax hardens for a rustic touch. Like the grounds, don’t let them touch the wick, as they will burn.
Allow the candle to dry, then trim the wick.
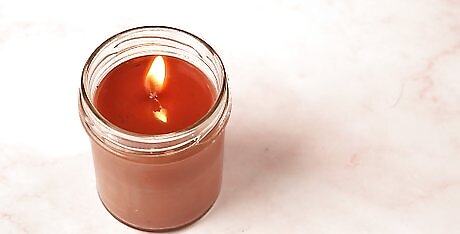
Let the wax harden for at least 1 hour before touching the wick. Once the wax has hardened completely, unwrap the wick from the pencil and trim it to ⁄8 inch (0.32 cm) long above the wax. This will prevent the flame from climbing too high and reduce the amount of smoke the candle produces. Once you trim the wick, light the candle. Keep it on a heat-safe surface while burning and never leave it unattended. Trim the wick to ⁄8 inch (0.32 cm) each time that you use the candle.


Comments
0 comment