views
Creating a No-Sew Dinosaur Tail
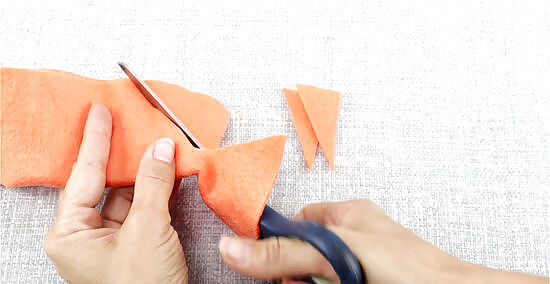
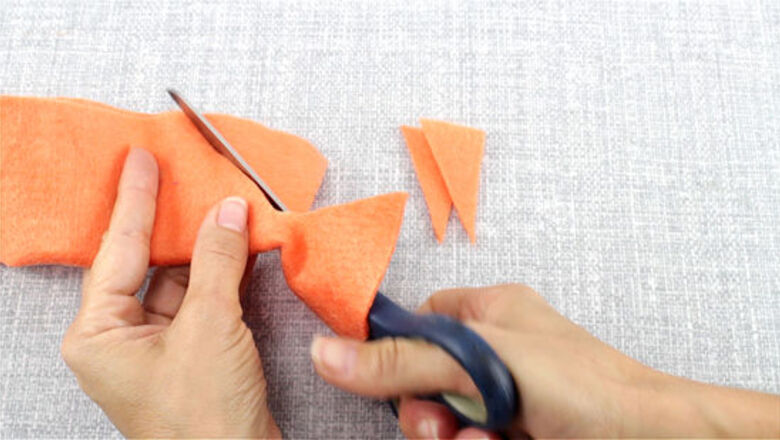
Cut a series of triangles into a long strip of fabric. Snip out a line of connected triangles from the strip. The total length of the strip should be 24 inches (61 cm) by 2 inches (5.1 cm). When you’re done, the felt should look like a miniature mountain range. Set this aside for later. This strip will become the spikes of the dinosaur tail, so feel free to pick a bright, fun color! When flattened, the fabric will look like a row of diamonds. This will be fixed later on when the spikes are folded and glued together. Use fabric scissors for a quicker and smoother cut.
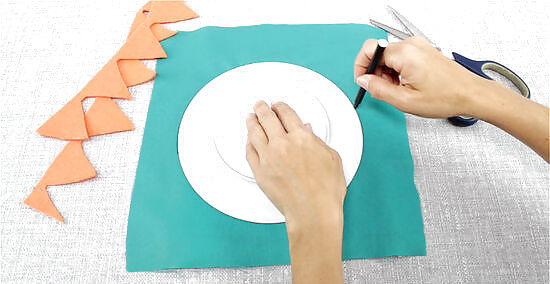
Trace the edge of a bowl onto the main fabric and cut it out. Flip over a bowl and trace its circumference onto the felt. The diameter of the bowl will be the width of your dinosaur tail, so make sure that it’s wide enough.
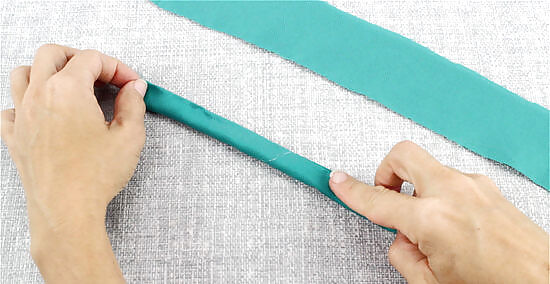
Cut out 2 strips of fabric for the waist straps and glue them in place. Use fabric scissors to cut 24 inches (61 cm) by 2 inches (5.1 cm) rectangular strips from the tail fabric. Then, fold in the edges lengthwise and glue them into place. Fold the fabric in half again and glue both sides together so the straps are less than 1 inch (2.5 cm) thick.
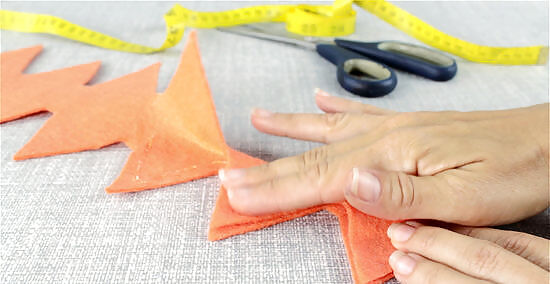
Crease and glue the line of fabric spikes together. Use short lines of hot glue to connect the folded spikes. Instead of looking like a row of diamonds, the felt will now look like a row of triangles.
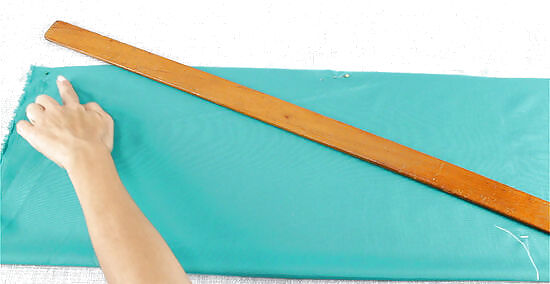
Cut a large, curved triangle out of fabric to make the base of the tail. Measure out a curved triangle along the edge of a folded piece of fabric. You don’t have to use specific measurements, but make sure that the tail will fit around your circular piece.
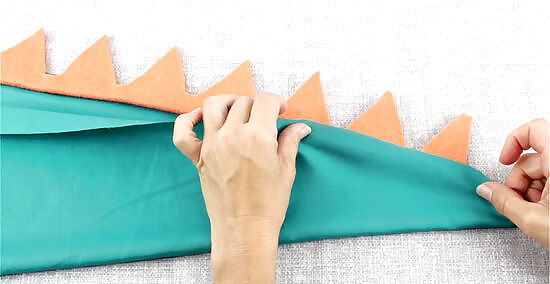
Attach the spikes to the inner seam of the tail with hot glue. Use small lines of hot glue to connect the felt spikes with the outer edge of the tail. Apply glue on both sides of the spikes, as this piece will hold the tail together. Put pressure on the glued areas with your fingertips to secure the spiked tail into place. Use additional glue at the pointy end of the tail to provide extra support. Add extra glue as needed to connect the rest of the tail together.
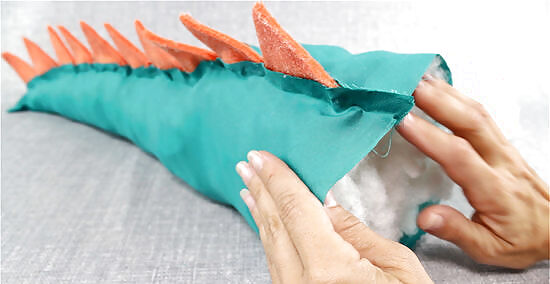
Put fiber stuffing into the tail until it’s fully stuffed. Take a bag of fiber filling and stuff the tail completely. Place as much or as little stuffing as you would like inside. Make sure that the pointy end of the tail is completely filled before continuing to stuff the rest.
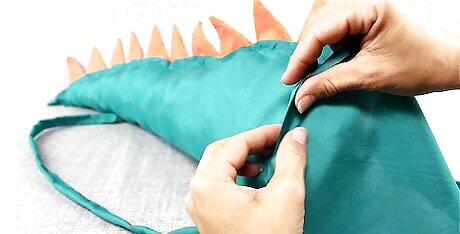
Glue the waist straps and circular piece to the inside of the tail’s base. Take the waist strips and glue them on opposite ends of one another, using small lines of hot glue. These straps should be perpendicular to the line of spikes. Make sure that the circular base is glued snugly over the waist straps and is covering the end of the tail. You can tie the waist straps together to secure the tail when your child wears it.
Cutting and Sewing a Tail Shape

Fold the fabric in half and mark 12 inches (30 cm) above the crease. Take 1 yard (0.91 m) of fabric and fold it in half horizontally. Use a tape measure (preferably non-mechanical) and mark 12 inches (30 cm) above your starting point on the fold. This indicates the height of your dinosaur tail. Make sure that your measuring tape expands to at least 3 feet (0.91 m).
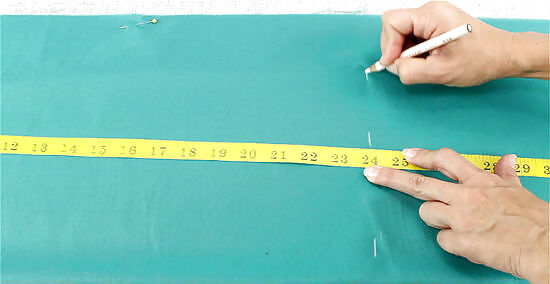
Make a second mark 24 inches (61 cm) down the fabric. Measure 24 inches (61 cm) from your starting point and mark the fabric. This 24 inches (61 cm) distance will serve as the length of your dinosaur tail. Make sure that you have enough fabric for these measurements.
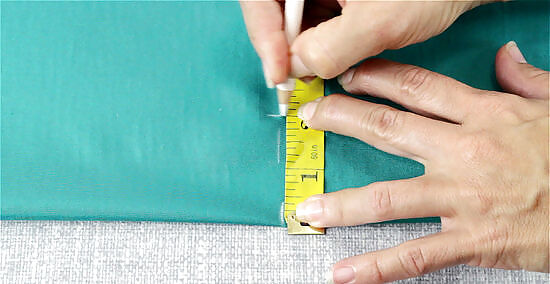
Make a third mark 2 inches (5.1 cm) above the second mark. Take your measuring tape and make a dot 2 inches (5.1 cm) above the second mark. This third measurement represents the pointy, bottom end of the tail.
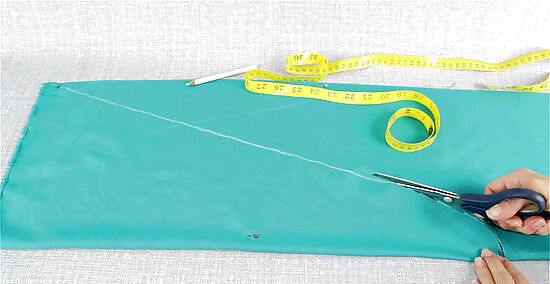
Connect the 3 marks with a marker and cut out the tail shape. Use a fabric marker to sketch the line that connects these three points before removing the piece with scissors or a rotary cutter. Rotary cutters can be found at most craft stores, and provide a more even and exact cut along the edge of your fabric. If you want to make your lines exact, use these measurements to sketch and cut a template out of cardboard beforehand.
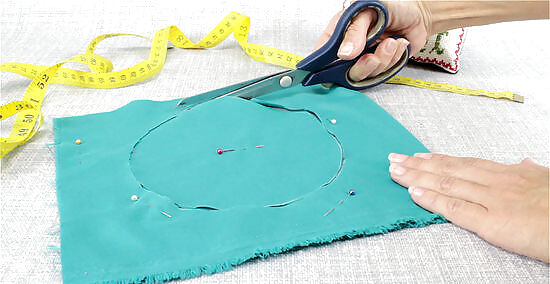
Trace a plate on fabric twice to create 2 circles for the tail’s base. Place a ceramic plate onto the fabric and cut around it with scissors or a rotary cutter. Repeat this process so that you have 2 circles. The diameter of this circle will be the width of your dinosaur tail. Use folded fabric if you want to cut 2 circles out at once.
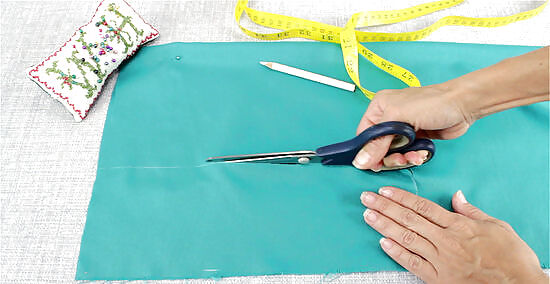
Measure and cut out 2 pieces of fabric to create the waist straps. Use a measuring tape to mark and cut out 2 strips of fabric. The length should be 12 inches (30 cm), and the width should be 4 inches (10 cm). These strips will help attach the dinosaur to a child’s waist.
Adding the Spikes and Waist Straps
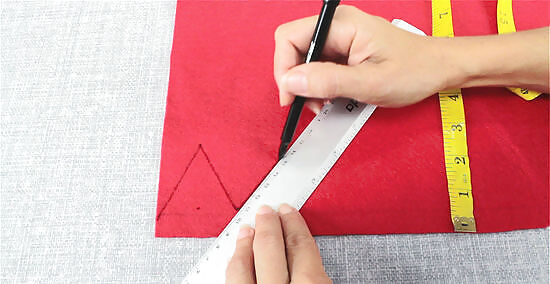
Sketch a series of triangles onto a piece of felt using a fabric marker. Use a ruler or measuring tape to sketch a row of triangles onto the felt. Make the triangles, which will be the tail spikes, about 2 inches (5.1 cm) tall and 2 inches (5.1 cm) wide. Ensure that there’s 0.5 inches (1.3 cm) between each spike. You can make the spikes bigger or smaller, depending on how you want the tail to look at the end. You can also make individual triangular spikes.
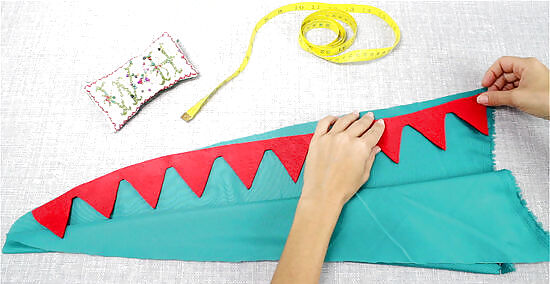
Arrange the cut spikes on the edge of the tail fabric and pin them in place. Use fabric scissors to cut the spikes out of the felt. Begin constructing your dinosaur tail by positioning the trail of spikes between the folds of the base tail fabric. Pin the spikes so that they face inward, as you will be sewing the fabric from the inside out.
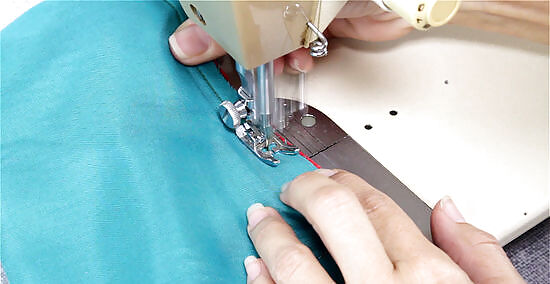
Use a sewing machine to attach the spikes to the main fabric. Feed the fabric through the machine to stitch the base tail fabric and spikes together. Go along the curved shape of the tail, leaving less than a 0.5 inches (1.3 cm) of space between the stitches and the fabric’s edge. Pinch and tug on the fabric on the inside of the tail to pull the tail right side out. Remember to remove the pins from the fabric as you sew.
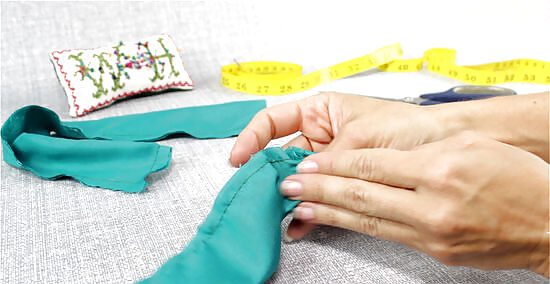
Fold and pin the waist strap fabric at the ends before sewing the edges together. Crease the fabric along the center so that the short ends are touching, and use a few pins to secure the fabric in this position. Stitch the edges together lengthwise, but leave the shorter end open. Pinch the fabric on the inside of the stitching to pull the straps right side out. You’ll be stitching the shorter, unsewn ends of the waist straps into the base of the tail.
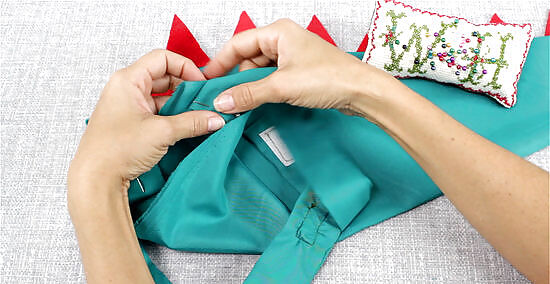
Stitch the Velcro rectangles to the straps and attach the waist straps to the tail. Take a small rectangle of Velcro and place it on the sewn end of the waist strap before stitching it into place with a sewing machine. Then, take the unstitched ends of the waist straps and pin them to the inside of the tail. Make sure that the straps are placed perpendicular to the spikes before sewing them into place. Check to see that the strap is long enough to wrap around a child’s waist. Pin the straps onto the tail and sew them into place. You can purchase Velcro at a craft store. You can also sew Velcro by hand.
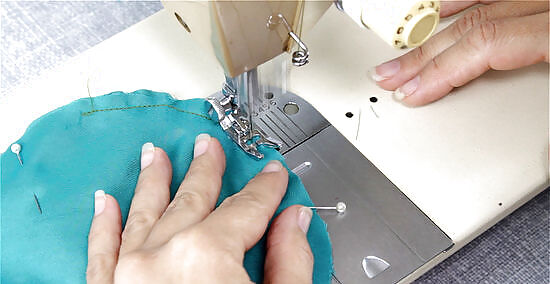
Pin the base circles along the edges and stitch together. Take the 2 base circles and secure them with pins along the edges. Make sure that the circles are centered against one another before you sew them together. Leave at least 1 inch (2.5 cm) of space to turn the circle right side out. After sewing the edges together, pinch and tug at the inner fabric of the circle to make pull it right side out.
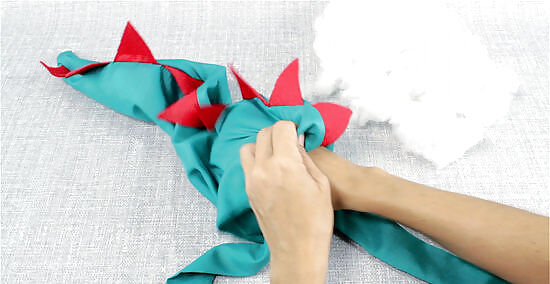
Fill the tail with stuffing until it has a firm shape. Take fiber filling and stuff the base of the tail. Use as much fiber as you need to completely fill the dinosaur tail. You can buy fiber filling at a craft store. You may need more than one bag to fully stuff the tail.
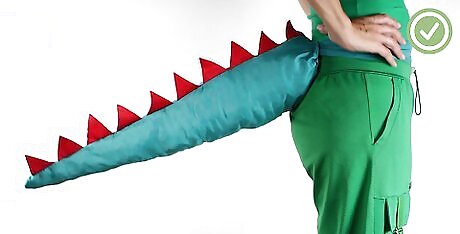
Use a ladder stitch to close off the base and complete the tail. Tuck and fold the excess fabric into the tail before sewing it shut with a ladder stitch. This part can be completed by hand. The ladder stitch helps all portions of stitching to look uniform.




Comments
0 comment