views
Making a Booklet By Hand
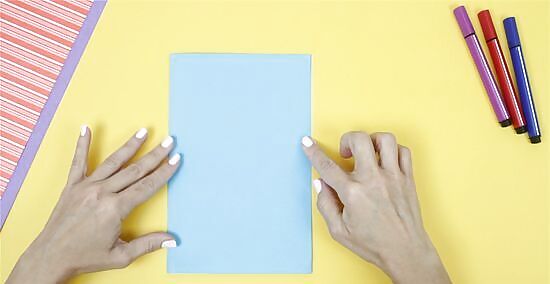
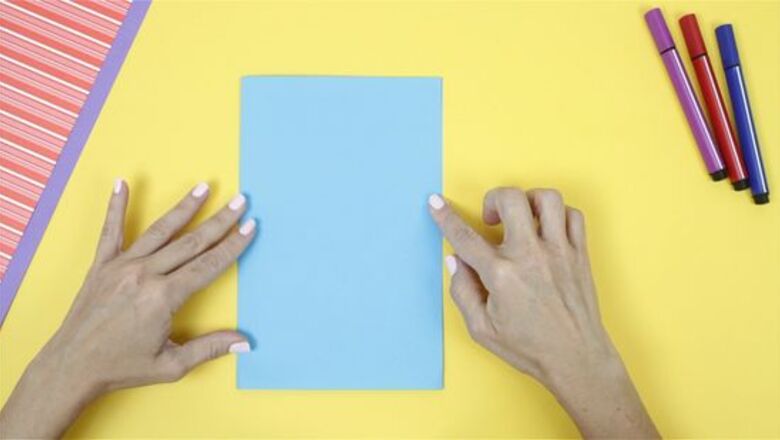
Fold two 8 1/2 x 11" pieces of paper in half horizontally. One of those sheets of paper is going to be the cover and one is going to be the back of the booklet. Both sheets will make up the pages inside the booklet. Horizontally means hamburger style.
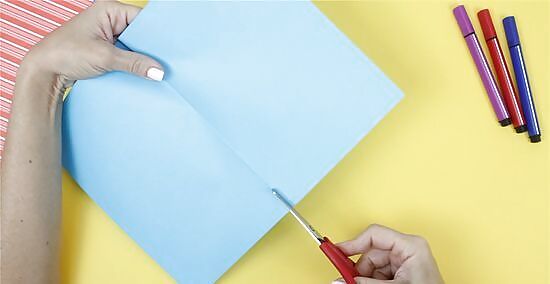
Cut notches in the crease on one sheet. Make sure that you're cutting them in the top and the bottom. The cut should be just over one inch (about three centimeters).
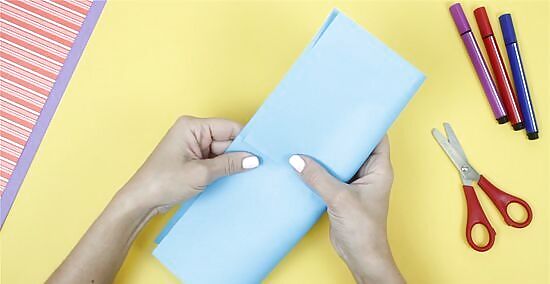
Fold other sheet in half vertically. Don't crease this sheet, just pinch it closed, since you only need it folded while you create the hole along the crease. If you crease it, the pages in the booklet will be creased. You're folding it hotdog style.
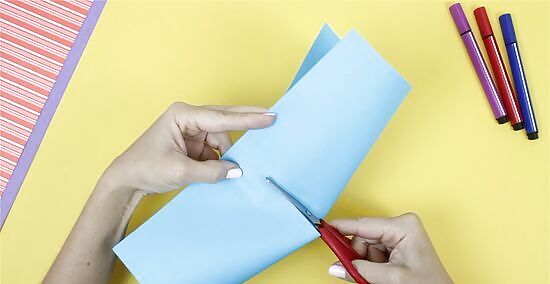
Cut along crease from about three centimeters on both sides. You're making a hole along the crease where you'll slip the other sheet (the one with the notches) through. The hole should go from about one inch on one side of the crease to about one inch on the opposite side (three centimeters).
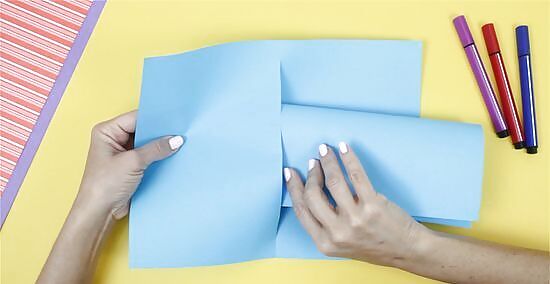
Slide first sheet into the hole. The most important thing is to make sure that the notches fit into the hole since they'll keep the pages in place. The more exactly they fit the neater your booklet is going to look. It can be helpful to gently curl the sheet with the notches so that it doesn't get bent or torn while you're slipping it into the hole. You'll want to curl it vertically so that the corners come together.

Add more pages as you need to. The above booklet has eight pages, counting the cover and the back. You can add as many pages as you need (within reason; you don't want to put too much stress on the center hole as that can tear it). Fold a piece of paper hamburger style. Cut notches little more than one inch (three centimeters) on the crease on both sides. Pick up your original booklet and find the page that exposes the hole (where this falls depends on how many pages you have). Slide your new page into the the hole, curling it a little so that it slides in easily. Do this until you have as many pages as you need.
Making a Booklet in Microsoft Word
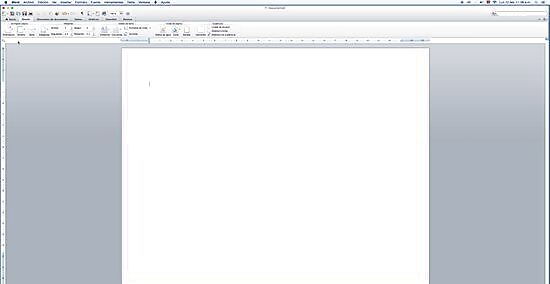
Launch the Page Setup dialog. You have to change the settings on Word before you can create your booklet. You can turn a document you've already written into a booklet, but it is best to create the booklet layout first and then put the content in. Find the Page layout tab. It should be located in the icon in the corner of Page Setup.
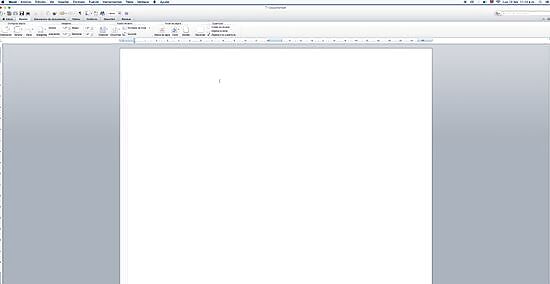
Change the multiple pages to Book fold. This is in Page Setup under Margins. You'll go to the drop down tab, which will be on Normal and you'll change it to Book fold.
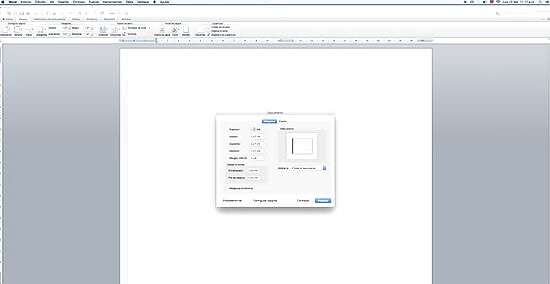
Change your Gutter setting. While you don't have to do this, it's a good idea to change the Gutter setting from 0 to 1 so that words don't end up jumbled into the binding.
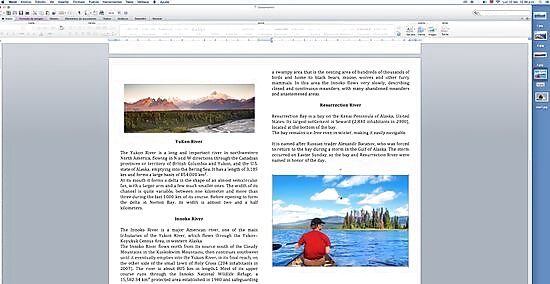
Click okay once you've made your adjustments. You can get an idea of what the booklet is going to look like formatting-wise. From there you simply have to add the content (or make sure that content looks how you want it to look if you already had content). You can change anything that doesn't look right and you can add anything that your booklet needs (like page numbers).
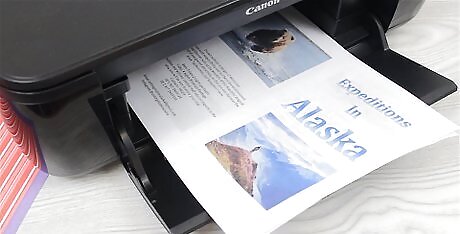
Print your document. You will need to print on both sides of the paper, otherwise your booklet is going to end up with a lot of blank pages, which you don't necessarily want. You can have your printer do this automatically, or manually (which means you'll need to stand there and feed paper to the printer). If you are manually feeding the paper to the printer make sure that you orient the pages properly. You do not want to end up with upside down pages in your booklet.
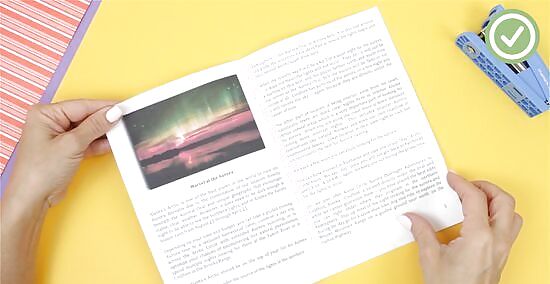
Fold the booklet. Make sure that you put together the booklet with the corresponding pages. This is why it's a good thing to have page numbers. When you fold, it's a good idea to start by folding each page individually and then putting them together. You can staple along the fold once you've folded the pages.
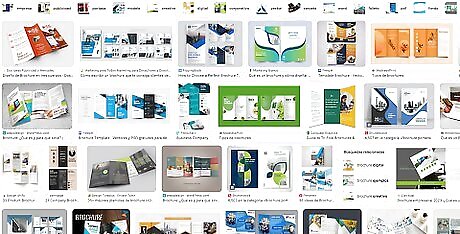
Download good design templates. The above method is the most basic way of creating a booklet in Word, but you can find lots of cool design templates on the internet or through Word if you want something a little more creative or enticing.
Professionalizing Your Booklet
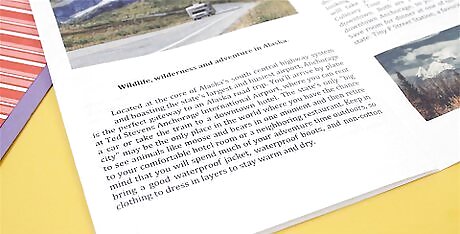
Match the style of your booklet with its aim. For a booklet, especially a professional type booklet, you want to make sure that you're only giving a quick overview about the subject. You want to inform your reader, educate, and persuade them quickly. Something like a booklet about a town should give some general historical information, a map of the town with the important landmarks marked, and telephone numbers for things like taxis or the visitor information center. A booklet could also be something like a leave-behind after a meeting to remind the people at the meeting what they heard, or it could provide information that responds to some sort of query (if you have a specific product, this gives a potential customer the basics of it). There's also the type of booklet that is made for people to pick up and peruse when they're standing in line. A booklet of this sort is going to need to look catchy to get people's attention.
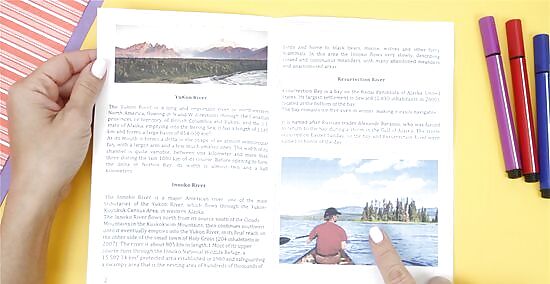
Use good images. People like images, there is no getting around that. When you're picking what images you want to put in your booklet, keep a couple things in mind. You want the images to jump off the page, because you want to capture people's attention. You also want the images to pertain to the purpose of your booklet. For example: you might want to create an informational booklet about your Alaskan rafting company. On the front you would want to have a color photograph that showcases the best your company has to offer (some tourists in a raft sighting a bear, for instance). If you can't print in color (which is preferred) make sure that your images look good in black and white.
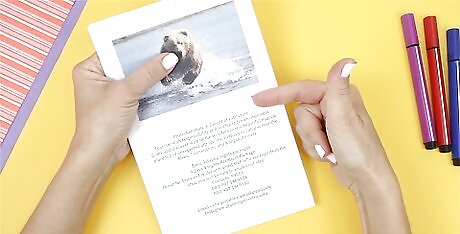
Make the information short and concise. You want to get down the very basics for your reader, whether it's tourists in your town, potential customers, or business associates. Pages that are packed with massive blocks of text are not going to entice your reader. Break information up with headlines and sub-headlines. Information is more easily digestible when broken up into smaller chunks that are properly labeled.
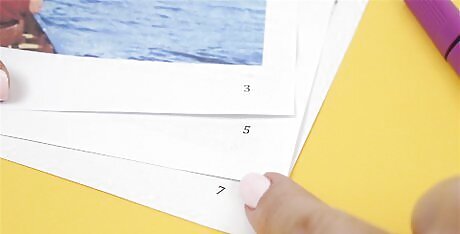
Make sure odd page numbers are on the right hand pages. This may seem like a small thing, but it makes a difference to the quality of your booklet. Numbering starts on the first right-hand page, not the left.

Motivate your reader to open the booklet. The goal when having a professional style booklet is to get readers. You want whatever it is you're trying to get across to have a reading audience. It's important to have a strong selling message on the cover, so that potential customers and readers want to check out the rest of the information.




Comments
0 comment