
Mounting the Strap Buttons
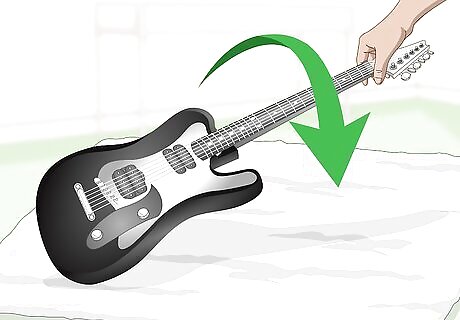
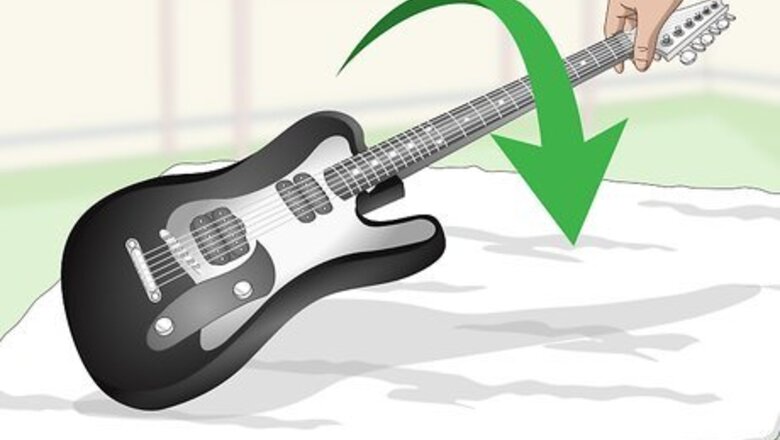
Place your guitar on a stable, towel-covered work surface. A flat, stable work surface will allow you to work on your guitar without dropping it. Cover your work surface with a towel or blanket to protect your guitar’s finish.
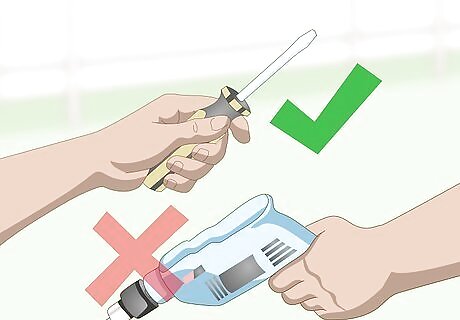
Use a screwdriver instead of a power tool. Don’t use a drill or power screwdriver to remove and drive screws. Using a screwdriver will reduce the risk of stripping screws or slipping and nicking your guitar. If you slip and thrust a drill into your guitar, you could scratch the finish or even damage its sound.
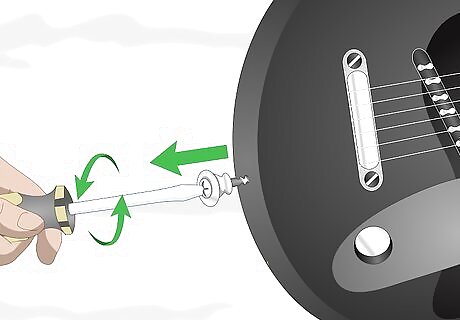
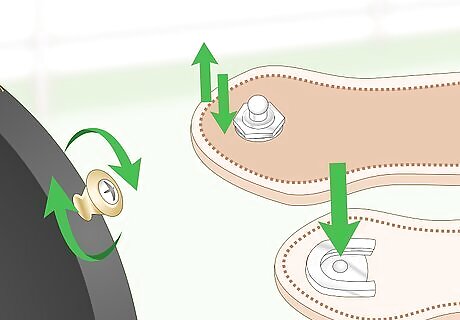
Remove the existing strap button from your guitar’s base. Locate the existing strap button on the base of your guitar, and carefully remove the screw that holds it in place. You’ll probably find a rubber or felt protective washer between the button and your guitar’s body. Set this aside and save it to reuse when you mount the new strap button. Your kit might also come with protective washers for the buttons. If it doesn’t, and if your existing buttons don’t either, you can pick up a pair at your local guitar store.

Compare the old button’s screw with those included in the kit. Schaller strap lock kits include screws of various lengths to fit a range of guitars. Hold your old screw next to the ones in your kit to find the best match.
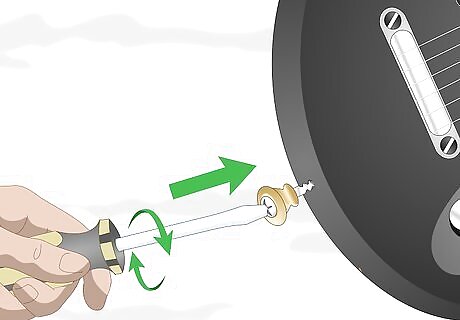
Screw the new button into your guitar. Once you’ve found the right sized screw, line up the protective washer and the new button over the hole in your guitar’s body. Drive the new screw through the button and washer carefully to avoid slipping and damaging your guitar’s finish. Tighten the screw and make sure the button can’t spin.
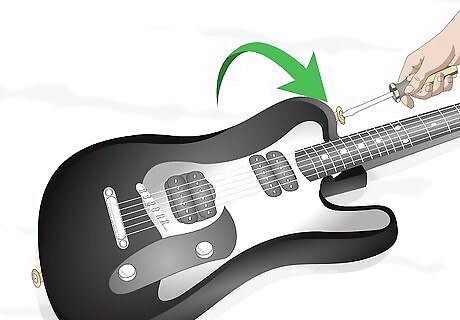
Repeat the process on the other strap button. Locate the other existing button on or around the neck of your guitar. Remove it and mount the new button using the same steps you took to install the one at the guitar’s base.
Attaching the Locks to Your Strap
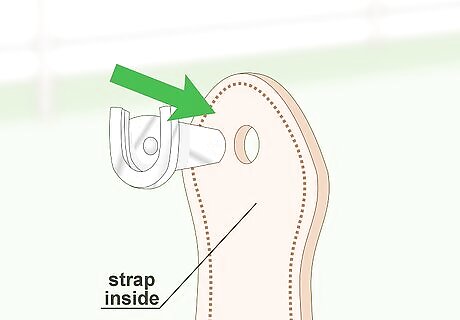
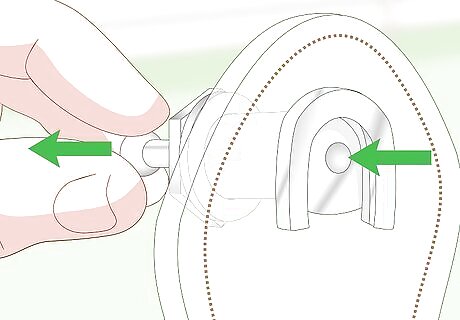
Insert a lock through the hole in your strap. If necessary, remove the nut and washer from the lock. Slide the lock through the hole from the inside of your strap. The part of the lock that fits into the button should be on the inside of the strap, and the threaded barrel (where you screw on the nut) should stick out from the outside of the strap. The lock is U-shaped, and the open side fits onto the button on the guitar’s body. Make sure the open part faces toward the center of the strap’s length.
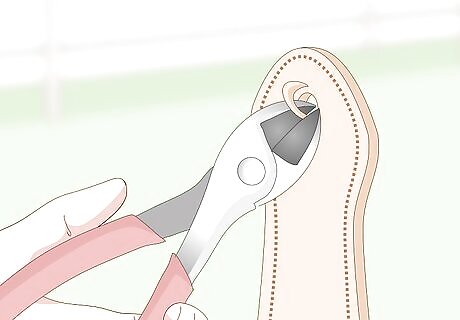
Cut away a bit of leather if the hole is too tight. Schaller locks are relatively thick, and you might find that the hole in your strap is too tight or folds up into dog ears around the lock. If necessary, use a small pair of wire cutters to carefully trim away leather so the lock sits flush against the strap. Trim off as little at a time as possible. You can always trim more if you need to, but you can’t add back what you’ve already cut.
Place the washer and nut onto the barrel and tighten the nut. Slide the washer onto the lock’s threaded barrel and hand thread the nut to get it started. Use a 13 mm wrench or socket to finish tightening the nut. Make sure to keep the open side of the lock pointed toward the center of the strap’s length. Repeat the process to attach the second lock to the other end of the strap.
Inserting the Locks into the Buttons
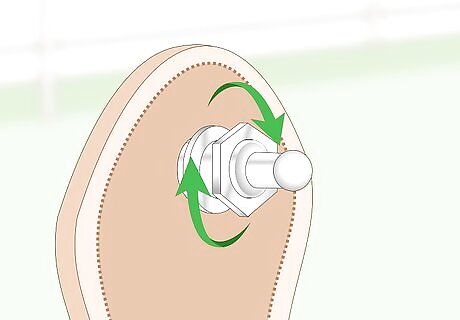
Pull the tip of the strap lock to release the locking mechanism. There’s a small ball at the tip of the lock’s threaded barrel. Pull it to release the locking mechanism. After you install the strap locks, you’ll pull this release mechanism if you ever need to remove your straps.
Slide the lock onto the strap button. Keep holding the ball to keep the locking mechanism open. Slide the open side of the U-shaped strap lock onto the strap button on your guitar’s body, then let go of the release mechanism to lock it into place. Give it a little tug to ensure the lock has latched tightly onto the strap button. Repeat the process on the other strap lock to finish installation.
Check your locks and screws periodically. Inspect your strap locks to make sure the locking mechanism is in good order. Check the screws holding the strap buttons in place and the nuts that secure the strap locks. Re-tighten any screws or nuts as necessary.


Comments
0 comment