views
Installing Concealed Hinges
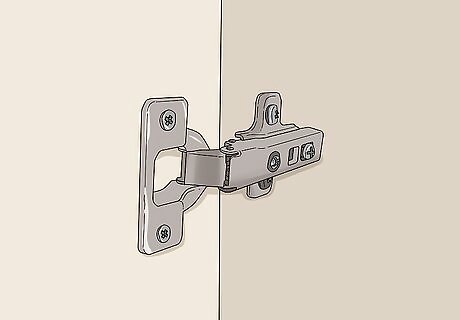
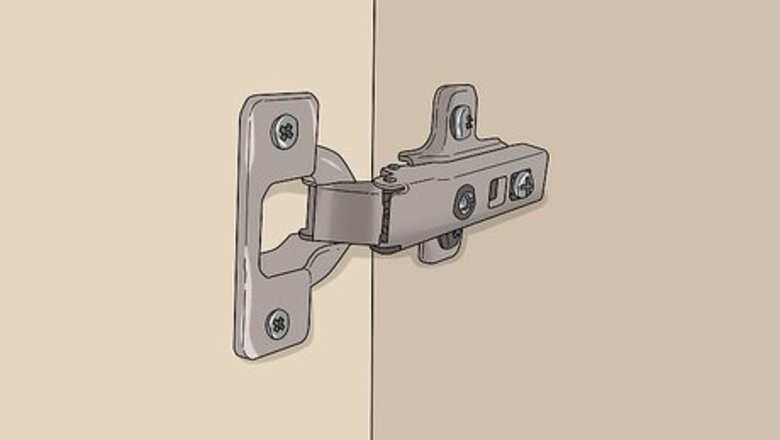
Choose concealed hinges if you want the hinges hidden from view. Concealed hinges, also known as a European hinge or a cup hinge, get their name from the fact that they’re hidden from view when the cabinets are closed. If you don’t want to see your hinges, opt for the concealed variety. You can purchase concealed hinges at home improvement stores, hardware stores, and online. Concealed hinges may have less range of motion than other traditional hinges.
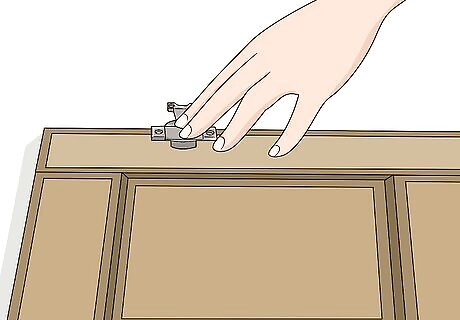
Lay the door face down on a flat surface with the hinge-side facing you. Use a clear, flat space to work on. Place the cabinet door face down on the surface so that the side you plan to attach the hinges to is facing toward you. Make sure the work area is clean so you don’t get markings on your cabinet doors.
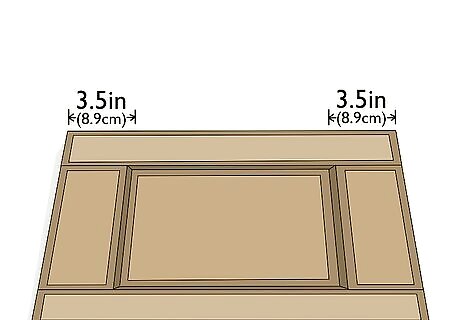
Measure and mark 3.5 inches (8.9 cm) from the top and bottom edge. Use a ruler, tape measure, or combination square to measure the distance from the top edge of the cabinet door and mark a horizontal line with a pencil. Then, measure from the bottom edge of the door and mark a line. Make sure both markings are perfectly even so the cabinet door will open and close evenly.
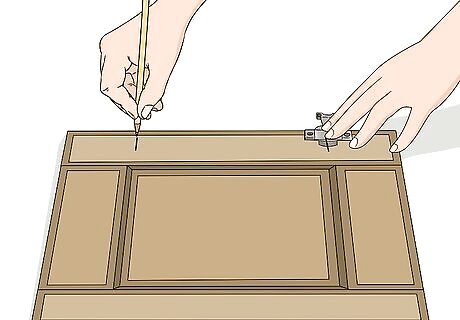
Place the hinge on the door and mark the distance from the edge. Put the hinge on the hinge-side of the cabinet door where you marked from the bottom and arrange it so it’s in the position it needs to be installed in. Use a pencil to mark around the hinge so you know where you need to bore your hole. Repeat the process for the mark you made at the top of the cabinet door. Make sure the 2 measurements match so the hinges are installed evenly!
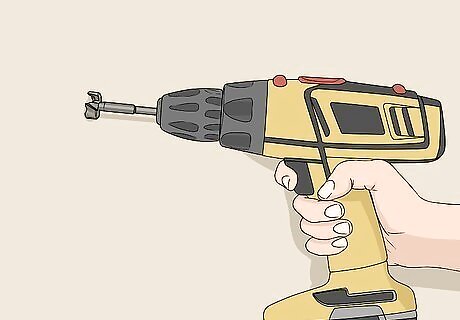
Attach a 35-millimeter Forstner bit and set it to ⁄2 inch (1.3 cm) depth. A Forstner drill bit is used to bore holes into wood to install hinges. Fit the bit into the end of your power drill and make sure it’s secure. Then, adjust the line depth on the side of the bit so you can know when to stop boring into the wood. The line depth must be exact so you don’t bore through the cabinet door.
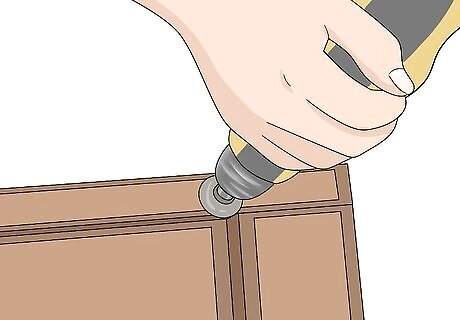
Place the bit on the center of your marking and bore to the depth line. Hold the end of the bit against the cabinet door in the center of the line that you marked. Bring the drill up to speed to start boring through the wood. When the bit reaches the line depth that you set, stop boring and remove the bit. Repeat the process for the other hinge location marked on the door. Start the drill slowly to avoid punching through the door. Apply pressure against the drill to drive the bit into the door.
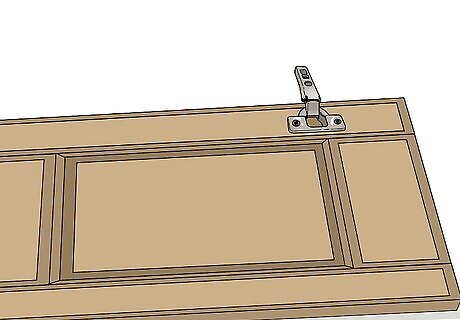
Insert the hinge cups and drill wood screws into the screw holes. The hinge cup refers to the convex, cup-like part of the concealed hinge that goes inside of the bored hole in the door. Fit the cup of the hinge into the hole so the screwholes are flush against the surface of the cabinet door. Use a power drill to drive wood screws into the screw holes so they’re securely attached. Use the screws that came with the hinges if you have them.Tip: If you don’t have the original screws for the hinges, use ⁄8 in (1.6 cm) #6 wood screws.
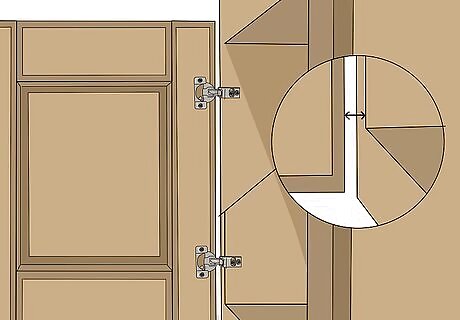
Shim the door in place and measure the gap. The cabinet door must be positioned correctly so it’s level and will open and close properly. Shim the door against the cabinet and use a ruler or tape measure to measure the small gap between the cabinet door and the cabinet surface. Write down the exact measurement. A common gap measurement is ⁄16 inch (0.16 cm).
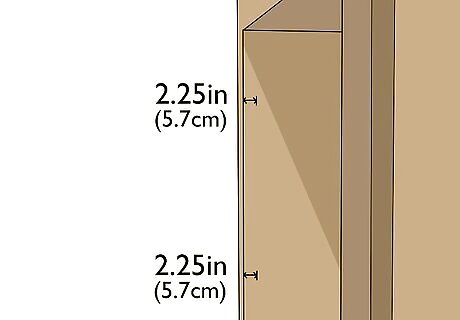
Mark 2.25 inches (5.7 cm) from the outer edge of the cabinet wall. Measure the distance from the edge at the front of the cabinet itself. Mark a line with a pencil that runs from the top of the cabinet down to the bottom so you can intersect it with your hinge measurements. Use a ruler to make a straight line.
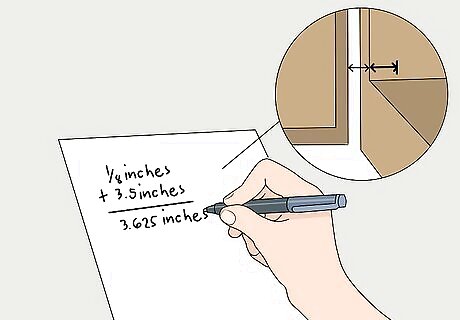
Add the gap to the height and mark the top and bottom of the cabinet. Take your gap measurement and add it to 3.5 inches (8.9 cm), the distance you measured to install your hinge cups. Then, measure that distance from the top and bottom of the cabinet and mark the locations with a pencil. For example, if your gap measured ⁄8 inch (0.32 cm), then adding it to 3.5 inches (8.9 cm) would give you 3.625 inches (9.21 cm). When you make your marking, the 2 lines on your cabinet should intersect.
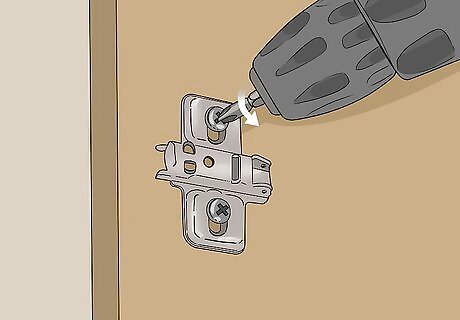
Align the mounting plate where the lines cross and drill them into place. Place the mounting plate at the location where both lines intersect and line it up so the screw holes are even. Use a power drill to drive screws into the screw holes to secure the plate in place. Then, attach the other mounting plate to the cabinet in the same way. Use the screws that came with the hinges or use #6 wood screws.
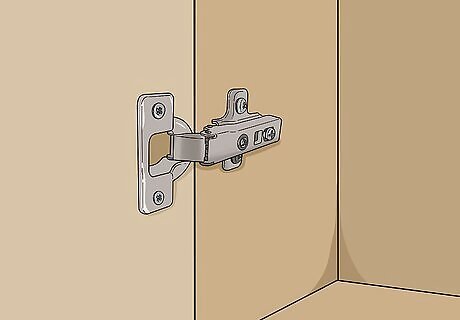
Hook the hinges onto the mounting plates and snap them into place. Hold the door so it’s in the open position and slide the hinges into the mounting plates. Press on the bars of the hinge to snap them into place on the mounting plates. Open and close the door to make sure the hinges work and the door is even. The hinges should make a clicking or snapping sound when they fit into place.
Attaching Traditional Hinges
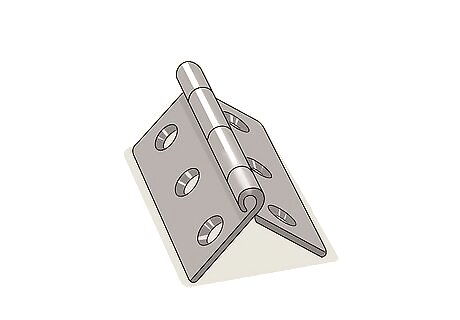
Choose a traditional hinge to add a stylistic detail to your cabinets. Traditional hinges are mounted to the surface of the cabinet door and are visible, or partially visible when the door is closed. They’re easier to install than concealed hinges and they can add a decorative effect to your cabinet door. There are a variety of traditional hinges including, butt hinges, flush hinges, and antique hinges, but they all fit onto your cabinets in a similar fashion. Look for traditional hinges at home improvement stores, hardware stores, and online. You could also look for ornate or decorative hinges at antique stores.
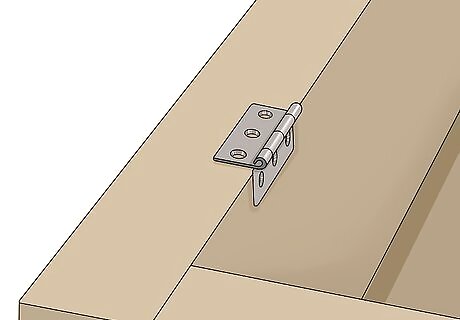
Wrap the hinges around the cabinet so they’re flush. Start by placing the hinges on the cabinet where you plan to install them, wrapped around the outer edge of the cabinet wall in the open position. The hinges should sit flush against the outside and inside of the cabinet. If you’re installing the hinges on the back of the door, have the 2 sides of the hinges laying on top of each other instead. You can use as many hinges as you like for your cabinet doors, but you’ll need at least 2 to hang it properly.
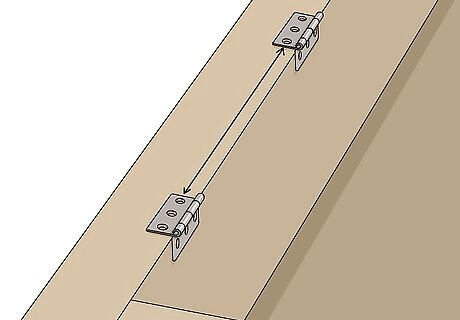
Measure the spacing between the hinges to make sure they’re even. Once you’ve decided on the placement of the hinges, make sure they’re all evenly spaced apart from each other as well as the top and bottom edge of the cabinet. Use a ruler or tape measure to check the spacing to make sure they’re even. Adjust the spacing by simply moving the hinges. The spacing needs to be even so the cabinet door fits correctly and opens and closes smoothly. Write down the measurements so you can duplicate them if you plan to install hinges on multiple cabinets and cabinet doors.
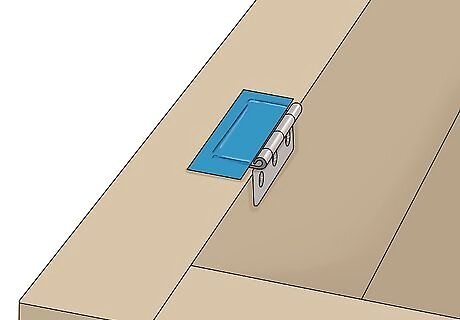
Tape the hinges to the cabinet with painter’s tape. As you’re wrapping the hinges around the cabinet, tape them in place with painter’s tape so they stay in position. Measure the space between the hinges so they’re even and use enough tape to hold them in place. If you need to adjust the spacing, simply remove the tape, adjust the hinge, and reapply the tape.
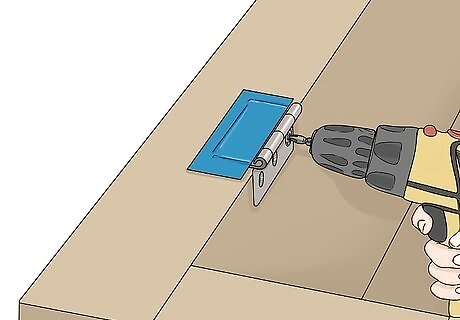
Drive screws into the screw holes on the cabinet. Once the hinges are aligned, screw the cabinet-side of the hinge to the cabinet with a power drill. Make sure the screws are fully inserted so they’re flush with hinge and are sticking out of the screwhole. Use the screws that came with the hinges, or use #6 wood screws.
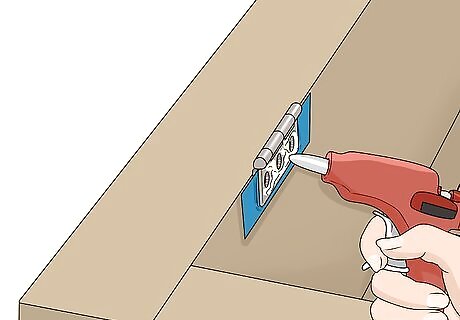
Add a line of hot glue to the top of the hinges and place the door on top. Flip the hinges over on each other so they’re in the closed position. Apply a line of hot glue to the top of the hinges and place the cabinet door on top of them. Adjust the door so it’s even and hold it still to allow the glue to dry for a few seconds. Use a very thin line of glue so it’s not visible after you screw the hinges to the door.Tip: Open and close the door once the glue is dry to make sure it’s lined up correctly. If it isn’t, pull the door off of the hinges, apply more glue, and realign it.
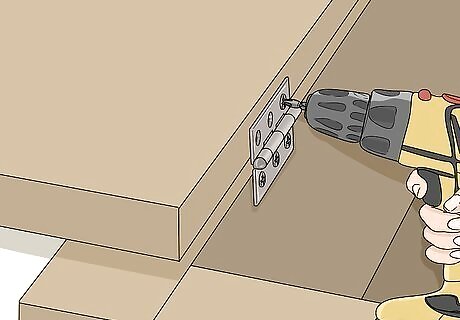
Open the door and drive screws into the screw holes on the door. Use a power drill to drive screws into the screw holes to secure the hinges to the door. Drive the screws all the way in so the tops of the screws aren’t sticking out, which could cause the door to be uneven. Open and close the door to make sure the hinges are working properly and the door is lined up correctly.


Comments
0 comment