

Open Kodi on your computer. It’s usually in the All Apps section of the Start menu on a PC, and in the Applications folder on a Mac.

Click Add-ons. It’s near the center of the left column.

Click the Open Package icon. It’s the blue circle with a white open box at the top of the left column.

Click Install from repository. It’s the third option in the right panel. Several categories will appear.
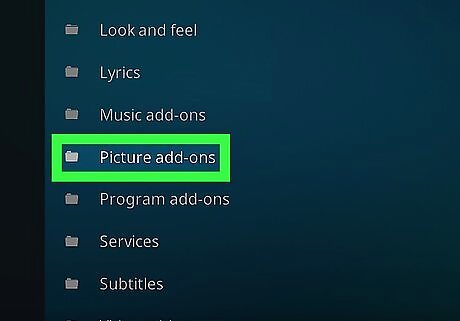
Select a category. Click the topic that describes the type of add-on you want to install. For example, to install a TV network like CNN, select Video add-ons. To install an add-on that displays subtitles for movies, select Subtitles.

Select an add-on. Scroll through the list until you find something you like, then double-click it to view more information.
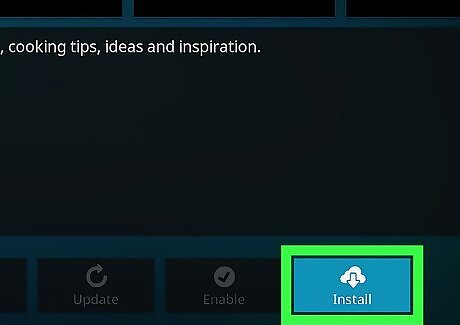
Click Install. It’s the cloud icon with an arrow at the bottom-right corner of the window. The selected add-on will install. To view all installed add-ons, click the Add-ons link in the left column. To open an add-on, double-click the tile on the Add-ons page.


Comments
0 comment