views
Setting up the Cabinet and Utilities
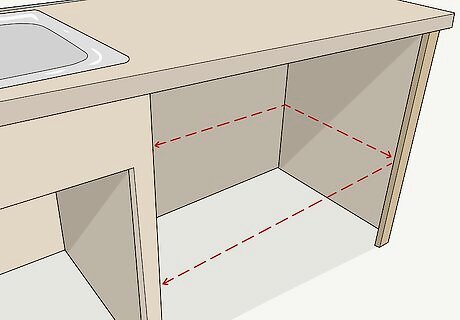
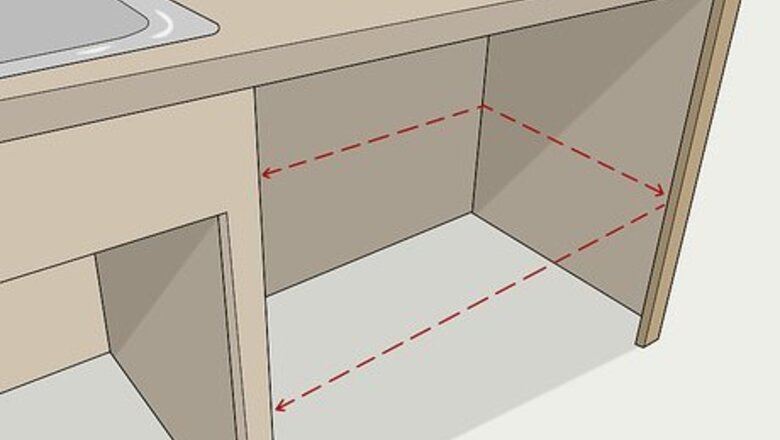
Evaluate the intended cabinet space for your chosen dishwasher. Built-in dishwashers are typically designed to fit in a standard cabinet width—24 in (61 cm) in the U.S.—and be placed right beside the sink cabinet. Confirm that your intended installation space suits the requirements for your selected dishwasher; otherwise, you’ll have to make potentially costly adjustments to your cabinetry layout.
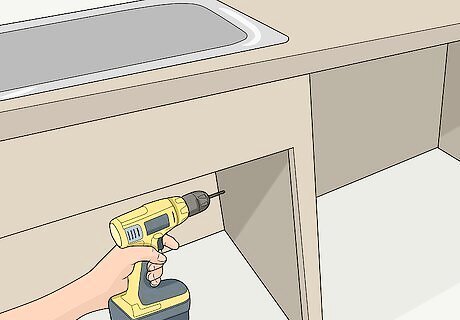
Drill holes into the dishwasher side of the sink cabinet, if needed. If you are installing a dishwasher for the first time in your chosen space, you’ll have to drill 3 holes through the side of the cabinet for the dishwasher's electric wiring, water inlet, and drain tube. If you’re replacing a dishwasher, you can typically reuse the existing holes that lead into the sink cabinet. If you’re drilling new holes, refer to the new dishwasher’s manual to pinpoint the location and diameter of the holes. Use a power drill with a hole saw bit to cut the holes. If the electrical wiring for the dishwasher doesn’t run into the sink cabinet, you’ll only need to drill 2 holes.
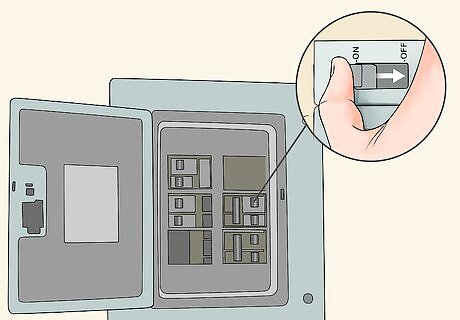
Make sure the current is shut off to any electrical wiring for the dishwasher. If you’re replacing a dishwasher that you’ve already removed, check your home’s electrical panel to ensure that the line that runs to the dishwasher is not carrying a current. In most modern panels, just flip the appropriately labeled switch to the off position. Unless you are fully certain of your abilities, hire a professional electrician to run any new wiring needed for your dishwasher install. For extra certainty that particular electrical wires aren’t “hot” (electrified), buy a current tester at a home center. Some models require you to touch each wire to test them, while others only require you to hold the tester close to the wiring.
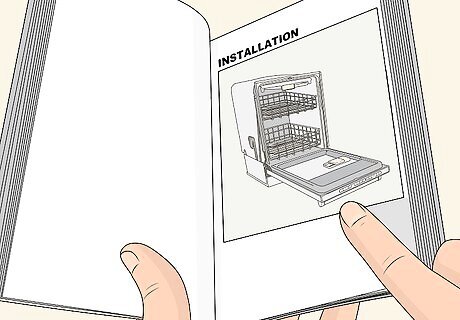
Plan your installation strategy based on the location of your dishwasher’s hookups. Many dishwashers, especially newer models, make the connections for the electrical, water supply, and drain lines at the lower front of the appliance. Others, however, including some newer models, make the connections at the rear of the appliance. Read the manual to determine which is the case for your dishwasher, because it will impact how you install the appliance. For a dishwasher with front hookups, you’ll have to slide the appliance into place before finalizing the connections. For a dishwasher with rear hookups, you need to finalize the connections before sliding the appliance into place.
Connecting Lines in the Sink Cabinet
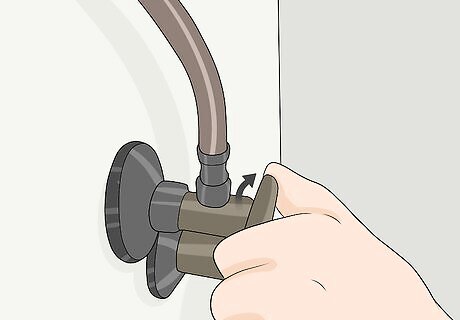
Turn off the hot water supply line in the sink cabinet. Dishwashers normally connect to the hot water supply line under the kitchen sink. Reach into the sink cabinet and turn the hot water shutoff valve clockwise, then open the faucet to let any excess water drain. Some dishwasher models can be connected to the cold water supply line instead, but the hot water line is usually the preferred option. Consult the product manual for clarification.
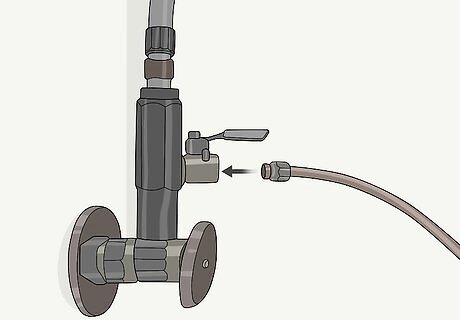
Connect the dishwasher’s water supply line to the hot water line. If there was a prior dishwasher hookup, there’s probably a dual outlet valve connected to the hot water line under the sink. One outlet connects to the faucet, while the other is for the dishwasher supply line. Run thread seal tape (often called Teflon tape) clockwise over the threads of the open outlet, hand-tighten the supply line on the outlet, then use a wrench to tighten the supply line another quarter-to-half turn. If there isn’t already a dual outlet valve in place, you’ll have to install one. Disconnect the supply line to the faucet, then attach the dual outlet valve to both the hot water line and the faucet supply line. Use thread seal tape, hand-tighten each connection, and give a quarter-to-half turn with your wrench. Don’t connect the other end of the water supply line to the dishwasher yet.
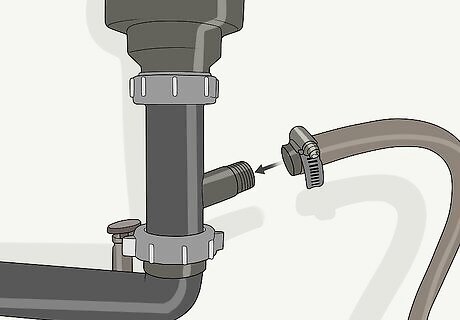
Install a dishwasher tailpiece to the sink’s drainpipe if there isn’t already one. If there was previously a dishwasher hooked up, or if your sink was plumbed with the intention of hooking up a dishwasher, there will already be a dishwasher tailpiece in place. It’s a short stub of pipe that’s smaller in diameter than the main drain pipe that it protrudes from. Otherwise, you’ll need to add one. To install a dishwasher tailpiece, first loosen and disconnect the P-trap section of the drain pipe—you’ll be able to do this with just your hands if the pipe is made of PVC. Buy a replacement P-trap section that includes a dishwasher tailpiece, and connect it in place—once again, hand-tightening is sufficient for PVC.
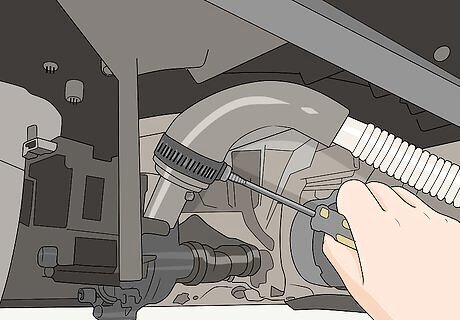
Secure the dishwasher’s drain line to the tailpiece under the sink. Slide one end of the flexible drain line firmly over the stubby dishwasher tailpiece. Use a screwdriver to tighten the hose clamp that’s fitted on the end of the drain line—this will ensure the drain line doesn’t slide off of the tailpiece. Don’t connect the other end of the drain line to the dishwasher yet.
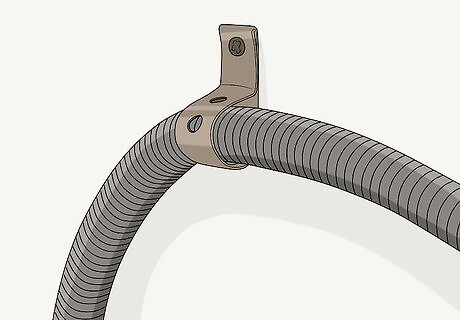
Strap the drain pipe under the sink so it’s elevated above the tailpiece. Wrap a piece of plumber’s strapping around the drain pipe and secure the strapping near the top of the under-sink cabinet with a screw or nail. This will create an upward arch in the drain pipe that rises above the tailpiece connection. This arch prevents drain water from backing up into the dishwasher. Alternatively, your local building code may require the use of an air gap to prevent backups. This is a more complicated procedure that may be best left to a professional plumber.
Moving the Dishwasher into Place
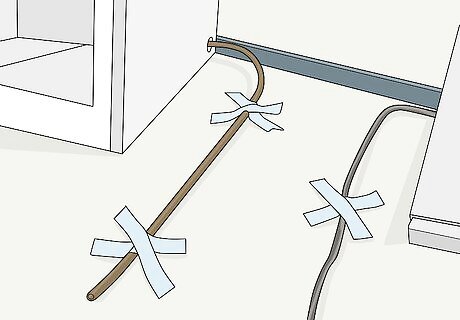
Secure the utility lines so they run under the center of the appliance. For a dishwasher with front hookups, run the water, drain, and electrical lines along the floor from the back of the dishwasher cabinet bay to the front, centered under the appliance. Make sure each line extends roughly 6 in (15 cm) beyond where the front of the dishwasher will end up, and use tape to secure the lines to the floor underneath where the appliance will be. For a dishwasher with rear hookups, don’t secure the utility lines to the floor. Instead, make sure each is long enough that you can tie them into the back of the dishwasher before you push it into its final position in the cabinet bay.
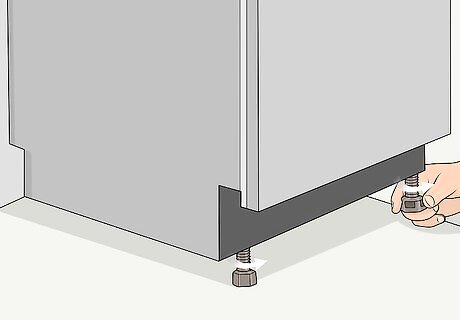
Adjust the feet of the dishwasher to set it at the proper height for your countertop. Built-in dishwashers are designed to fit nicely underneath the kitchen countertop, the bottom of which is typically 34.5 in (88 cm) off the floor in the U.S. Use the adjustable feet on the dishwasher to fine-tune the height of the unit, but leave a small gap—as recommended by the manufacturer—so you can secure the dishwasher to the underside of the countertop. Turn the feet counterclockwise to increase the height and clockwise to reduce it. In the U.S., bottom kitchen cabinets are generally standardized at 34.5 in (88 cm) high so that the work surface of the countertop will be roughly 36 in (91 cm) off the floor.
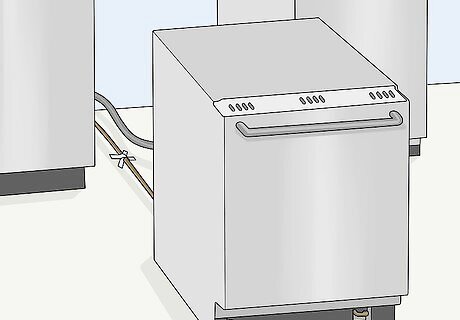
Slide the dishwasher into place and fine-tune its height and positioning. Push, wiggle, and maneuver the bulky appliance into the cabinet bay until the front of the dishwasher is flush with the front of the surrounding cabinets. When it’s in place, check that the unit is level with the underside of the countertop and at the proper height. Use the front feet to make slight adjustments as needed. Make sure to slide the dishwasher over the utility lines that are taped to the floor. If you’ve centered them from back to front in the cabinet bay, they shouldn’t be in the way of the feet of the appliance. Remember that you need to finish the utility hookups before installing the dishwasher if you have a rear hookup model.
Finishing the Hookups and Installation
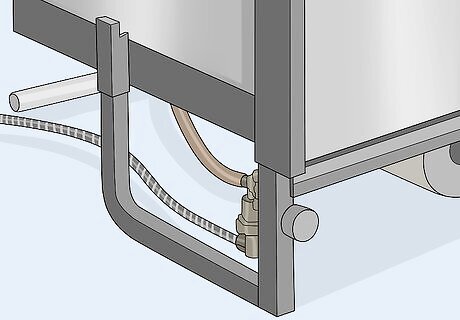
Connect the water supply line to the dishwasher. Use the product guide to locate the water supply hookup at the bottom front of the appliance. Wrap thread seal (Teflon) tape around the water inlet connection, then tighten a right angle elbow to the inlet by hand and with a quarter-turn of a wrench. Wrap tape and tighten the connection between the right angle elbow and the water supply line in the same fashion. The right angle elbow prevents the water supply line from protruding outward from the front of the dishwasher. You might get one with your dishwasher, or need to buy one from a home supply store—check where other dishwasher plumbing supplies are sold. The installation is the same with a rear hookup dishwasher, other than the location.
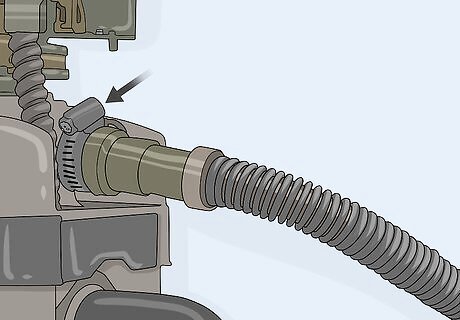
Secure the drain line to the appliance with a hose clamp. Locate the appropriate hookup stub for the drain line, then press the flexible tube over the stub. Use a screwdriver to turn the screw and tighten the hose clamp that’s on the end of the drain tube. Once again, this process (other than the location) is the same with a front hookup and rear hookup dishwasher.
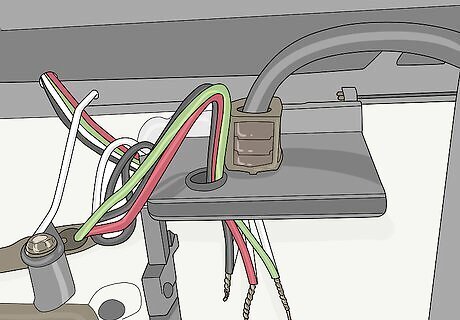
Connect the electrical wires to the dishwashing unit. Confirm one more time that the power is off to the electrical line, then feed the line into the dishwasher’s labeled electrical box. Here again, the process (but not location) is the same for front- and rear-hookup units, so check the user’s manual if you need help locating the box. Some dishwashers may be set up so that you can simply clip the wires inside the line in place. If not, do the following: Attach the black (hot) wire to the black wire in the box by twisting them together with an electrical wire nut. Secure the white (neutral) wire to the white wire in the box with another wire nut. Wrap the ground wire (usually copper or green) securely around the ground screw in the electrical box, then tighten the screw over the wrapped wire. Tuck the secure connections into the dishwasher electric box and close it. It may have screws to keep it securely closed.
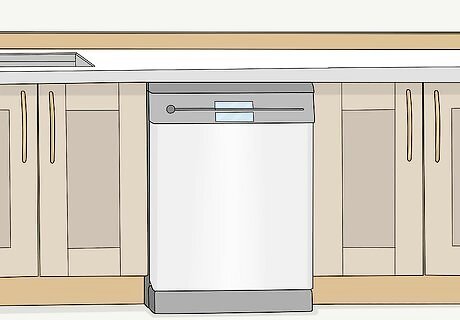
Secure the dishwasher to the cabinet with the provided clips. Check one last time that the appliance is level, even, and in its proper spot, then attach the mounting brackets at the top of the dishwasher to the underside of the countertop. Mark the spots for the screws, pre-drill pilot holes into the underside of the countertop, and use a screwdriver to twist the screws into place. If you have stone or solid surface countertops, check the dishwasher manufacturer’s instructions for the proper way to secure the unit in place. Now you’re ready to turn the water and power on, check for leaks, and—if you’re leak free—run your built-in dishwasher!


Comments
0 comment