views
Installing a Wire Trellis on a Fence
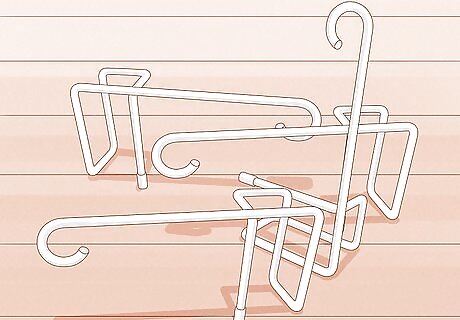
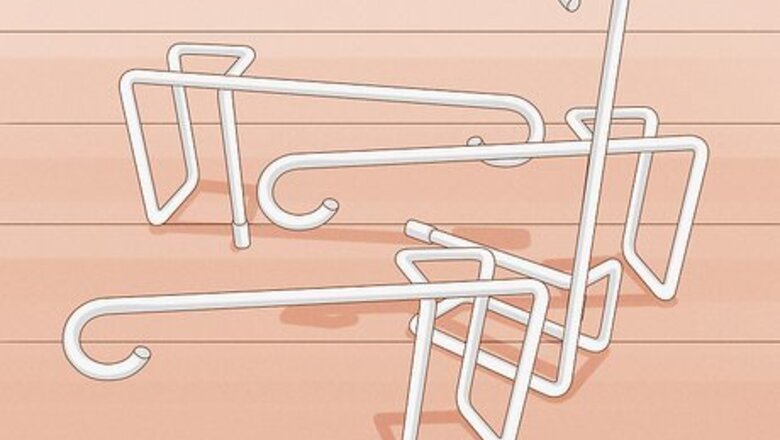
Buy hanging hooks if you don't want to drill into your fence. If you can't drill into your fence without damaging it, as is the case with vinyl fences, you can purchase hangers that hang on the top of the fence instead of screwing hooks into the fence itself. Look online for utility or gardening hooks that don't need to be screwed in. Purchase 2 hooks online or at a hardware store and hang them over the top of your fence to secure them. These no-screw hooks shouldn't require any further installation. Hanging hooks aren't as secure as hooks that are screwed directly into the fence but they are easier to install.
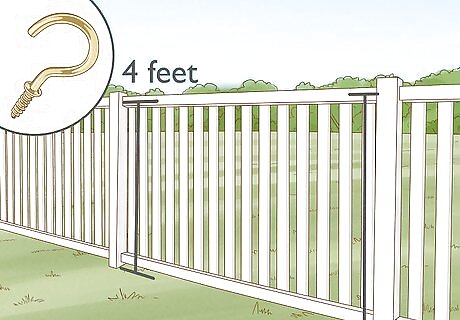
Measure and mark the locations for the cup hooks for a wooden fence. The cup hooks will hold galvanized wire that the vines can wrap and grow around. Go to one end of the fence and measure 4 feet (1.2 m) from the bottom of the fence and make a mark. Make another mark on the other end of the fence. Make the marks on the side of the fence where you want the vines to go. If you have a chain-link fence, you don’t need to install a wire trellis. You should have a total of 2 marks on your fence. You can purchase cup hooks online or at a hardware store.
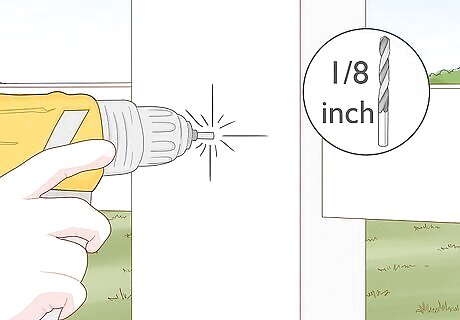
Drill ⁄8 inch (0.32 cm) diameter holes in the markings that you made. Attach a ⁄8 inch (0.32 cm) drillbit to the end of an electric drill. Hold the tip of the drill bit against the marks that you made and pull the trigger to make a hole through the fence. The holes should go all the way through the fence.
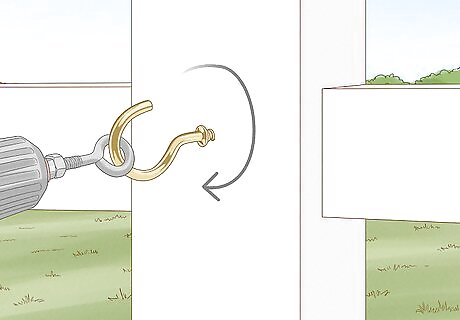
Screw the cup hooks in. Press the threaded end of the cup hook against the hole and twist it clockwise to screw it in. Hold the cup hook straight as you’re screwing it so that it doesn’t go in crooked. Repeat the process on both holes. Rescrew the cup hook if it goes in crooked.
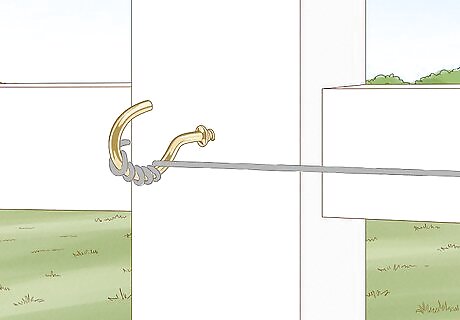
Twist galvanized wire around the hooks. Feed one end of the wire through one of the cup hooks and wrap it around the hook several times so that it’s secure. Then, pull the wire across the fence and attach it to the cup hook on the opposite end of the fence. Pull the wire tight when you are attaching it to the second hook. You can purchase galvanized wire online or at a hardware store.
Planting Vines
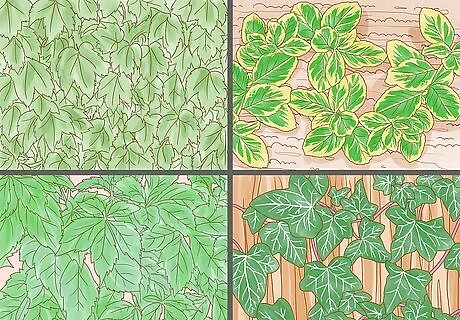
Purchase vine plants from a gardening store or online. Buy potted, pre-grown vine plants from a gardening store or online. The vines should be anywhere from 2–4 feet (0.61–1.22 m) tall. Decide whether you want perennial vines that grow back every year or annual vines that will die off in the winter. Choose the vines that you find the most visually appealing and are suitable for your local climate. Annual vines will typically grow faster than perennials but will die after the growing season. You can use both perennial and annual vines to create a unique combination on your fence. Popular vine species include English Ivy, Wintercreeper euonymus, Virginia creeper, and Boston ivy.
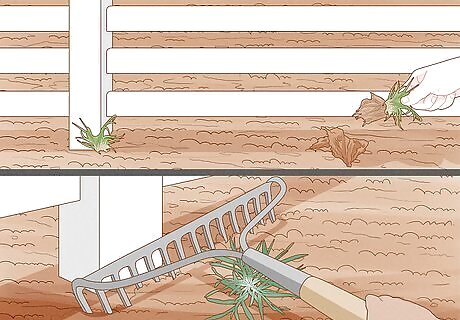
Remove all the weeds from the bottom of the fence. Pull the weeds by hand. Then, use a rake to remove the pulled weeds from around your fence. Removing weeds will allow your vines to thrive and keep your yard looking great. Make sure to remove any dead weeds that you pulled from around the fence or they may grow back. You can compost the weeds or throw them away.
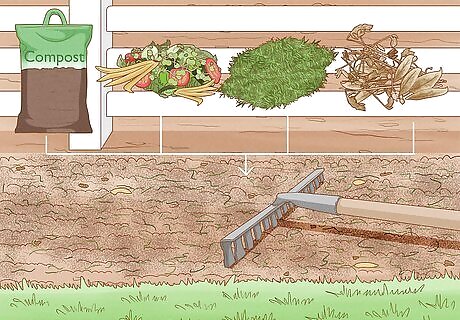
Amend the soil with compost. Till the soil around the fence first if it’s compacted. Lift the top 4 inches (10 cm) of dirt up with a till or shovel. Then, lay down a 2–4 inch (5.1–10.2 cm) layer of compost down on the area around the fence and mix it into the existing soil. Compost will add organic material that's super healthy for your vines. Consider getting a soil sample so that you know which compost is the best for your yard. Examples of compost include dried leaves, grass clippings, and food scraps.
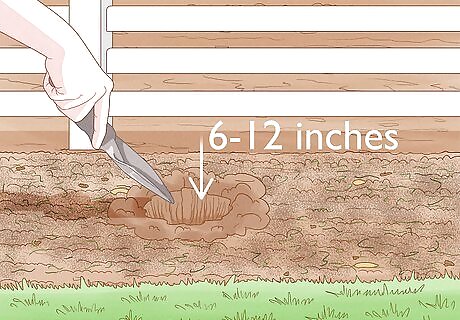
Dig 6–12 inch (15–30 cm) deep holes for your vine plants. Arrange the vine plants equally along the fence so that you know where to dig the holes. Use a shovel to dig 6–12 inches (15–30 cm) into the ground. Each hole should be large enough to accommodate the roots of the vine plant. The hole should be slightly larger than the size of the pot that the vines are planted in.
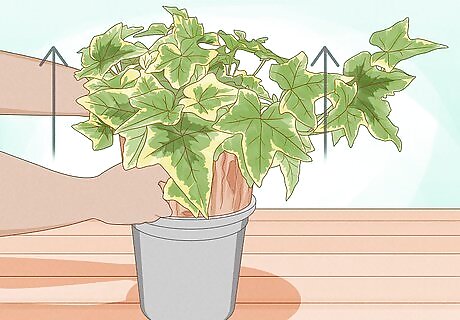
Remove the plants from their containers. Turn the pot over and gently pull down on the base of the plant. This should free the vine plant from the pot. If the roots are compacted to the soil from the pot, tap the roots with a gardening cultivator or claw to loosen them from the dirt. You may have to wiggle the vine to get it out of the pot.
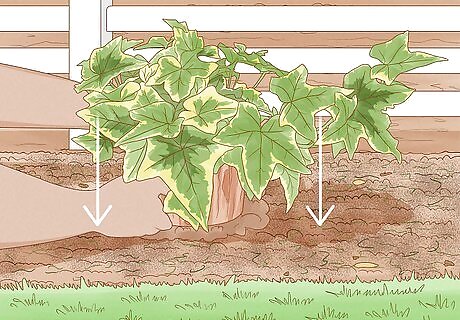
Plant the vines next to the fence. Put the roots of the vine plant into the hole that you dug. The vine plant should be as close to the fence as possible. Once you’ve put the plant in the hole, fill the hole with the soil that you uncovered earlier. If the vine plant is not against the fence, lean it so that the plant rests on the fence. If your vines are already growing on a trellis, you can either remove the plant carefully from it or you can lean the trellis against the fence so the vines will start to climb it.
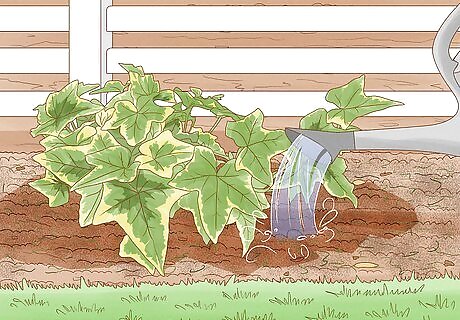
Water the soil. Give the soil around the plants a good soaking so that the water can penetrate the roots. Let the water absorb into the ground and soak the soil one more time. This initial watering will give the vines the best chance to grow strong.
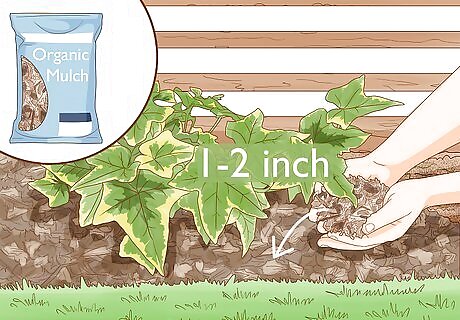
Mulch the soil around the vines. Mulch will aerate the soil, prevent weed growth, and help with water retention. Lay down a 1–2 inch (2.5–5.1 cm) layer of mulch over the soil near your vines. You can use either an organic or inorganic mulch. Mulch will help protect the vines so that they last for the long run. The environment under mulch is ideal for earthworms, which aerate the soil. Organic mulch will inject more nutrients into the soil but has to be replaced or added to every year. Inorganic mulch doesn’t have to be replaced as often as organic mulch, but won’t provide nutrients to the soil.
Training and Caring for the Vines
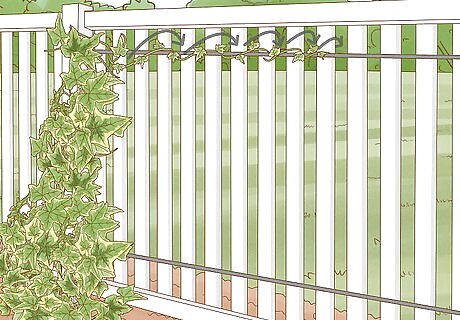
Wrap the vine around the wire. The vines will have curly offshoots called tendrils which will eventually wrap around whatever the vine is growing on. Take one of the branches and extend it in the direction that you want it to grow. Then, wrap the vine around the wire 4-5 times, making sure that the tendrils are catching on the wire. Do this with all of the branches of the vine plant. The branches should stay in place as long as the tendrils wrap around the wire. As the vine grows, it will wrap even more around the wire. If you are putting vines on a chain-link fence, wrap the vine around one of the links in the fence. Do your best to avoid damaging the tendrils or stems of your vine.
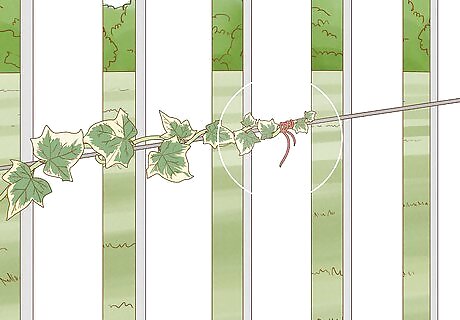
Tie yarn to the end of the vine with a loose knot. Attach the very end of the vine to the hooks on the fence. Make sure not to tie the knot too tight, or it will prevent the vine from growing. The yarn will keep the vine in place as it grows and prevents it from growing in the wrong direction.
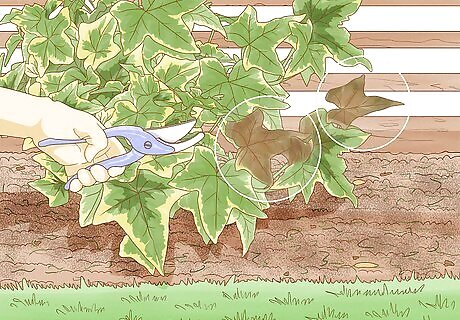
Prune dead or diseased branches. If you see that the leaves or flowers on the vine are discolored, have spots, or have are dried up, it’s a sign that part of your vine plant is diseased or dying. Use a pair of shears to cut the diseased portion of the vines to prevent the disease from spreading. Make your cut above one of the buds or nodes on the vine.
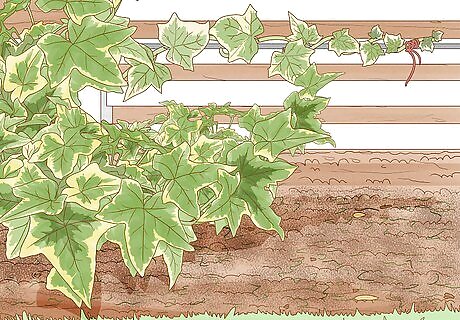
Prune the vines to go in the direction that you want. If your vine plant is growing in an undesired direction, you can prune it back to prevent further growth. Cut away the vine with a pair of garden shears near one of the vine's buds. Leave the branches that are growing in the desired direction alone, unless you want to thin them out. You don't have to cut the vine to the main stem, just cut the portion of the vine that's growing in the wrong direction.
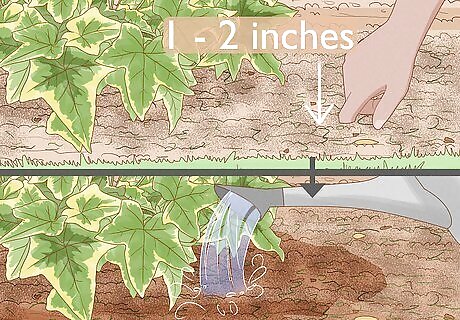
Water the vine roots if it doesn't rain for a week. If there is a drought and it hasn't rained in a week, thoroughly soak the soil around the base of the roots to keep them hydrated. Continue watering the plant once a week until it rains again. Check the soil moisture by sticking your finger 1 to 2 in (2.5 to 5.1 cm) deep into the ground. If it does not feel damp, water your vines.


Comments
0 comment