views
- Install your fence posts and give them plenty of support—use gravel or quick-setting cement to keep them in place.
- Arrange the corrugated metal panels vertically or horizontally and drill them into the fence posts.
- Attach wooden trim to the top and bottom of the fence to give your corrugated metal fence extra support.
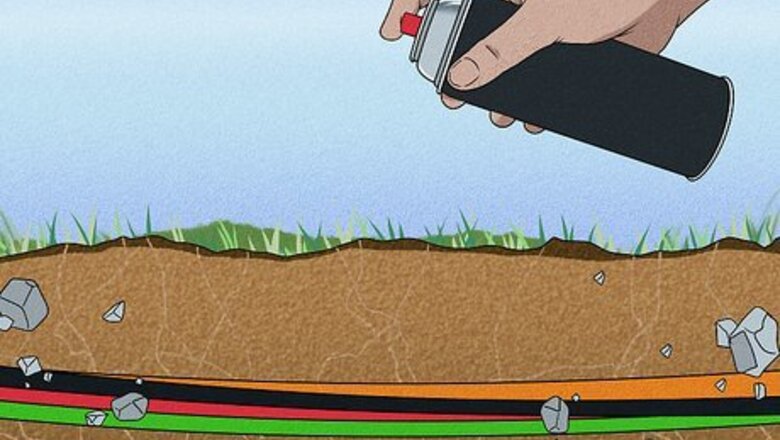
Mark buried utility lines or call your utility company.
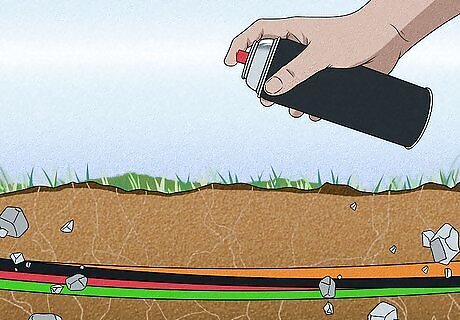
Use spray paint to mark buried utility lines so you don't dig into them. Utility lines are sometimes buried only a few inches below the ground, so it's really important to locate them before you start digging your fence. If you don't know where they're buried, call your local utility company or 811—the national call-before-you-dig phone number. If you have to call the utility company, plan on doing this several days in advance since it might take them time to send someone out.
Drive stakes into the ground to mark the corners of the fence.
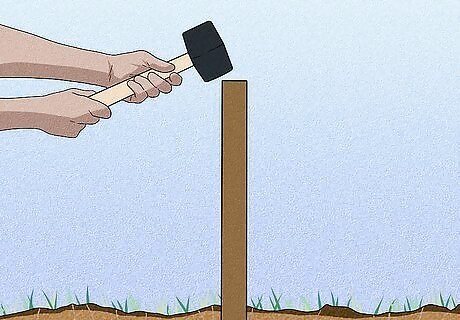
Take a hammer or mallet and drive a stake into each corner of the fence. Install the stakes about 6 inches (15 cm) from where you want the actual corners to be—this gives you space to install the posts. Use metal or wooden stakes and drive them into the ground a few inches. You don't need to go too deep since you're just using them to make a simple guideline.
Run a string between the stakes to mark the fence.
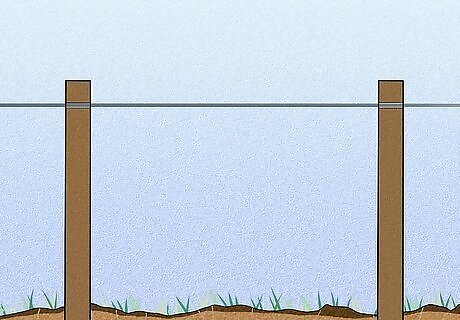
Pull the string taut so you can visualize and measure the fence. Check that the line is straight and right where you want the fence to be. Once you've tied the string between the stakes, use a measuring tape to find the total length of the fence. You'll need this measurement to buy enough corrugated metal panels. For instance, if you're making a fence that's 96 ft (29 m), and the corrugated metal panels are 38 by 6 inches (0.97 m × 0.15 m), you'll need 32 panels.
Dig holes for the fence posts.
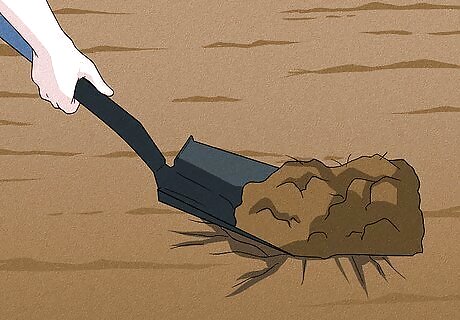
Use a shovel or post hole digger to make holes for each fence post. Create a hole at each corner of the fence and make post holes every 6 to 8 feet (1.8 to 2.4 m) along the fence. Dig the hole so you can bury 1/3 to 1/2 of your post. You can use a shovel, but if you use a post hole digger you'll get the job done faster. Check with your local hardware store if you want to rent a post hole digger. It's fine to make the hole a few inches wider than the posts, so you have space to fill with gravel or cement.
Place gravel and the posts in each hole.
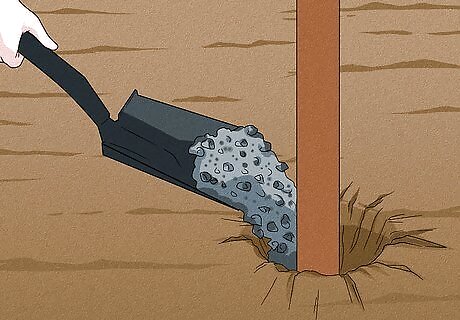
Put 6 in (15 cm) of gravel into the hole to drain water. If water stays trapped near the base of the post, it will rot faster. Use the bottom of the post to tamp the gravel down. Then, stick the post in the center of the hole. It helps to have another pair of hands to do this—one of you can center the post while the other finishes filling in the hole. Your posts can be as tall as you like, but they need to be at least 4 ft (1.2 m) high.
Fill in the post hole with concrete and let it harden.
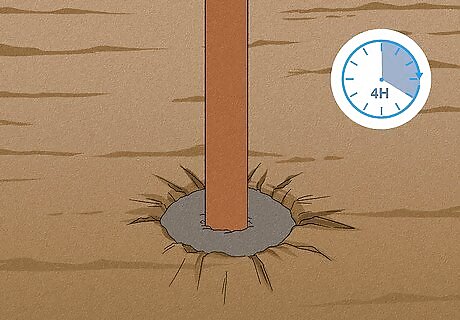
Pour quick-set concrete around the post and soak it with water. Stop adding the dry concrete mix once it's 3 to 4 inches (7.6 to 10.2 cm) below ground level. Slowly pour 1 gallon (3.8 L) of water over the mix so it saturates the powder. Then, wait 4 hours for the concrete to set and harden. In general, you don't have to mix quick-set concrete after you add the water. Ask a friend to hold the pole steady while you fill in the rest of the hole with quick-set concrete—this ensures the post won't move and gives your fence extra stability.
Attach the support beams horizontally between the posts.
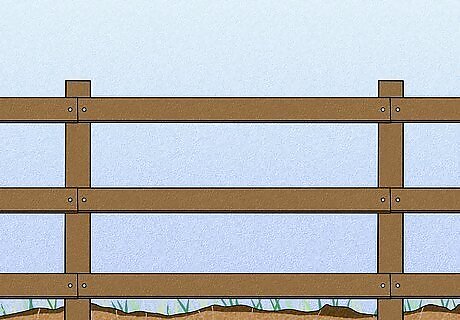
You'll need 3 2 ft × 4 ft (0.61 m × 1.22 m) boards for between each post. Get a friend to help you hold a 2 ft × 4 ft (0.61 m × 1.22 m) between 2 posts at the bottom and check that it's level. Then, use your power drill to screw the board to the posts, and attach another board at the middle point and top of the fence. Repeat this between each of the posts—you'll use these support beans to secure the corrugated metal frames. It's a good idea to go with pressure-treated wood for the posts and support beams. It's treated with preservatives, so the wood lasts longer and resists fungal rot.
Predrill along the edges of your corrugated metal panels.
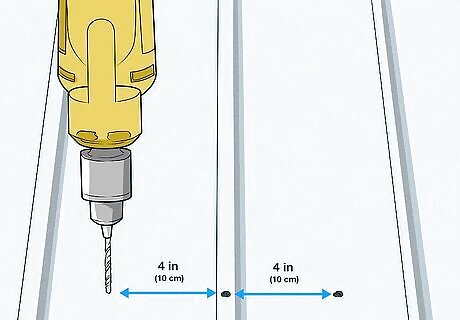
Stack your corrugated metal panels and pop on safety glasses. Most corrugated metal panels are 2 feet (0.61 m) wide and they vary in length, so buy enough panels to cover the area of your fence. Then, stack the panels and predrill a hole about every 4 inches (10 cm) along each side where you'll attach the panel to the fence posts. Although you don't have to predrill the panels, you'll find it a lot easier to attach the panels to the posts if there are already holes in the metal.
Attach the metal panels to the fence supports.
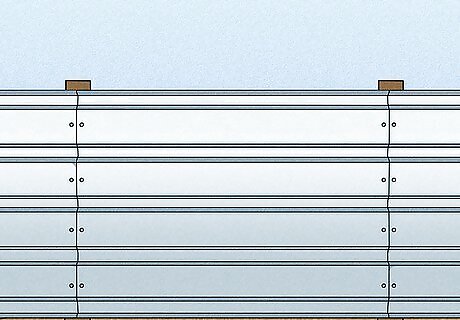
Arrange a panel vertically or horizontally and ask a friend to hold it. If you're going with vertical panels, start at the rightmost post and screw the panel to the fence post and wooden supports. Then, place another panel next to the first so it overlaps by about 1 in (2.5 cm) before you secure it. If you're going horizontal, install the panels from bottom to top to ensure that they're level. Use flat-headed screws designed to go through metal. Feel free to paint the posts and support pieces to style your corrugated metal fence. For instance, white wood will really make the corrugated metal fence appear stylish and modern, while a deep stain can make the fence look more rustic.
Add a trellis or arbor elements to the top of the fence.
These elements make your fence more visually interesting. From a design perspective, it's usually a good idea to soften construction materials using plants, and corrugated metal can be quite loud in the landscape without plantings around it. You might also consider planting shrubs near the fence or growing plants on the fence itself. If you grow vines on the actual fence, make sure that the fence structure is strong enough to support their growth. It's also important to prune the vines annually to control growth.


Comments
0 comment