views
Obtain a sample of mussel embryos.
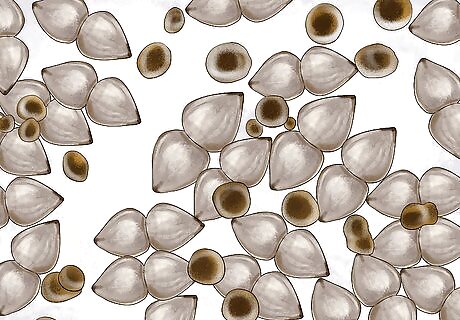
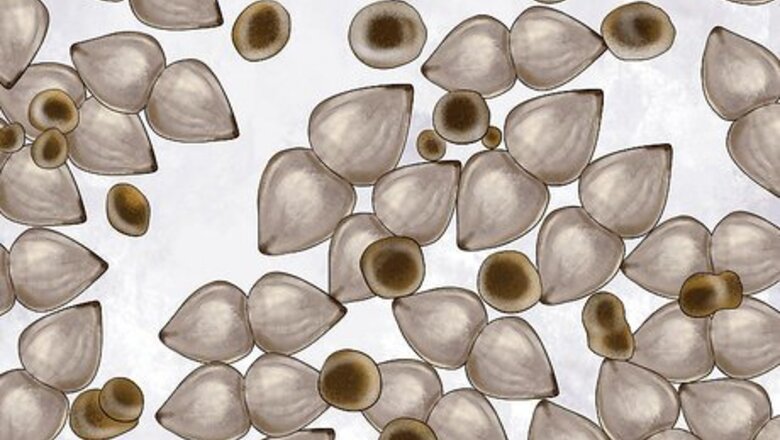
These are called glochidia. When female mussels reproduce, they release small clumps of fertilized egg larvae, or glochidia. In order to farm freshwater mussels yourself, it will be necessary to get your hands on a fresh glochidia sample. You’ll then be able to raise the larvae to fully-grown mussels in a highly controlled environment. Contact your local fish hatchery or Fish and Wildlife Services office to see if they can help you find fresh mussel glochidia. The aquatic studies department at your area university might also be able to furnish you with a sample. The farming of freshwater mussels is often closely linked to regional conservation efforts. For this reason, you may have to get special permission from your local government before you can raise mussels in captivity.
Test the glochidia's viability with salt.
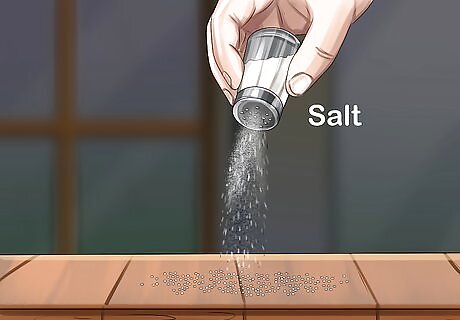
The ones that are viable will respond to the salt. Place the glochidia samples on a clean, flat surface and sprinkle each one with a few grains of ordinary table salt. Healthy glochidia will close around the salt particles and begin absorbing them slowly. The larvae that aren’t viable will close very slowly, or may not close at all. Dispose of any glochidia that don’t respond when exposed to the salt. Salt is used to simulate the chloride found in the blood of host fish that share rivers and stream with freshwater mussels. Glochidia feed on this chloride until they reach maturity.
Set up a freshwater tank or pen.

Try to replicate their natural riverbed environment. Cover the bottom of the tank with sand or silt collected from a nearby river or another body of water and fill it with fresh, unchlorinated water. The tank itself should be big enough to house a small number of fish, which will play host to the developing glochidia. If possible, incorporate other natural features as well, such as rocks, moss, and algae. The more closely your specimen tank resembles a riverbed, the more hospitable it will be to growing mussels.
Add the glochidia to the tank with freshwater fish.
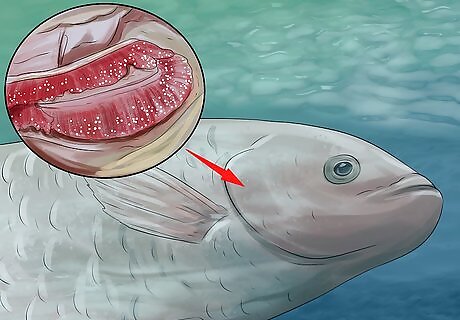
The fish will act as hosts to the glochidia. Release the viable glochidia into the water along with 2-3 fish specimens sources from a regional body of water. The larvae will attach themselves to the gills of the fish, where they’ll live as parasites until they’re large enough to survive on their own. It’s not necessary to place the glochidia on the gills of the host fish yourself—they’ll find their way there when the fish attempt to eat the larvae and scatter them throughout the water. Each species of mussel requires a different host in order to reproduce successfully. Consult with a local wildlife expert to find out which species of fish the mussels in your area naturally seek out as hosts.
Wait for the mussels to reach maturity.
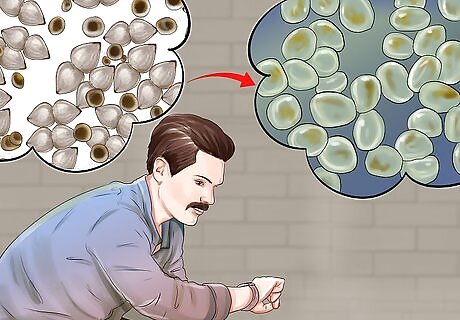
The glochidia may live on the gills of the host fish for days or weeks. Once they become large enough, they’ll drop off and sink to the bottom of the tank. There, they’ll burrow into the sandy floor and begin feeding on the bacteria and sediment found there. In some instances, freshwater mussels have been known to remain with a host fish for as long as 18 months.
Leave the mussels in the tank for several months.
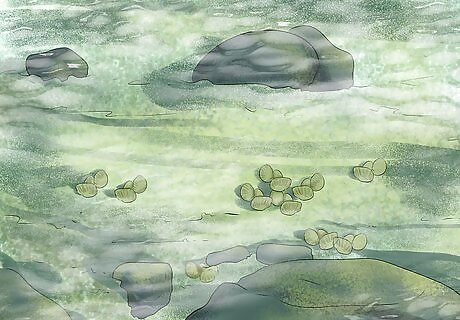
Monitor the development of the mussels over the following weeks and months. There’s quite a bit of variety in the size of freshwater mussels, but some of the largest species reach lengths of up to 11 inches (28 cm), and can weigh as much as 5 pounds (2.3 kg)! In their natural habitat, freshwater mussels feed on microscopic bacteria and other organic matter. When raised in tanks or pens, however, it may be necessary to use algae or phytoplankton to supplement their diet.
Equip yourself with a few coils of mussel rope.
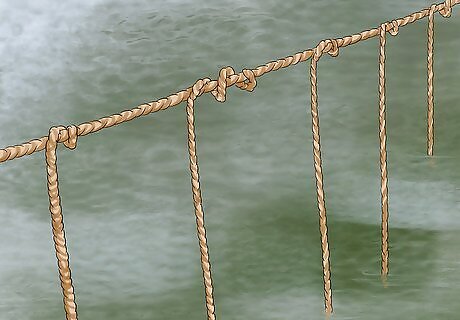
Mussel ropes are designed to snag microscopic mussel spawn floating by in a moving current. They come in many different styles, including “Christmas tree,” which features long bristles that provide extra surface area, and “Aquasteel,” a dense braided rope that holds up through many seasons of prolonged submersion. Take the time to shop around for a style of rope that works best for your operation. If you’re interested in farming mussels yourself, all you need is a frayed rope and pole or platform to secure it to.
Add buoys to your farming area.
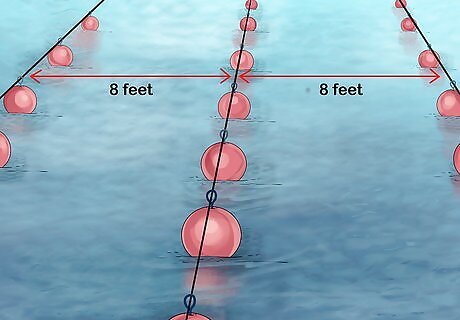
Arrange the buoys in rows. Leave 6–10 feet (1.8–3.0 m) between each row to provide ample room to maneuver your boat. The buoys will be used to fasten and anchor the mussel ropes, ensuring that they aren’t swept away by the current. Depending on where you live, a special business permit may be required in order to deposit buoys or claim commercial waters for farming space.
Attach the mussel ropes to the buoys.
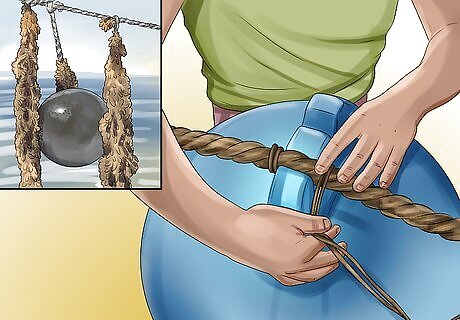
Join the buoys with thick steel cable. You’ll then use small clamp lines connect each length of mussel rope to the main line so that they’re suspended vertically beneath the surface of the water. You can hang your mussel ropes in straight lines or in long, loose loops, which may be easier to manage if you have multiple ropes situated side-by-side. However you choose to configure your mussel ropes, it’s important that they be free of twists, tangles, or kinks when you lower them into the water. The straighter the rope, the more mussels it will hold.
Submerge the ropes so they'll attract drifting mussel spawn.
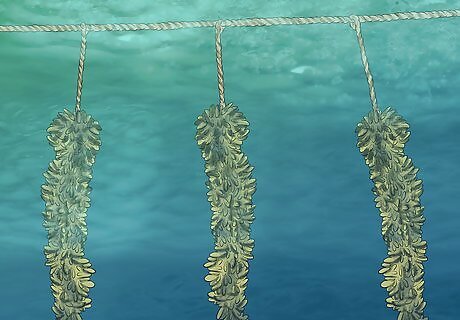
Mussels in the wild naturally latch on to whatever objects they come across underwater in order to have a stationary place to grow. Mussel ropes therefore serve as a far easier method of gathering shellfish than fishing nets or harvesting by hand. Once the ropes are in place, you’ll be able to easily pull them and inspect them at any time.
Allow the mussels to grow to roughly 4 inches (100 mm).
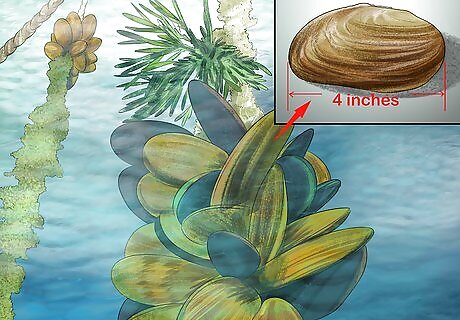
This will take about 2-3 years. At first, the mussel larvae that attach themselves to your ropes will be much too small to see. Over time, you’ll begin to notice the tiny spawn growing larger. They’ll need to reach a length of at least 3–4 inches (7.6–10.2 cm) before they’re ready to be harvested. Check your ropes regularly (daily, if possible) to keep close tabs on the mussels growing on them.
Pull up the ropes when the mussels are ready.
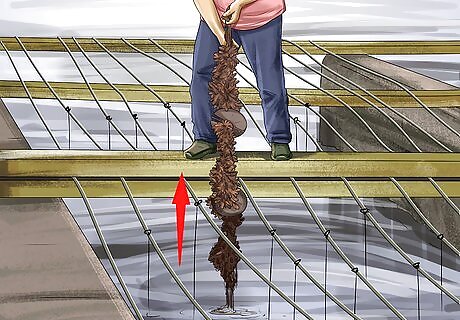
You made it to harvest time! Once the most of the mature mussels measure 4 inches (10 cm), use a tow cable or hand hook to remove the ropes from the water. You can then harvest the mussels and prepare them to be cleaned, sorted, or taken to market. If necessary, spray the mussels with a hose to rinse off any accumulate dirt, silt, or algae prior to harvesting.
Strip the mussels from the ropes.
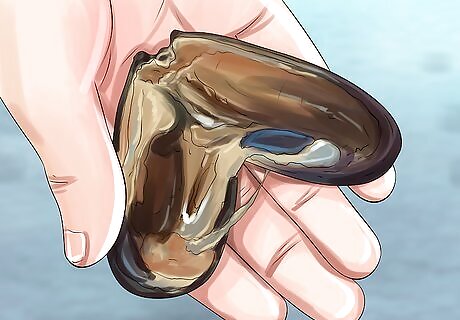
You can do this by hand or machine. If you break up clusters of mature mussels by hand, be sure to wear gloves to avoid cutting yourself on any partially-opened shells. You can also feed the entire rope through a de-clumping machine to separate them more efficiently. Have a bin or similar large container on standby where you can deposit the loose mussels as you remove them.


Comments
0 comment