
Trimming a Video
Open the Photos Mac Photos App app on your iPhone. Videos you've captured with your iPhone can be found in this app.
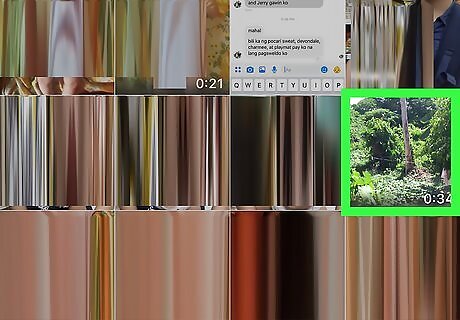
Tap the video you want to edit or trim. Trimming your video will allow you to cut out and remove any unnecessary or redundant portions of the video. To browse all videos on your phone, scroll down and tap Videos under the "Media Types" header.
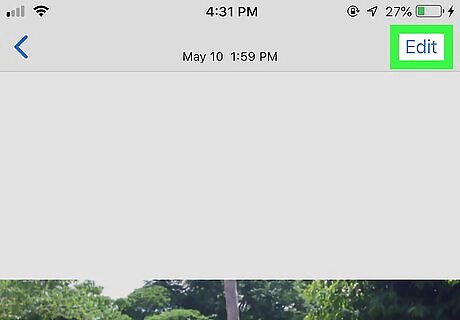
Tap Edit. It's at the top-right corner of the open video. This places the video into editing mode. When the video is in this mode, you'll see a bar running along the bottom of the screen that shows stills from the video in order.
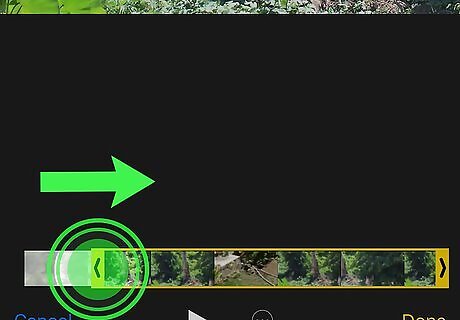
Drag the left-arrow to place you'd like the video to begin. If you want to cut the beginning off of the video, you can tap and drag the arrow at the bottom-left corner of the video to a new starting point. Tap Play icon (the white triangle at the bottom) to see a preview of the video's new starting point. If you're unsatisfied, keep dragging that arrow until you're at the right spot.
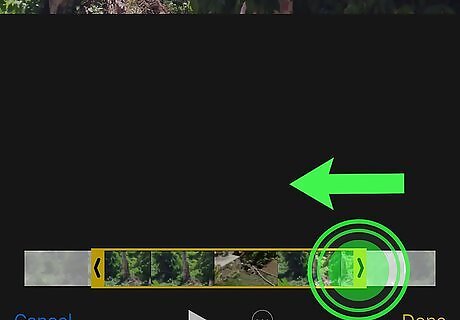
Drag the right-arrow to the desired stopping point. It's at the bottom-right corner of the video. Tap the Play icon again to see a preview, and make any necessary changes. The part of the video that will remain after you trim is the part inside the yellow box.
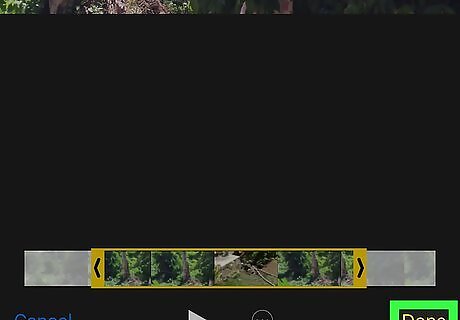
Tap Done to trim the clip. It's at the bottom-right corner of the screen. Some options will expand at the bottom.
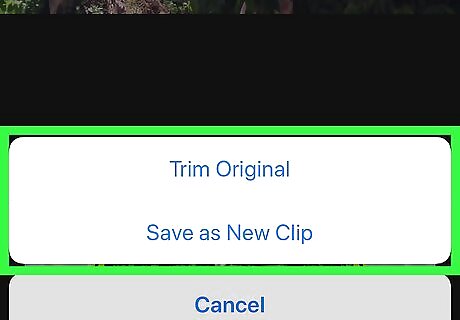
Tap Trim Original or Save as New Clip. The first option will save over the original video file with your new changes. If you don't want to modify the original video file, select Save as New Clip to create a new, separate file for the trimmed video.
Using iMovie for Advanced Editing
Install iMovie on your iPhone. You can download iMovie free from the App Store to do more advanced editing, such as adding text, filters, and music to your movies.
Open iMovie. It's the purple-and-white star with a movie camera on your home screen.
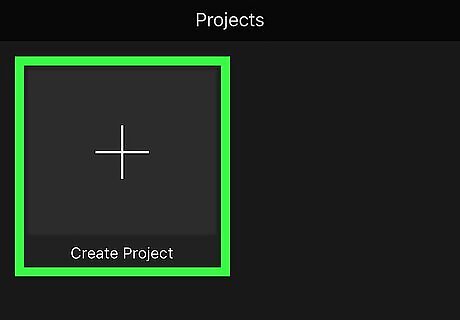
Tap the plus + to create a new project. A project is a file to which you can import videos for editing. Two options will appear.
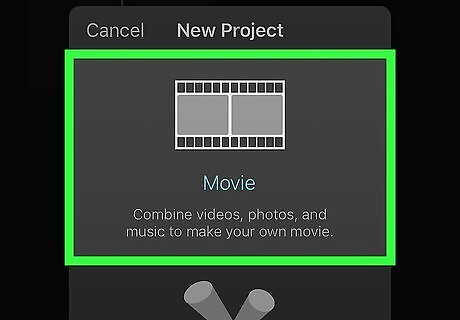
Tap Movie. Now you'll see a list of videos on your iPhone.
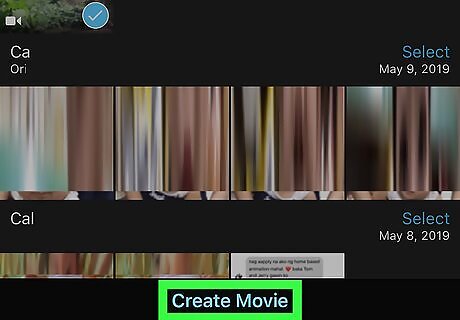
Select one or more videos and tap Create Movie. It's okay to edit a single clip, but you can also use your project to join multiple clips into a single movie. You even have the option to add photos. Once the project is created, you'll be brought to the editing screen. To add more videos and photos to the project, tap the + at the top-left corner of the timeline, then select the media you'd like to add. To remove a video from the project, tap it and select Delete. To duplicate a video project, tap it and select Duplicate.

Trim and split the video(s). You'll see a preview at the top of the screen with a timeline below. If you added more than one video to the movie, you'll see that each clip is separated by an icon of two arrows in the timeline. You have some options for editing each individual clip: Trim: Tap the clip you want to edit to select it. This highlights it with a yellow box. Then, drag the yellow bar on the left to the desired starting position, and/or the yellow bar on the right to the desired endpoint. Split: To split a video into two separate clips, select the clip on the timeline, then drag it until the white vertical line bisects it at the right spot. Tap the clip once to bring up the tools, tap the video in the timeline, and then tap Split.
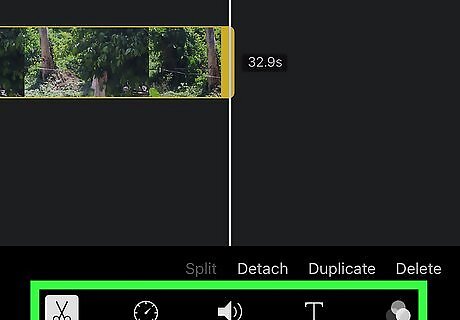
Add text, filters, and effects. iMovie offers many ways to personalize your production: To add text, filters, and effects to a single video clip, tap that clip first, and then use the icons at the bottom to make your edits. Some of the options are: Tap the T at the bottom to add text. In addition to selecting a font style, you'll have the option to choose where on the screen the text appears. Tap the three overlapping circles at the bottom-right corner to add color and lighting filters to the selected clip. Use the speedometer icon at the bottom to change the playback speed of the selected clip. To add a filter and/or theme to the entire movie, tap somewhere on the area above or below the timeline to deselect the clip, tap the gear at the bottom-right corner, and then choose your desired filter and/or theme options.
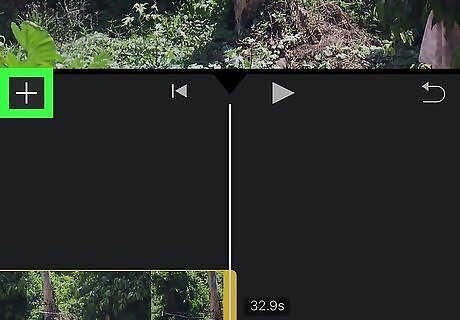
Add audio. To add music or sound effects, tap the + at the top-left corner of the timeline, select Audio', and then browse for the right tune. If you want to add your own voiceover, choose Voiceover instead to open the microphone.
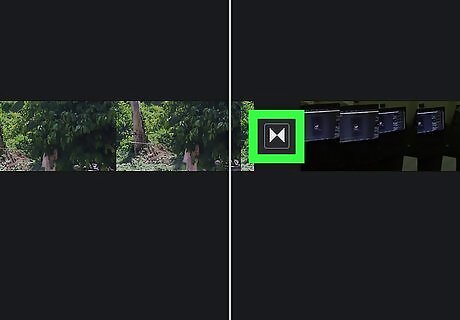
Edit transitions between video clips. If you've added more than one clip, you can tap the double-arrow icon separating two clips in the timeline to change the transition effect.
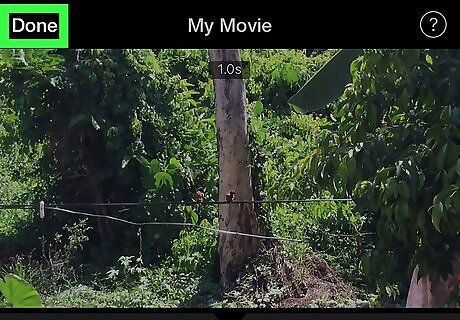
Tap Done to save your work on the project. It's at the top-left corner. This saves your video project so you can continue to edit it whenever necessary, although your finished movie is not yet created.
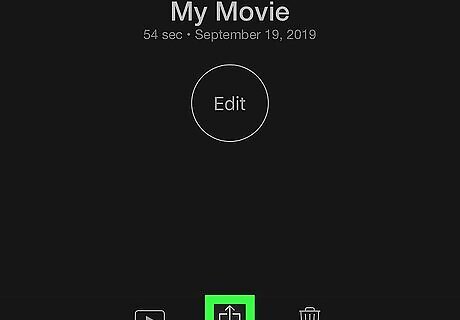
Tap the Share iPhone Share icon to save your finished movie. Although your project file is created, you'll still need to create a video file. Several icons will now appear at the bottom.
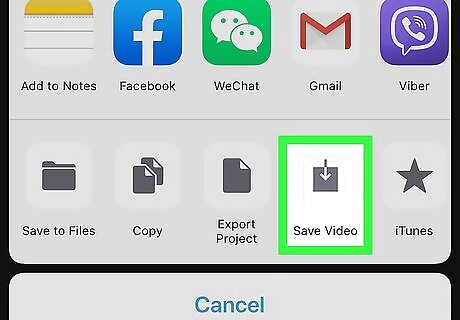
Tap Save Video. It's in the bottom row of icons.
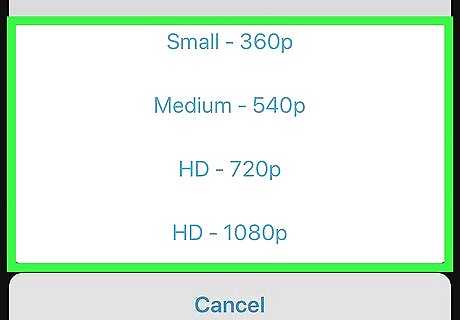
Select a video quality. The different numbers you see here represent the quality and size of the finished video file. The larger the number, the higher the quality (and the larger the file size). Once you make your selection, iMovie will export the project to a video file in the selected quality. The video will then be saved to your Photo Library.


Comments
0 comment