
Creating Your Staining Solution
Obtain some fine steel wool. A grade #0000 steel wool pad from the hardware store dissolves most easily because of its high surface area per gram. There is no need to clean the wool or tear it into pieces. Simply unroll the steel wool pad to reveal 6 segments, and remove two segments (about 4 g) using scissors.

Mix the steel wool and vinegar in a glass jar. Place the piece of steel wool in a wide-mouthed glass or plastic vessel, and add 1½ cups (about 340 mL) of distilled white vinegar. A glass canning jar or plastic cup work well. Don’t use a metal container, as metal might interfere with the process, and avoid apple cider vinegar that often yields poor results.
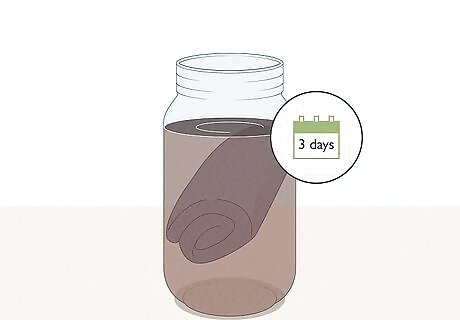
Let the steel wool and vinegar react for three days. Mix the solution initially and then every 12-24 hours. Leave the container uncovered for good contact with air and to allow escape of the hydrogen gas produced. The chemical reaction between iron and acetic acid is Fe(solid) + 2CH3COOH(solution) H2(gas) + Fe(CH3COO)2(solution). After three days about half of the iron will have reacted/dissolved, and plenty of iron acetate is in solution.
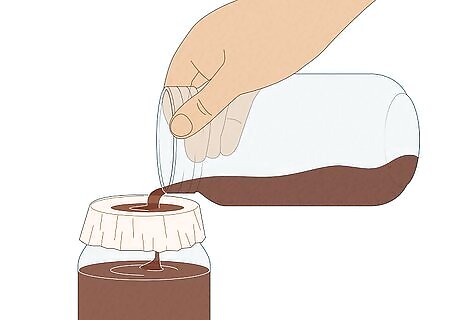
Filter the solution through a coffee filter. Use a rubber band to attach a coffee filter to the top of the jar. Pour the contents into another non-metal container to remove the remaining steel wool and to collect a fairly clear, light green to yellow solution. Discard the filter and leftover solids. The solution (in contact with air) will turn red-brown over time as the iron acetate Fe(II)(CH3 COO)2 oxidizes to basic iron acetate. [Fe(II)Fe(III)2O(C2H3O2)6 (H2O)3 ]CH3COO. Both types of iron acetate salts will react with tannins to darken the wood. Discard the leftover solids after straining the solution.
Preparing the Wood
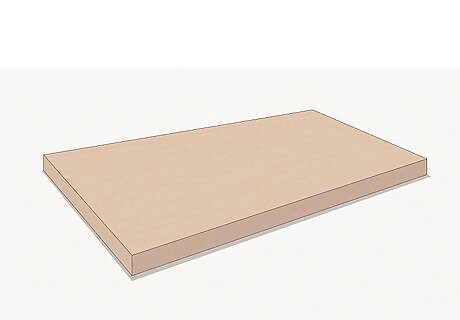
Choose a fine grain wood for a more authentic look. Ebony is a fine wood with an almost invisible grain. Go with the finest grain wood available to mimic ebony’s look. Even if it’s a lighter wood and will require more coats, the finished product will look more authentic. Less grainy woods like Northern White Cedar or Hemlock are better choices than oak and other grainy woods.
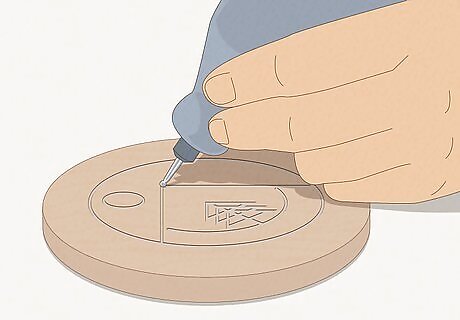
Complete routing and other machining before ebonizing. The staining process will primarily affect the wood’s surface. Routing, carving, cutting, and other machining will likely expose untreated layers of wood. You’ll have to start from scratch if you don’t complete machining before ebonizing.

Raise the wood’s grain before applying the stain. The ebonizing process involves exposing the wood to lots of moisture, so you’ll have to prepare it by raising the grain. Brush water onto the surface and let it dry. Once it's dry, you'll see tiny, fuzzy whiskers of raised wood.
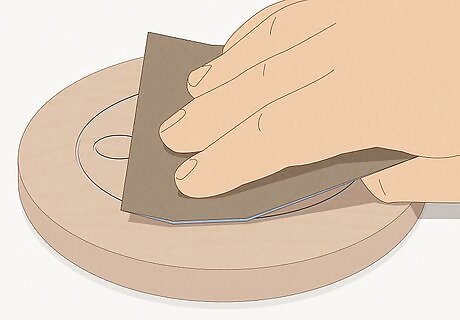
Sand the raised grain. After you've raised the grain, gently sand it away using 220-grit sandpaper. Use a light touch so you don't burnish the wood, or make the surface too smooth for the stain to absorb. For best results, raise and sand the grain twice before ebonizing.
Applying the Stain
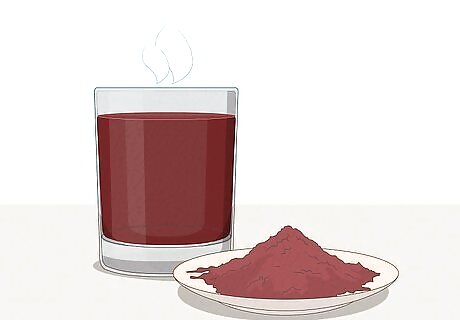
Brew strong tea to form a reaction with the iron solution. Mix a heaping tablespoon of quebracho bark tea powder with a pint (about half a liter) of hot water until it’s fully dissolved. The tea will add tannins that will chemically react with the iron staining solution. You can find quebracho bark powder online. While it’s great choice because of its high tannin content, you can also just use strong black tea or coffee.
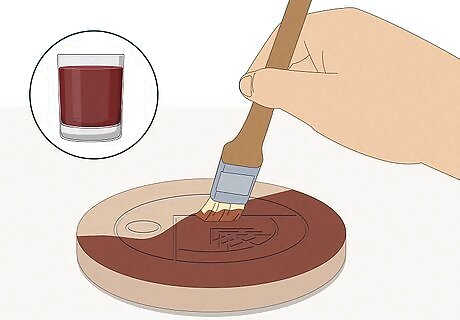
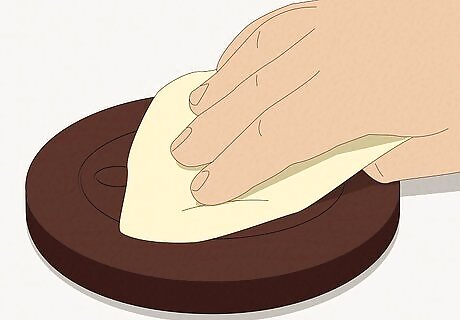
Apply the tea to the wood. Use gentle strokes (instead of hard rubbing) to liberally apply a coat of tea to the wood, and allow it to soak through the surface. Spread out or blot any spots where excess tea has started to pool so the application is as even as possible. If you leave a pool of excess tea on the surface, the colorizing reaction won't penetrate into the wood and the final color might look uneven.
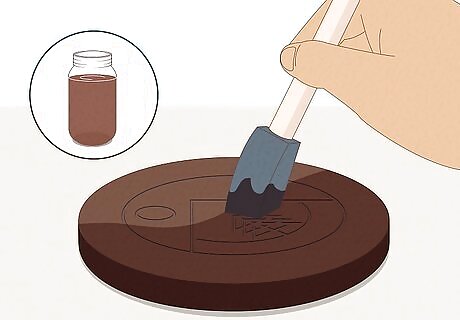
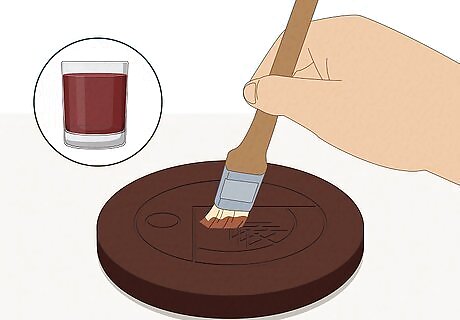
Use a foam or bristle brush to apply the stain. Give the tea five or ten minutes to soak, but apply the staining solution while it’s still damp. Apply the stain using light, uniform strokes, and look at the surface from multiple angles to make sure you’ve covered it evenly. Don’t use the same brush that you used to apply the tea, and try not to cross-contaminate the two liquids. If you don’t keep them separate, the ebonizing reaction will occur in your jars or on the brushes instead of within the wood.
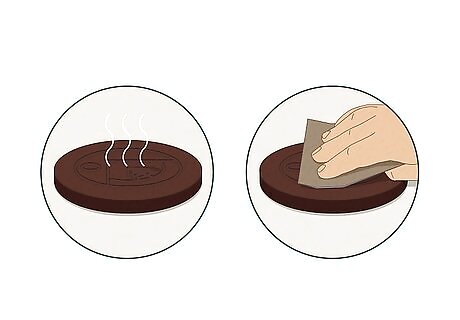
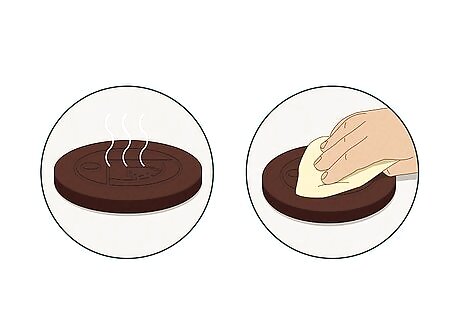
Let the stain dry then lightly sand. Give the stain a few hours to dry after you've applied the first coat. When it's completely dry, lightly sand it with fine grit sandpaper. Don't use hard pressure or make the surface too smooth, or the next coat won't absorb well. A light sand will make the surface receptive to the next coat, but a hard sand will smooth the surface too much for the stain to absorb.
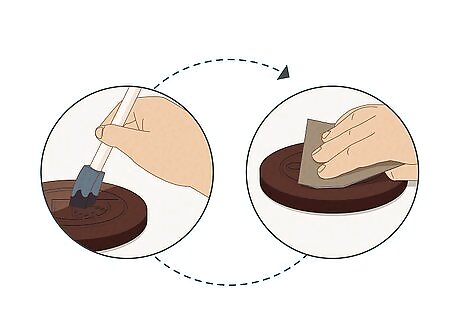
Repeat the application process until you’ve achieved your desired color. Reapply coats until you've created an opaque, deep black color. Be sure to let each coat dry and lightly sand before applying more stain. The number of coats necessary will depend on the starting color of your wood. For example, black walnut is darker and has more natural tannins than red oak, so it'll require fewer coats. You might find that you've reached your overall desired color, but there's some chalkiness. A final tea rinse will get rid it and deepen the color.
Buff gently with a clean, dry rag. After you’ve applied the last coat and allowed it to dry, lightly buff the surface with a clean, dry rag. This will polish the wood and remove any loose iron deposits. Buff the surface until its sheen is even, then it’ll be ready for one last coat of tea.
Apply a final tea rinse. A final tea wash will eliminate any chalkiness in the color, resulting in an intense, natural look. Brush the wood with the last tea coat and let it dry completely.
Buff one more time after the tea is dry. The wood should be dry one to two hours after you apply the final tea wash. When it's completely dry, buff the surface once again with a clean rag for a final polish.


Comments
0 comment