
views
Drying Gourds in the Field
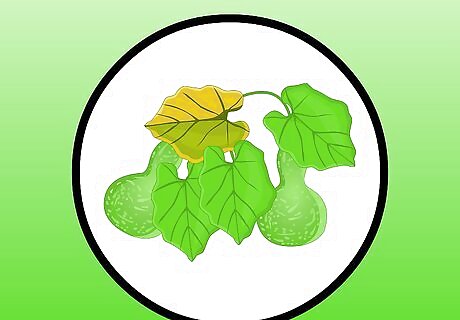
Leave the gourds on the vines where they grow. Mature gourds can handle frost and can even withstand a few cycles of freezing and thawing. As the plant turns brown and dies, the gourds dry and fall off. If the gourds have matured by the end of the growing season but have not had time to dry, you can leave them on the vine over winter. When the snow melts and exposes them in the spring, they will continue drying where they left off in the fall. However, there is a risk that they will rot if you leave them over winter.
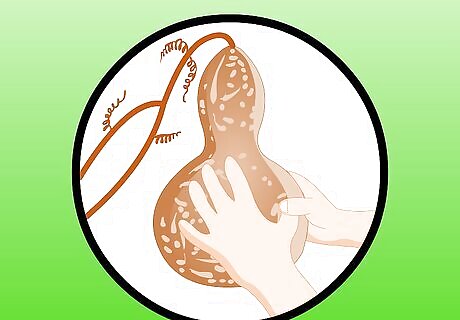
Pick up a gourd and shake it. Dried gourds are lightweight and hollow. Listen for the sound of seeds rattling around inside. Sometimes, however, the seeds stick to the inside of the gourd before drying and do not rattle. The seeds can be used for other uses as stock.
Gather the gourds from the field when they are fully dry. If they are still attached to the plant, you can cut the vine flush with the gourd or leave a piece of stem intact--leaving the gourd is purely ornamental when you dry the gourd on the vine.
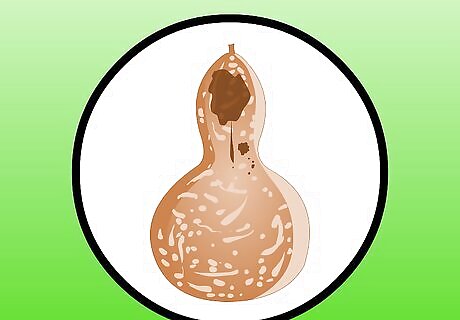
Compost any gourds that started to rot before fully drying. No matter how you choose to dry gourds, a small percentage of them will always rot--be prepared for this.
Drying Gourds off the Vine
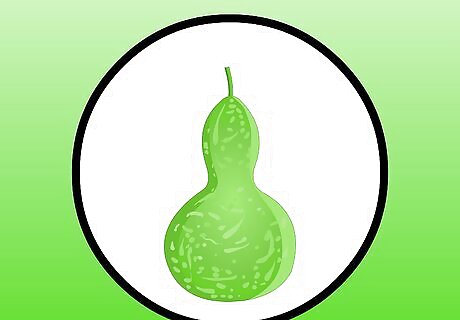
Cut the mature gourds off of the vines when the leaves and stem begin turning brown. Use sharp pruners to make a nice, even cut. Leave 1 to 2 inches (2.5 to 5 cm) of stem attached to each gourd. Leaving this bit of stem is important because it helps with the evaporation of water. The skin of the gourd is hard and non-porous, so the porous stem is necessary to let moisture escape from the gourd. If you have gourds that are considered immature (it is fleshy and bright green) and are concerned that the first frost will kill them, cut them from the vine and use them as temporary decorations. You generally will not be able to dry these gourds. You can also leave them on the vine--occasionally they will be hardened by the frost rather than killed.
Wash the gourds with warm soapy water. Doing this removes bacteria and helps prevent rotting. You can also soak them for 20 minutes in a solution of one part household bleach and nine parts warm water.

Rinse them with clear cold water after washing or soaking. This will get rid of any residual soap or bleach.

Choose a spot outdoors where the gourds can sit and dry. The gourds can dry in a cold location, but keep in mind that repetitive freezing and thawing can often damage the seeds inside the gourds. In turn, damage to the seeds will make it so that the seeds cannot be replanted. You can also dry gourds in a garage, barn or inside of the house, but they will get the best air circulation if you allow them to dry outside. It may take several months for the gourds to dry fully. Keep in mind that large quantities of drying gourds give off an unpleasant odor. If you dry them inside your home, it will take some time to get rid of the smell.
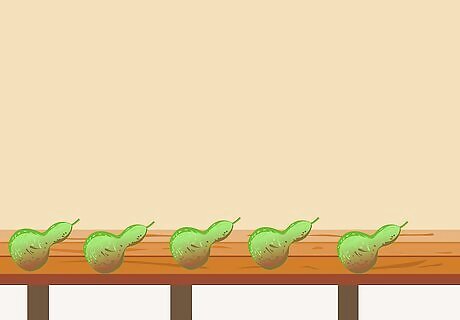
Lay the gourds in a single layer on an elevated surface. The surface should be a structure like a wood pallet. Elevating the platform allows for increased air circulation--the air will be able to circulate around them from every direction.
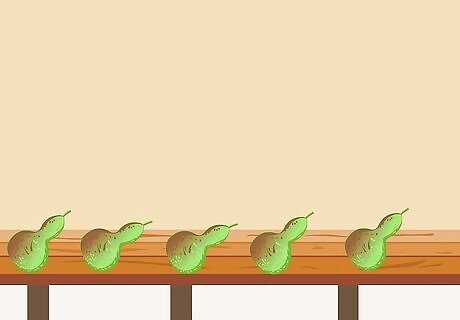
Keep in mind that drying time varies. Depending on the size of the gourd, it could take from six weeks to a whole year to dry fully.
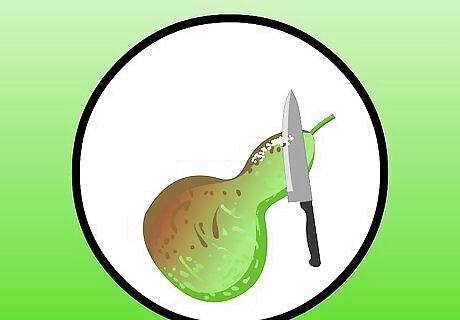
Remove any mould that grows. Use the dull side of a butter knife to scrape the mould off. You can also wash mould off with a rag. If a gourd becomes soft, you will have to throw it out.
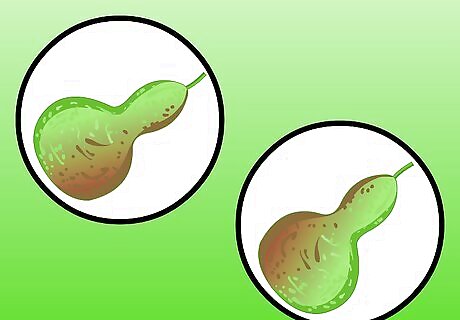
Rotate the gourds. Turn the gourds over once every 1 to 2 weeks to expose the bottom to air.
Hanging Gourds to Dry
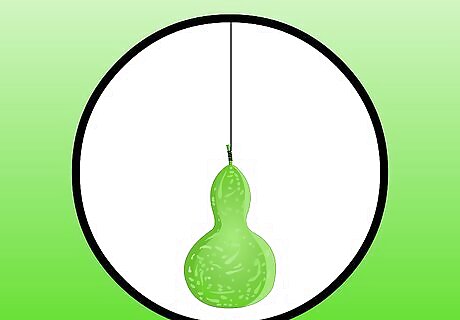
Hang gourds from the stalk. If you only have a few gourds to dry, tie a string to the stalk and hang them from tree branches to dry. You can also hang gourds in well ventilated buildings, or along fences. Hanging them on fences can give your yard a festive fall look as well.
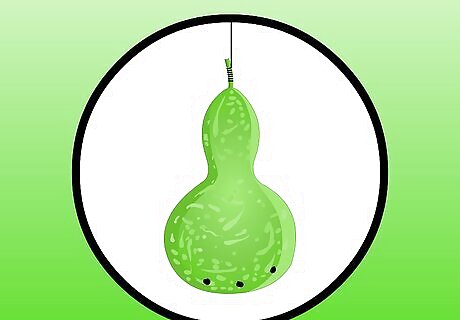
Use a nail to puncture two to three small holes in the end of the gourd. This is an optional way to dry gourds by hanging them. Run a string through the holes and hang the gourds upside down. Be aware that puncturing the gourds may lead to mold growth inside of the gourds.
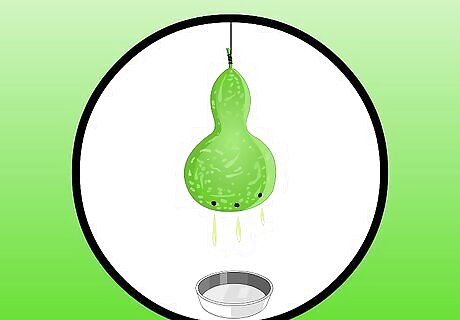
Put a drip pan or newspapers under hanging gourds to catch the dripping fluid. If you don't mind having holes in your dried gourd, this may speed up the drying process.
Greenscaping Gourds
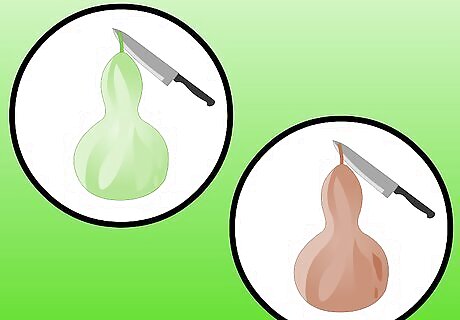
Know the pros and cons of greenscaping. Greenscaping is a controversial process. Some growers recommend it to speed the drying process and decrease the chance of dark mold staining. Other growers say greenscaping, or doing anything to the surface of the gourd before it is fully dry, increases the risk of damage and infection.
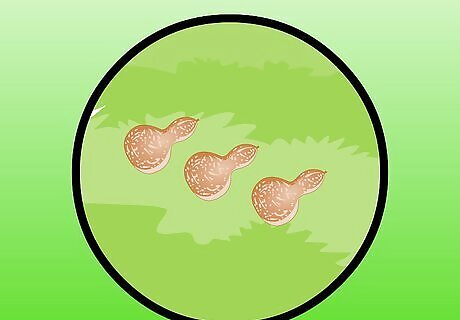
Let the gourds dry after they have been harvested. Only dry them for a few weeks (they will only become slightly dried.)
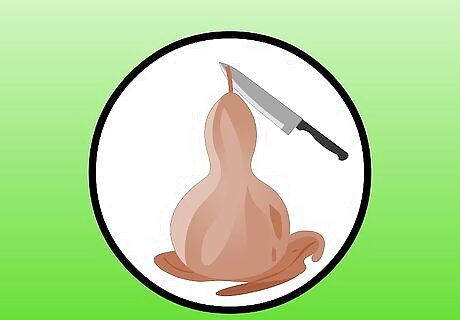
Use a dull kitchen butter knife to gently scrape away the outer layer of the skin. Doing this will reveal lighter layer below.
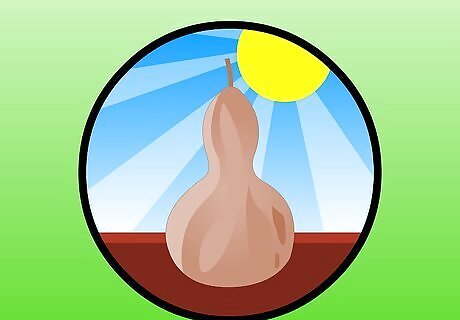
Finish drying the greenscaped gourds. Place the gourds in a warm, well-ventilated, and light area. Turn them every 2 to 3 days if you are drying them on a flat surface. Know that if the gourds dry too quickly they will most likely wrinkle.
Cleaning Gourds after They are Dried
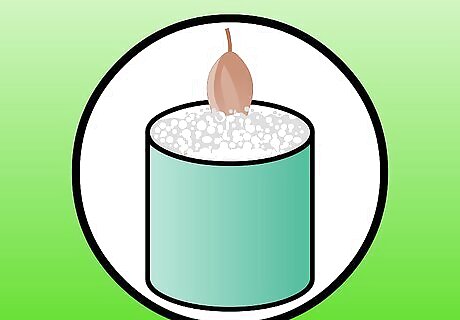
Clean the gourd after it has dried completely. Submerge the gourds in a bucket of warm, soapy water. This helps to loosen the skin and mold that may have developed on the outer surface. You can add bleach to the water to give the gourds a uniform color but this is not necessary.
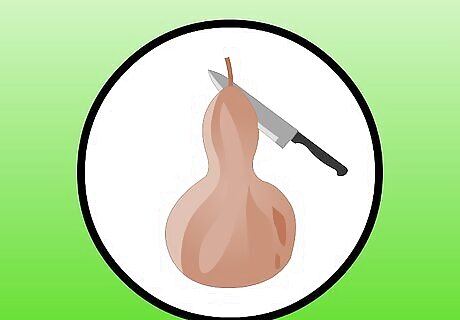
Use the dull side of a table knife to scrape the outer skin off. During the drying process, the outer skin may become wrinkled or stained. In general, you will want to scrape it off. You can also use steel wool or sandpaper to remove the outer layer of skin. However, using either of these tools will result in scratch marks. Only use sandpaper or steel wool if you plan on painting the gourd.
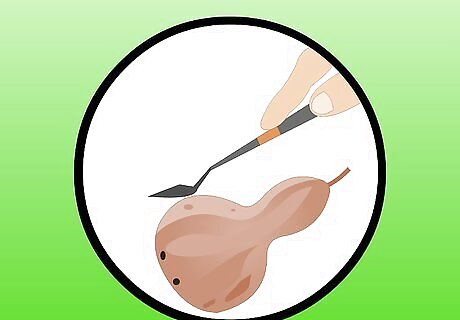
Fill any small holes or cracks with wood putty. While this is not necessary, it will give the surface of your gourd a uniform texture. You can also sand the inside of the gourd so that it is smooth.






Comments
0 comment