
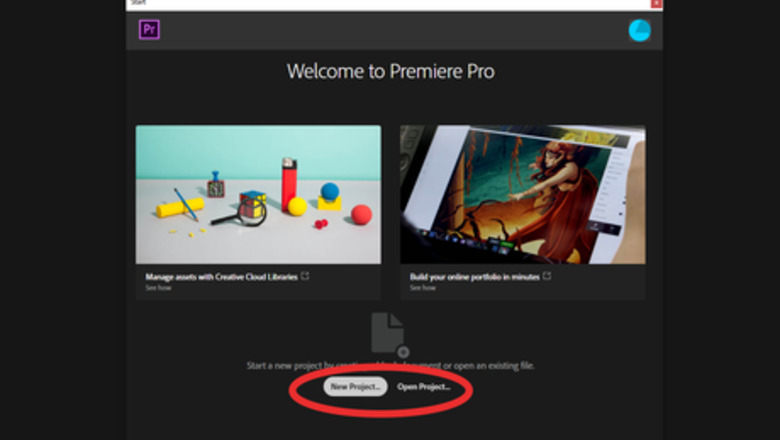
Open Adobe Premiere Pro.
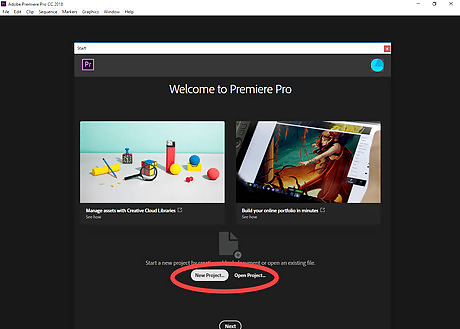
Select New Project if you want to start from scratch. Or, open an existing project if you plan on adding chroma key to a composition you've already made.
Set up the background image/video.
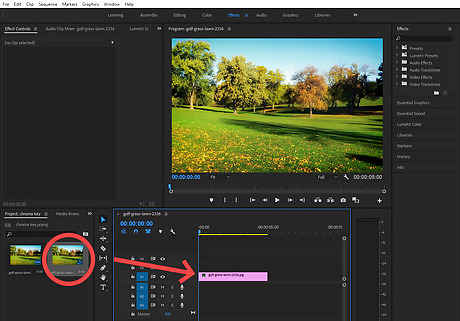
Just drag and drop it into the timeline. This can also just be Premiere's default background colour.
Prepare the clip/s that you want to key.
For optimal effectiveness, they will always have a flat-colored background. This is commonly green, hence why the effect is also known as 'green screening.' Drop these clips onto the timeline above the background.
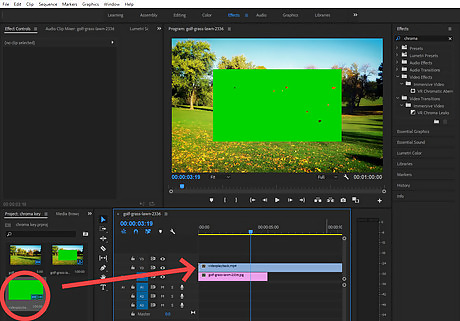
Resize and adjust the clip.
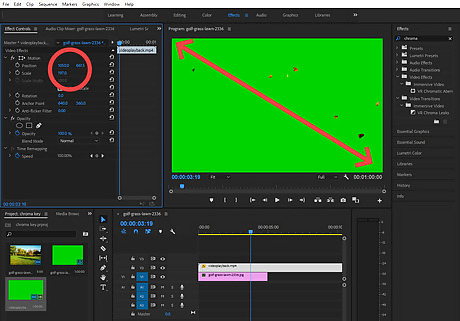
Keep adjusting until you are satisfied with its size and position. If it will be a full-screen effect (like this clip of falling leaves), resize until it completely covers the screen.
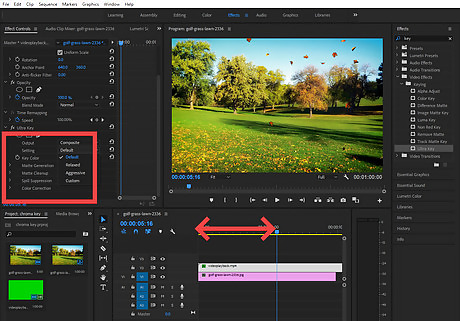
Search up the effect.
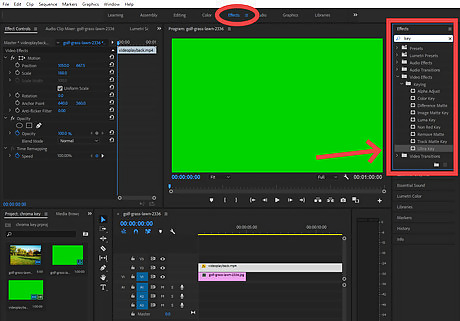
Make sure you are in the Effects tab (indicated at the top). There should be an 'effects' search bar on the right. Inside, type key. There will be many different effects, but Ultra Key is the most effective one.
Click and drag Ultra Key onto the clip you will be processing.
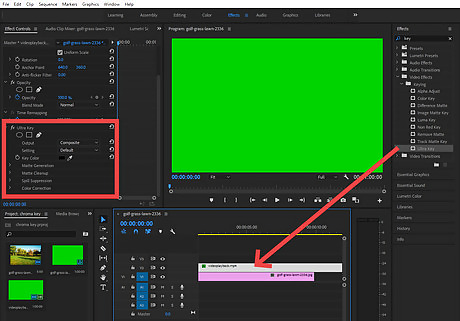
On the left, the ultra key settings will appear in the effect menu.
Go to Key Color in the settings and click dropper.
It will now transform your cursor into a color selector. Click on a green (or plain colour bg) part of the clip. You will notice that most of the green will disappear.
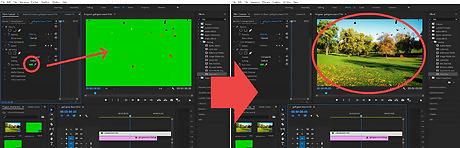
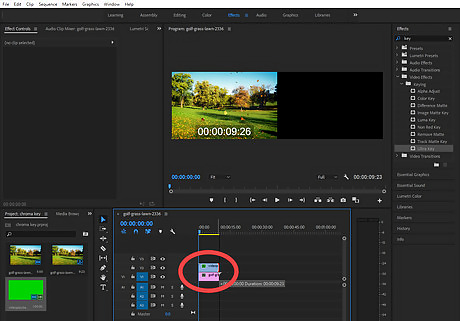
Play the clip.
Check to see if you are satisfied with the key. If it looks messy or it doesn't look natural, you can tweak it with the settings. Some tweaks you can do include altering how aggressive color removal is and the saturation/hue of the clip. Play around until you are happy with it.
Trim all clips to the desired length.
Once you are done, you can export the project or continue editing.


Comments
0 comment