views
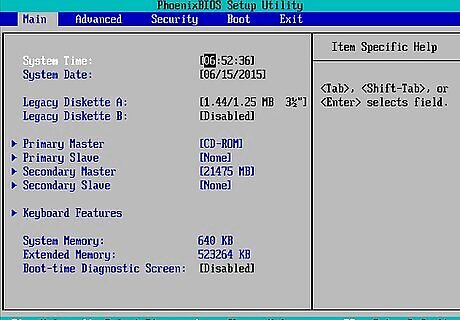
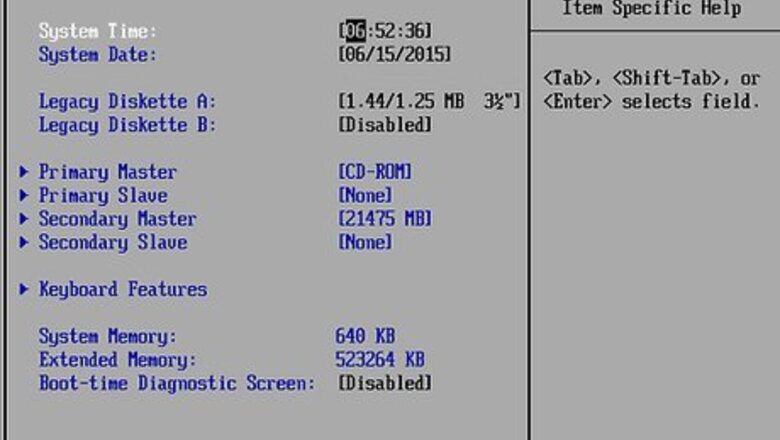
Access the BIOS prior to start up. Depending on the system and which BIOS version is installed, there will be variations in how to access and make changes to your system's BIOS. There are several different versions of BIOS, but the interface layouts generally follow a similar pattern and each will have a keyboard key assigned that is pressed prior to boot up in order to gain access to the utility.
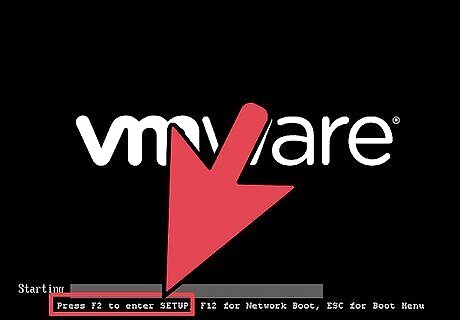
Identify the assigned key for accessing the system BIOS. The most common keyboard keys assigned for opening the system BIOS are, the delete key, F1, F2, F11 and the Escape key. There is typically a prompt that appears at the bottom of the screen immediately following the Power-On Self Test (POST) informing the user which key has been assigned for accessing the BIOS configuration utility. Use the assigned key to access the BIOS screen. Once you have identified the key, restart your computer, if necessary. Begin tapping or hold down the key during POST, and the BIOS configuration utility screen will open.
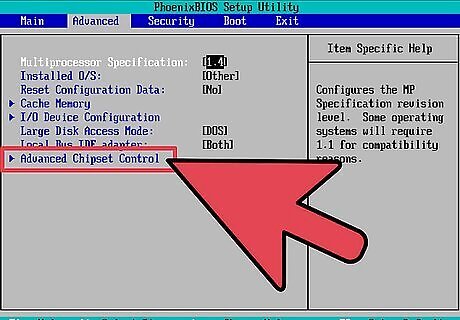
Locate the BIOS RAID configuration utility. The location of the RAID configuration utility will vary depending on the system's BIOS version. In some versions, the RAID utility will be found in the advanced BIOS features menu, while in other versions it may listed in the on-board device configuration menu or the SATA Configuration menu. Use the directional arrows on your computer keyboard to browse through the different menus within the BIOS configuration utility and locate the RAID configuration utility options.
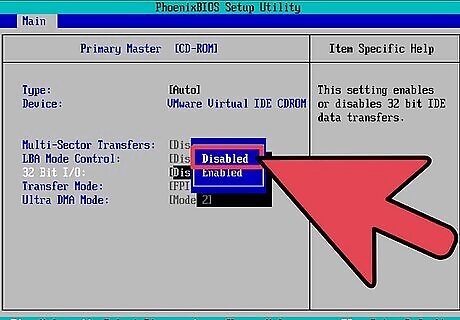
Disable the RAID feature from the system BIOS. Once located, scroll down the list options using the directional arrows on the computer keyboard and highlight the RAID configuration menu option. Select "disable" and press the enter key on your keyboard. Then press the "esc" key to return to the main menu. Exit the BIOS. From the main menu, use the directional arrows to navigate to the "Save Settings and Exit" option and press enter. The system RAID has been disabled and the computer will boot up automatically.


Comments
0 comment