
Disable iCloud Messages

Open iMessage. It is pinned to your dock by default and the icon has a white speech bubble on a green background.
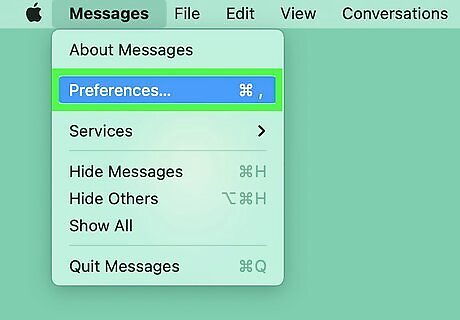
Click on Messages > Settings in the menu bar. This will open up your iMessage settings. If you're on macOS 12 or earlier, you'll want to select Preferences instead of Settings.

Click the iMessage tab. It's the middle tab and has an "@" symbol on it.
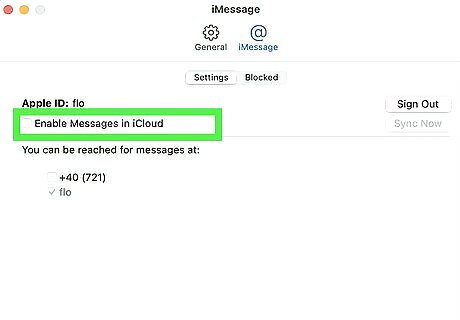
Uncheck the box next to "Enable Messages in iCloud." It's underneath your Apple ID. This will disable your messages syncing to your Mac via iCloud. You must enable or disable messages in iCloud individually for each device, so turning it off on your Mac won't turn it off on your iPhone or iPad. Note that if your phone number is still linked to your MacBook, turning off iMessages will not stop them from coming to your computer.
Turn Off iMessage Notifications
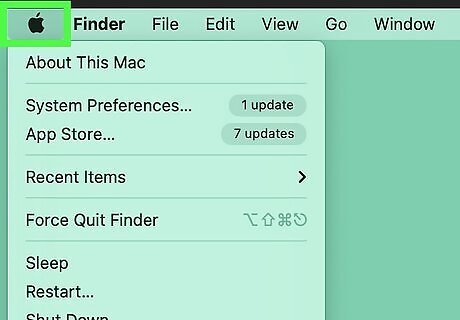
Click the Apple menu. It's the Apple icon in the top-left corner of your screen.
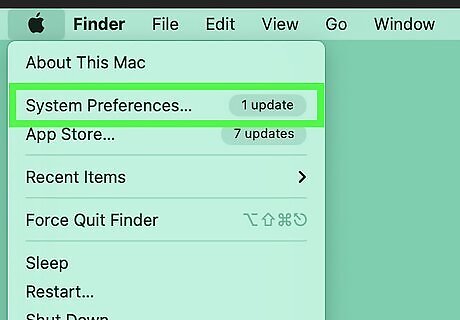
Select System Preferences. It's the second option on the list. Clicking this will open the settings menu for your computer.

Click Notifications & Focus. Upon clicking this menu item, you'll see a menu list of all of your apps and programs that are installed on your Mac.
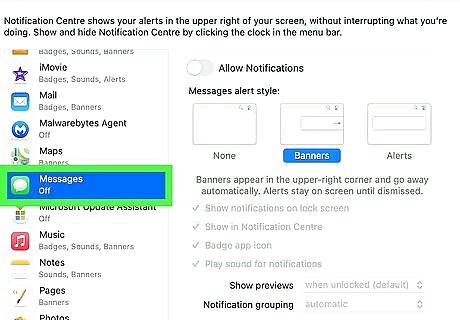
Select Messages. The list is organized alphabetically, so you may have to scroll to find it.
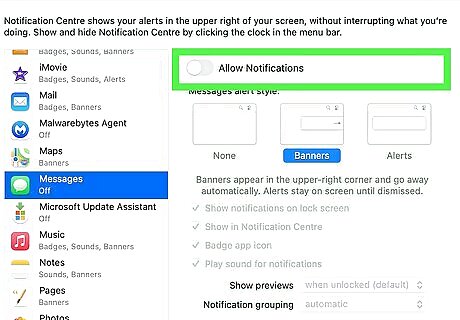
Toggle off "Allow Notifications." This won't remove iMessage from your computer completely, but it will turn off any notifications so you won't be distracted by them. An off toggle is gray, and and on toggle is blue. When you're ready to turn notifications back on, simply follow the steps in this section again, clicking the toggle to turn it back on.
Mute Specific iMessage Conversations
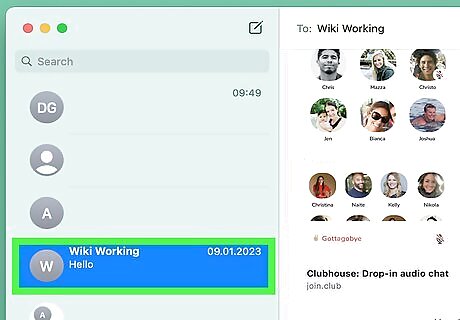
Open a conversation in iMessage. If you want to mute one specific conversation you can do so in the iMessage app. This is great if you're waiting to get an important text but you don't want to be distracted by a group chat that your friends or family are sending messages in all day long.

Click the details button in the upper-right corner. This button looks like an "i" with a circle around it.
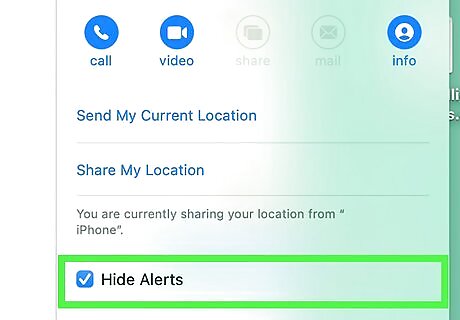
Click the checkbox next to "Hide Alerts." This will mute a particular conversation until you uncheck the box. To unmute, simply follow the steps in this section and uncheck the box.
Customize iMessage Notifications
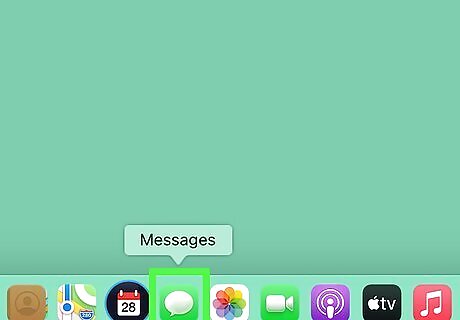
Open iMessage. It is pinned to your dock by default and the icon has a white speech bubble on a green background.

Click on Messages > Settings in the menu bar. This will open up your iMessage settings. If you're on macOS 12 or earlier, you'll want to select Preferences instead of Settings.

Make sure you're on the General tab. It's the first tab, and it has an icon of a cog wheel.
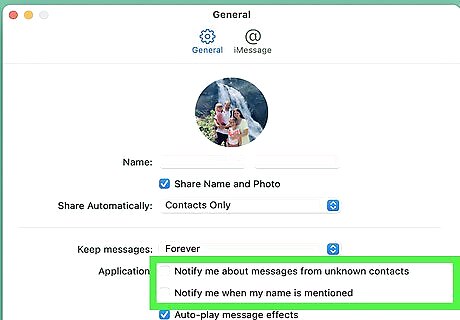
Uncheck the boxes about notifications in the middle of the window. There are a few options you can customize if you want to adjust what message notifications you actually get: Notify me about messages from unknown contacts: Uncheck this if you don't want to be notified if someone you don't already have in your address book messages you Notify me when my name is mentioned: Uncheck this if you don't want notifications if your name is mentioned in a message Play sound effects: If you don't want to get rid of visual notifications but want to remove notification sounds, uncheck this box
Turn on Do Not Disturb
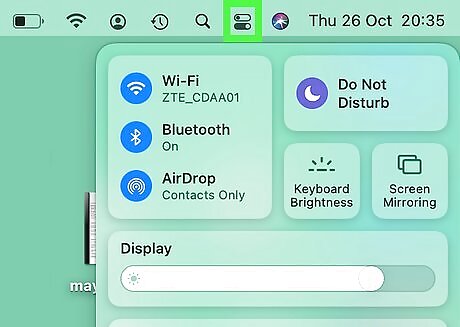
Click the Control Center button in the menu bar. It looks like two toggle switches, and it's near the upper-right hand corner of the screen.
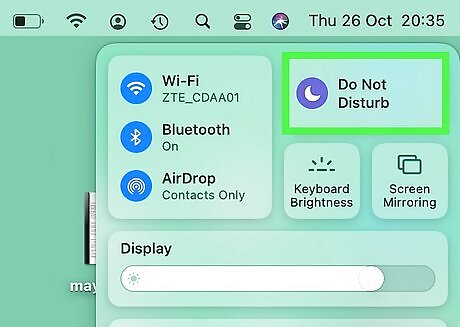
Click the "Focus" section. This will allow you to set up your Focus (or do not disturb) settings.
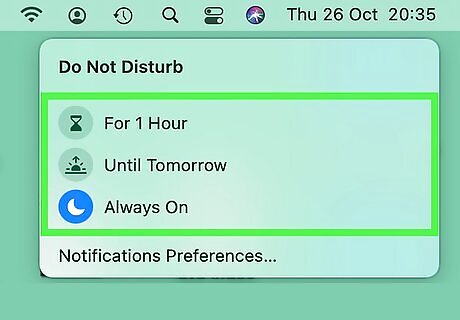
Turn on the Do Not Disturb Focus. This will mute all of your notifications, so you won't be inundated with iMessage pings while trying to work or study. You can also turn on Do Not Disturb by holding ⌥ Option and clicking the date and time in the menu bar. You can also turn it on by pressing a key on your keyboard with a moon icon, if it's available.
Log Out of Messages

Open iMessage. It is pinned to your dock by default and the icon has a white speech bubble on a green background.

Click on Messages > Settings in the menu bar. This will open up your iMessage settings. If you're on macOS 12 or earlier, you'll want to select Preferences instead of Settings.

Click the iMessage tab. It's the middle tab and has an "@" symbol on it.

Click Sign Out. This will sign you out of your Apple ID on your Mac, which means you won't get messages that are sent to your Apple ID on your Mac. Note that this may make other Apple apps that require your Apple ID to not work properly.
Disable Phone Number

Open iMessage. It is pinned to your dock by default and the icon has a white speech bubble on a green background.

Click on Messages > Settings in the menu bar. This will open up your iMessage settings. If you're on macOS 12 or earlier, you'll want to select Preferences instead of Settings.

Click the iMessage tab. It's the middle tab and has an "@" symbol on it.
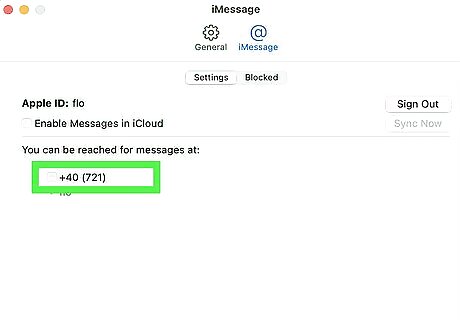
Uncheck the box next to your phone number. It's underneath your Apple ID. This will unlink your phone number and your Mac so you don't get iMessages sent automatically to your computer.


Comments
0 comment