views
Painting Glasses
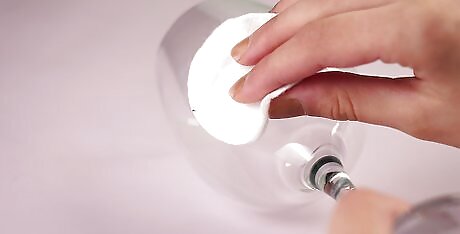
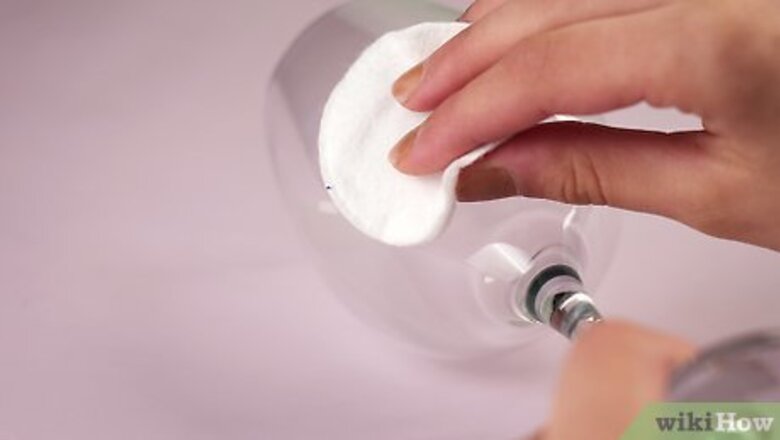
Clean your wine glasses with alcohol and let them dry. Pour rubbing alcohol onto a cotton ball or paper towel and wipe down each glass. Wait for them to air dry completely or use another paper towel to dry them by hand. Alcohol removes dirt and sterilizes the glasses. White vinegar will work instead of rubbing alcohol.
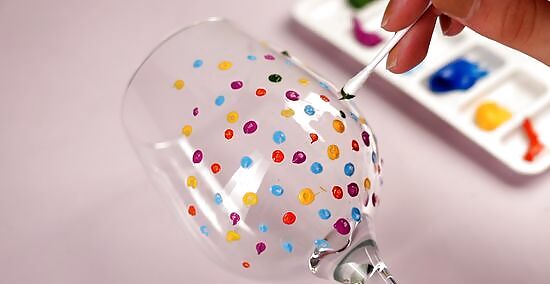
Paint the glasses using gloss enamel craft paint. Choose whatever colors and designs you'd like. Dab tiny polka dots or confetti around the glass, paint a beach scene, or coat just the stem and base for a modern look. If you’re using multiple colors, let each color dry before adding the next color to avoid smearing or mixing. Use chalkboard paint on the base if you want to keep track of whose glass is whose. Once the glasses are finished, you can write guests’ names in chalk, then erase when the night is over. Go with glitter paint or metallic colors for a playful, party vibe.
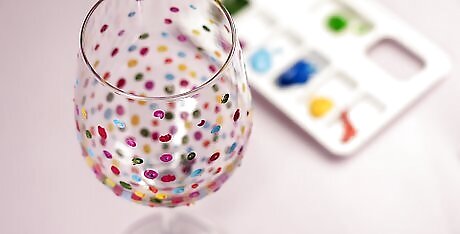
Let the glasses dry for 72 hours. Place the painted glasses somewhere safe and out of reach of children or pets if you have them. A room temperature area is best. If you skip this step, the paint could melt and run in the oven.
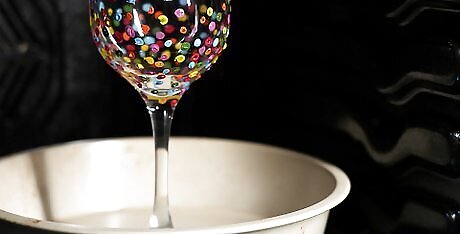
Place the glasses on a baking sheet in a cold oven. The lowest rack of the oven is the best spot to set the sheet with the glasses. Putting the glasses in the oven before you turn it on prevents the glass from breaking. If you don’t want to use the oven, let your glasses continue to air dry for 21 days in a room temperature spot before using them.
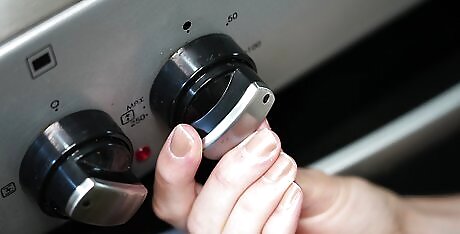
Heat the oven to 350 °F (177 °C) and bake the glasses for 30 minutes. This sets the paint onto the glass so it won’t wash off when you use the glasses. The 30 minutes starts once the oven has reached 350 °F (177 °C), not when you turn it on. Set the kitchen or oven timer for 30 minutes or use the clock app on your phone so you don’t forget. EXPERT TIP Douglass Brown Douglass Brown Glassblowing Expert Douglass Brown is a Glassblowing Expert based in Half Moon Bay, California. He has over 25 years of experience as a glass artist, and is the owner and operator of 2 glass blowing studios in the San Francisco Bay Area, Half Moon Bay Art Glass and Mare Island Art Glass. Douglass believes in sharing hot glass experiences with anyone who wants to learn about the processes of blowing and sculpting glass. When not teaching, Douglass creates glass art that is a mix of his takes on nature and functional glassware. He has also created the Glass Troubadours, which is a mobile glass blowing studio that hosts parties, events, and visits craft shows. Douglass Brown Douglass Brown Glassblowing Expert Paints that require heat drying will last longer. Use the right kind of paint and procedures to ensure longevity. When colored glass is properly cured with heat, it can be baked in the oven and washed in dishwashers without fading or peeling.
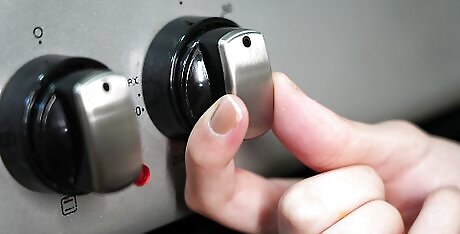
Turn off the oven and let the glasses cool inside with the oven door open. This gradual cooling process cures the paint while protecting the glass from cracking. Take the glasses out of the oven only when they're completely cool to the touch. Once the glasses have been baked or dried, they will be dishwasher-safe. Wash them on the top rack.
Using Permanent Markers
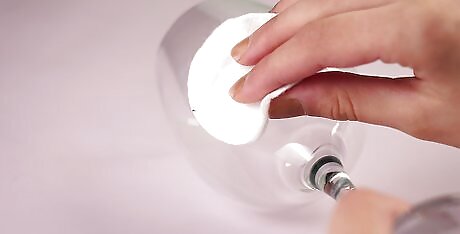
Wipe the glasses with rubbing alcohol, then let them dry. The alcohol will clean the glasses and also make it easier for the marker to stick to them. Use a paper towel to dry off the glasses or set them in a safe place to air dry. If you don’t have rubbing alcohol, use white vinegar from the pantry instead. Paper towels or a cloth will work in place of cotton balls. EXPERT TIP Douglass Brown Douglass Brown Glassblowing Expert Douglass Brown is a Glassblowing Expert based in Half Moon Bay, California. He has over 25 years of experience as a glass artist, and is the owner and operator of 2 glass blowing studios in the San Francisco Bay Area, Half Moon Bay Art Glass and Mare Island Art Glass. Douglass believes in sharing hot glass experiences with anyone who wants to learn about the processes of blowing and sculpting glass. When not teaching, Douglass creates glass art that is a mix of his takes on nature and functional glassware. He has also created the Glass Troubadours, which is a mobile glass blowing studio that hosts parties, events, and visits craft shows. Douglass Brown Douglass Brown Glassblowing Expert Clean the glass with rubbing alcohol or vinegar and let it dry before painting. You want to avoid any films, oils, or anything that would affect the adhesion of your paint.
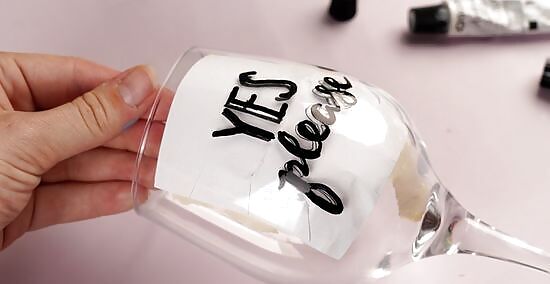
Draw with an oil-based permanent marker 1 in (2.5 cm) below the rim. If you decorate all the way to the top of the glass, your mouth will wear the marker off faster. Draw a geometric pattern or elegant swirls around the glass. Or, if you’re artistic, draw a pretty picture like a beach sunset or a cozy Christmas scene. You can also write words with the marker like song lyrics or a favorite quote. Don’t forget the base and the stem! Cover them in a solid color or decorate them to match the cup design. Write friends’ names on the glasses to pass them out as favors at a party or give them as holiday gifts. Consider sketching your design on a piece of paper beforehand if you’re worried about messing up on the glass.
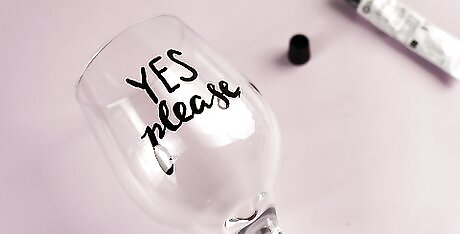
Let the decorated glasses dry for 72 hours. Set the glasses somewhere that’s room temperature and where they won’t be knocked over. It will take about 3 days for them to dry completely. This prevents the designs from melting off in the oven.
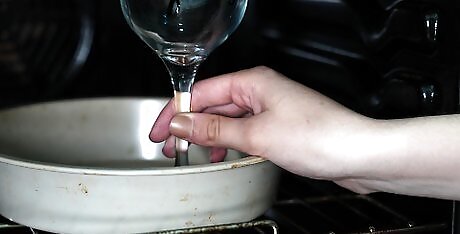
Put the glasses in a cold oven on a baking sheet. It’s easiest if you put the baking sheet on the oven rack before arranging the glasses on the sheet. Otherwise, you’re more likely to drop the glasses when trying to carry the sheet to the oven. The glasses can be right-side up or upside down. Make sure the oven is completely cool. If you used it to cook recently, wait until it’s cold before placing the glasses inside.
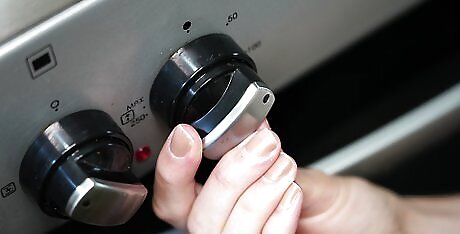
Turn the oven to 350 °F (177 °C) and bake the glasses for 30 minutes. Wait until the oven reaches 350 °F (177 °C) before you start timing the 30 minutes. Baking the glasses will cure the paint to the glass. Resist the urge to open the oven door to check on the glasses. This lets heat escape. Instead, peek through the window in the front.
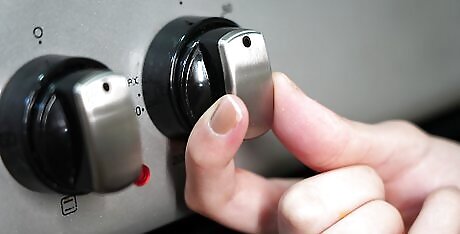
Turn off the oven, leaving the glasses inside until they’re completely cool. Removing the glasses immediately can cause them to crack. It will take at least 2 hours for the glasses to cool down before you can take them out of the oven. Speed up the cooling process by cracking the oven door slightly.
Etching Designs
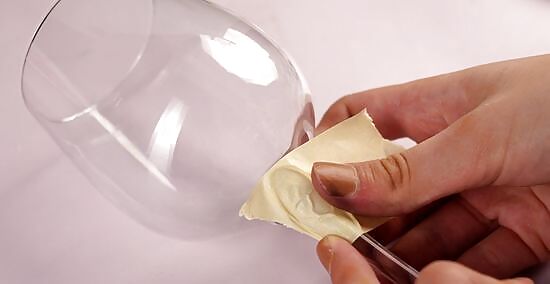
Cover the stem and base with masking tape. Wrap a layer of masking tape around any areas you don’t want to etch, namely the stem and the base of the wine glass. This prevents any drips from accidentally getting on them. Press the masking tape firmly around the glass so there aren’t any gaps or holes where the etching cream could get in.
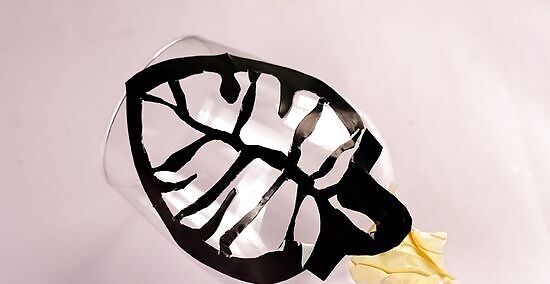
Lay the adhesive glass stencil flat on the glass wherever you want it. Place it in the right spot before pressing it onto the glass. Smooth out any wrinkles so the stencil is completely flush against the glass. If you leave gaps, the etching cream could spread there and cause your final design to look sloppy. Buy glass stencils at a craft store or from an online retailer. Make your own glass stencil by cutting a shape or design out of contact paper or adhesive vinyl. Another option is to use stickers on the glass. Keep in mind that the etching cream will etch any exposed area not covered by the stickers.
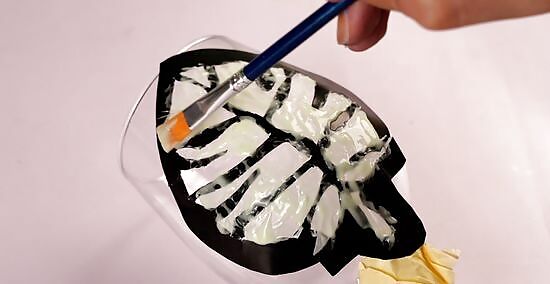
Apply a layer of etching cream over the exposed glass with a paintbrush. If you’re using a stencil, brush the etching cream onto the cut-outs. If you’re using stickers, you’ll brush the etching cream over the entire glass so that the spots covered by the stickers will be the non-etched areas. Etching cream can be extremely damaging to your skin, so wear gloves and safety goggles while you do this.
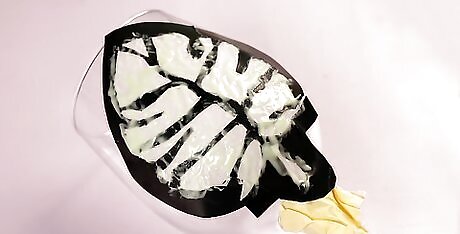
Let the etching cream sit on the glasses for 5 to 10 minutes. Sit back and let the etching cream do its thing. Set a timer on your phone so you know how long to wait. Some etching creams require longer sitting times. Check the back of the container to find out the specific time for your type. It won't hurt anything if you leave the etching cream on for longer than the recommended time.
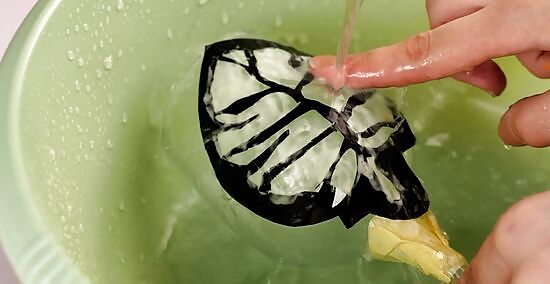
Rinse the glasses with cool water and dry them with a paper towel. Run the glasses under water to completely remove the etching cream. Use your hands to rub off any stubborn cream. Then pat the glasses dry with a paper towel. If you're having trouble getting some of the cream off, scrub it with a sponge.
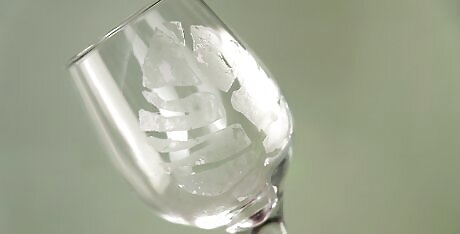
Peel off the stencil to reveal your gorgeous design. Once the glasses are dry, carefully remove the stencil. The area where you applied the etching cream will be etched. Etching does not affect how you clean your glasses. They will still be dishwasher-safe.
Adding Embellishments
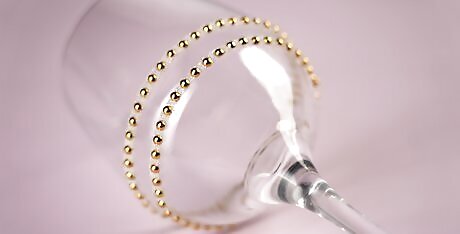
Stick on rhinestones or gems for extra sparkle. Using your fingers or tweezers, place self-adhesive jewels onto the wine glass. Cover the base of the glass, wrap them up the stem, or place them in a beautiful design around the cup. Smaller sparkles like rhinestones work best for this. If you don't have self-adhesive jewels, you can use regular jewels with craft glue. Don't put your bedazzled wine glasses in the dishwasher. It will rinse off the gems.
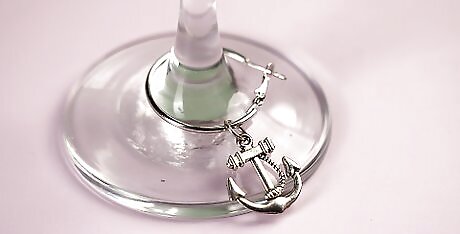
Attach charms to the stem of the wine glass for a temporary decoration. Wine glass charms are an easy way to personalize glasses for a special occasion. Make your own or buy them from a party store in any theme, pattern, and shape. Hook the charms onto the stem and then just remove them when the party is over. You can buy charms that are glittery, metal, paper, cork, or even crocheted. Whatever vibe you want for your party, you can find a charm to match. Send guests home with the charms as a party favor.
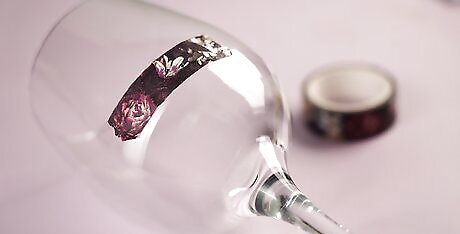
Use a strip of washi tape to label your glasses in a cute way. Fold a piece of washi tape around the stem of the wine glass or stick a piece to the cup of the glass. Party guests can write their name on the tape in marker to keep track of their glass. Washi tape comes in all different prints and colors. You can give each guest a different pattern instead of having them write their names. When you're done with the glasses for the night, simply peel off the washi tape.
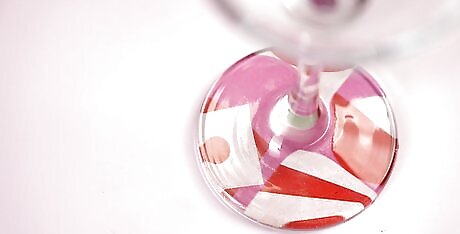
Match your glasses to a party theme by taping paper to the bottom. Cut out circles of pretty cardstock in the pattern or design of your choice to the size of the bottom of the glass. Then use double-sided tape to adhere the paper to the underside of the bottom. Switch out the paper for any occasion. Make all of the glasses the same or mix and match them. For example, do half of the glasses in polka dotted paper and half in stripes. Use spooky orange and black patterns for Halloween. Then peel off those pieces and replace them with shimmery metallics or reds and greens for Christmas.


Comments
0 comment