
Sectioning and Preparing Your Hair
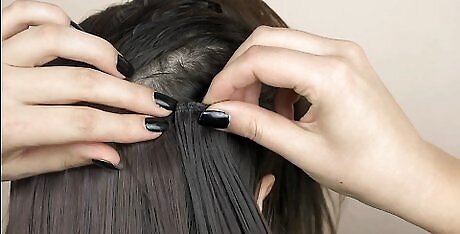
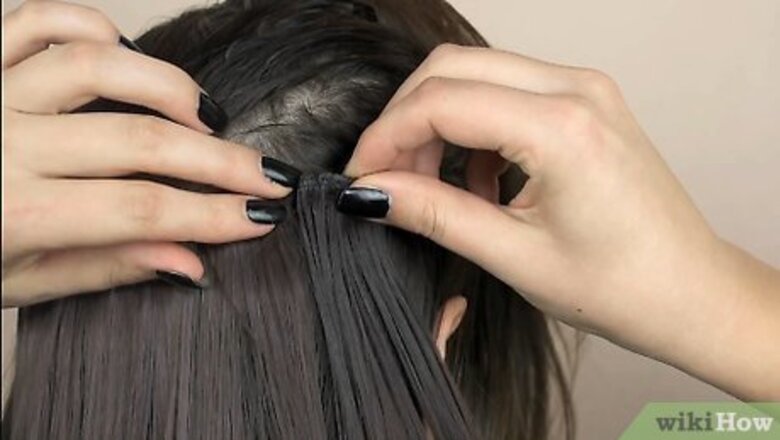
Put your hair extensions in your hair to curl all of your hair at once. While it's equally okay to curl your extensions separately, putting your hair extensions in before curling your hair will help ensure all of your curls look similar to one another. If you have extensions that stay in your hair, you don't need to worry about this. Otherwise, put in clip-in extensions to get started on curling your hair. Whether you curl your extensions before putting them in is entirely up to you—many people find it easier to curl clip-in extensions before putting them in, so experiment with both ways and use whichever is best for you, if desired.
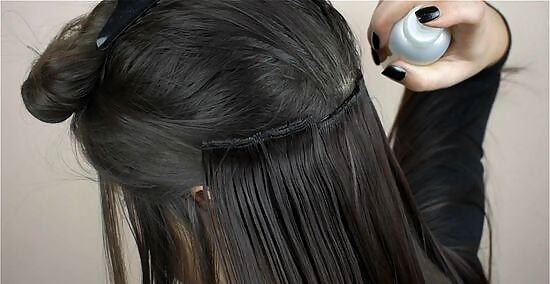
Spray a heat protectant all over your hair to prevent damage. Since hair extensions don’t benefit from the natural oils of your hair, it’s much easier for them to dry out or become damaged. Before using a curling iron, apply a heat protectant spray all over your natural hair and your extensions to keep your hair healthy. Brush your hair after spraying the heat protectant to help distribute it throughout your hair. Look for a heat protectant at your local big box store, drugstore, or beauty store.
Brush out your hair to get rid of any tangles. Hair extensions tangle very easily and won’t curl well if they’re not smoothed out. Use a paddle brush to gently brush out any tangles or knots before you begin curling your hair, being careful not to yank too harshly on your extensions. Hold your hair near your roots to make brushing the ends easier while also pulling on your extensions less. If your hair extensions are already in your hair, detangle your hair from the bottom upwards. This puts less pressure on your extensions.
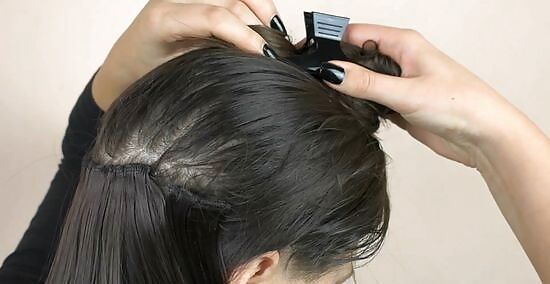
Clip up the top section of your hair to reveal the bottom layer. Do this whether you already have your extensions in or not to make it easier to curl your hair. Gather the top layer of your hair together and twist it, securing it on top of your head with a large clip so you can see the bottom layer of your hair clearly. If you haven’t already put clip-in extensions in, consider curling them while they’re not in your hair to make the curling process easier. Just make sure you curl your natural hair using the same method so it all blends together.
Creating Curls with a Curling Iron
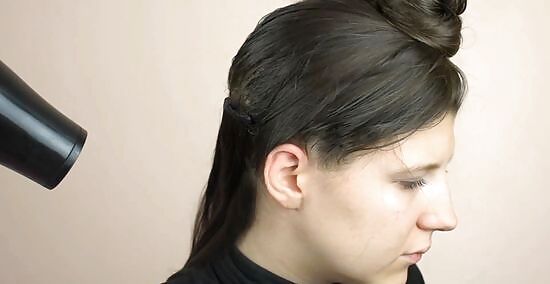
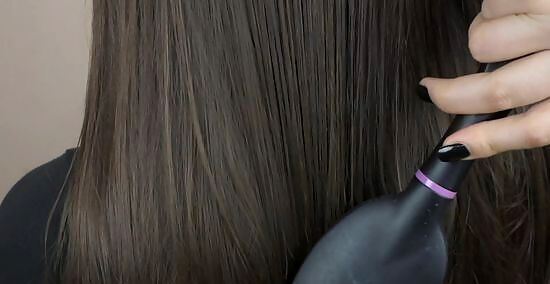
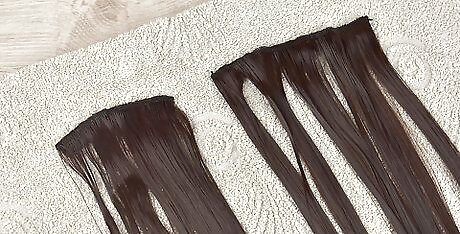
Dry your natural hair and extensions thoroughly before curling them. Using a heat tool on hair that's wet or even slightly damp can damage your hair, whether it's natural or an extension. Use a hairdryer or let your hair dry naturally before curling it to protect it. Let your hair extensions dry naturally if time allows, setting them flat on a towel after brushing through them.
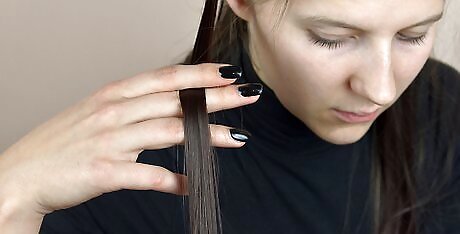
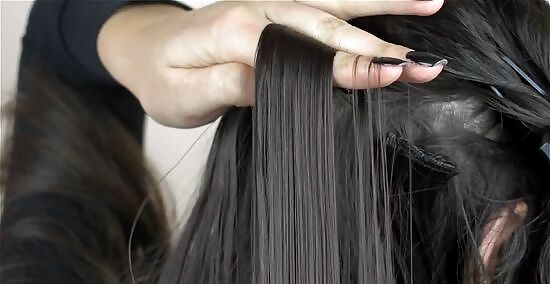
Take a 1 in (2.5 cm) section of hair starting at one side of your head. The section of hair doesn’t need to be exact—wrapping a thicker section of hair around the curling iron will create waves while a smaller section of hair will create more defined curls. Separate a section of hair starting at one side of your head and plan on working your way to the other side. If you have any short hairs that you don’t want curled, or that you want to curl at the end, use a clip to pin these back. Consider taking a sliver of natural hair along with a sliver of extension when gathering sections to blend your curls more evenly.
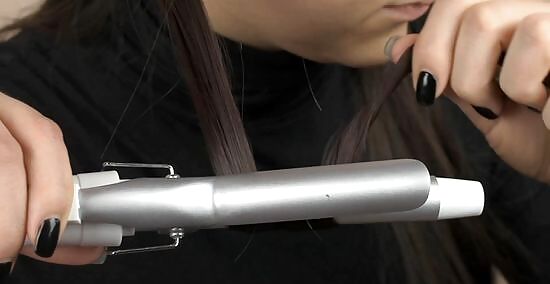
Wrap the strand of hair around the curling iron carefully. Point the curling iron downwards in one hand, and wrap the strand of hair around the iron with the other hand. Avoid overlapping the hair on top of itself when wrapping it around the curling iron so the strand has access to heat evenly. Wrap the hair around the curling iron loosely for loose curls, or tightly for tighter curls. Avoid touching hot sections of the curling iron with your fingers so you don’t burn yourself.
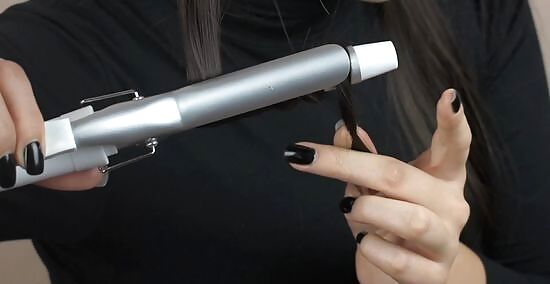
Hold the strand around the iron for 6-7 seconds before releasing it. How long you leave your hair wrapped around the curling iron will depend on the level of curls that you’d like. Leaving your hair wrapped longer will create tighter curls, while releasing it after only a few seconds will create waves. Avoid leaving your hair wrapped around the iron for more than 10 seconds if you’re using a high heat setting, as this could damage your extensions and natural hair. Use a low heat setting for synthetic hair extensions to make them last longer. If you put your curling iron on a low heat setting, you may need to hold it for longer for the curls to set properly. A low heat setting is under 200 °F (93 °C), while a high heat setting would be between 200 °F (93 °C) and 300 °F (149 °C). Release your curls gently to avoid tugging unnecessarily on your extensions.
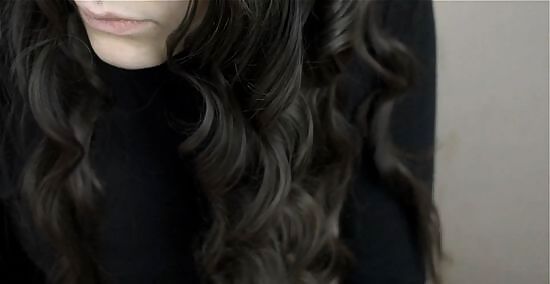
Continue wrapping strands of hair around the iron to curl the rest of your hair. Take a new section of hair and begin curling it. Consider changing up the direction in which you wrap the hair around the curling iron to make your curls look different from each other. Keep curling sections of hair until all of your hair is styled. For example, you might wrap one strand around the curling iron going inwards towards your face, and the next strand going outwards away from you. Use different sized sections of hair to create a tousled look. Once you’ve curled the entire bottom layer of hair, take out the clip holding the top layer in place to curl those strands as well.
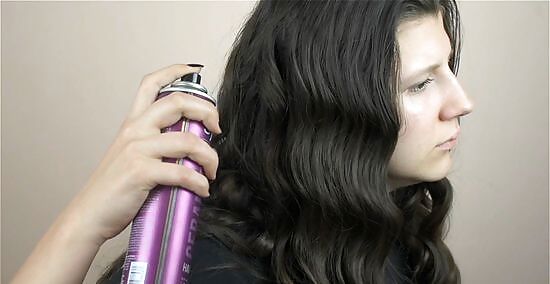
Use a hairspray or volumizing product to add additional texture if desired. Once you’re satisfied with your curls, consider locking them in place using hairspray. You might also use a volumizing spray to add more bounce to your curls. Apply the spray to your hair evenly using just a few spritzes. Avoid using sea salt sprays on extensions—this dries them out much quicker. Look for a hairspray or volumizing spray at your local big box store or drugstore.
Caring for Your Extensions

Use a leave-in conditioner to prevent your extensions from getting too dry. It’s important to keep your extensions conditioned so they don’t become frayed and damaged. Spray a lightweight leave-in conditioner onto your hair every 1-2 days, or whenever you feel your hair is getting dry. Look for a leave-in conditioner at a big box store or drugstore near you.
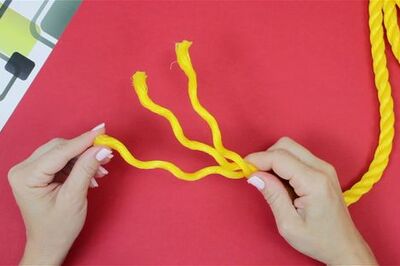
Detangle extensions starting from the ends going up. Hold a section of your hair that you’d like to brush out starting near your roots. Use the brush to brush out this section starting at the very end and moving your way upwards. Holding the section of hair in your grip while you brush will put less pressure on your extensions so they don’t become damaged. Extensions tangle easily, so consider stashing a small brush in your purse or backpack for when you need it on the go.
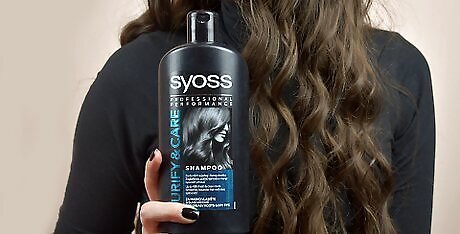
Use a shampoo designed for your specific type of hair extensions. If your hair extensions are made out of natural hair, use a sulfate-free shampoo to wash them. Extensions made of synthetic hair should be washed with a shampoo designed specifically for synthetic extensions. When you wash your extensions, massage your hair to clean it thoroughly and rinse out all of the shampoo under clean running water. Extensions that you wear all the time will need to be washed more frequently than clip-in extensions. If you wear your clip-in extensions almost daily, wash them once a week, while clip-ins that are worn only on special occasions can be washed once every 6-8 wears.
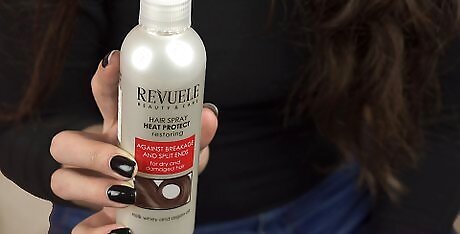
Use a heat protectant whenever you style your hair using heat tools. Curling irons and other heat tools can cause long-term damage to your extensions and natural hair if you don’t protect them first. Spray a heat protectant spray over all the strands of hair you plan on styling to keep your hair from drying out or burning. Using a heat protectant can help your hair extensions last longer.
Dry extensions thoroughly before styling them. Lay clip-in extensions flat on a towel to let them air dry, or blow dry your extensions on a low heat setting to dry them faster. Hair extensions hold onto moisture for longer amounts of time than regular hair, so it’s important to dry them properly before using a curling iron or other tool to style your hair. Avoid going to bed with wet hair, as this causes knotting and fraying.


Comments
0 comment