views
Determining the Style of the Cuff
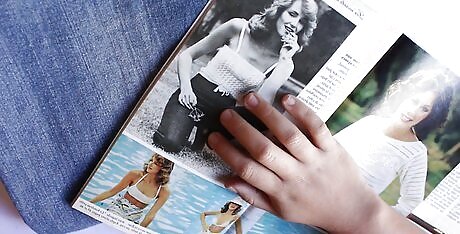
Look at pictures of different cuff styles. In case you hadn't noticed, cuffs are everywhere, in many different forms. Do research in fashion magazines or online, or simply notice how other people are cuffing their jeans. Boyfriend and straight-leg jeans work especially well with cuffs.
Find a cuff that works for you. Factors to consider include the width and weight of your jeans, the type of footwear you expect to pair with them, and whether you want a cuff that adds length to your silhouette. The breakdown of cuffs is roughly as follows: Single Roll: Jeans are rolled up once about 1 inch (2.5 cm), with the option of tucking the hem under the rolled part. This works with a variety of jeans, and suits all body types thanks to its moderate length. Avoid narrow footwear, however, as it may appear too much like a slipper under this non-tapered cuff. Long Roll: Like the single roll, only longer - up to 2 inches (5 cm). This is for selvage denim that you want to show off. It looks great with straight-leg jeans. More petite or stocky frames should beware, however, since this long cuff has a shortening effect. A more casual variation involves bunching the cuff a little to create dimension and texture. Skinny Roll: A mini cuff (about 1/2 inch or 1.25 cm) made from three small, tight flips to the hem. As the name suggests, this look is best for slim silhouettes and lighter-weight denim. Delicate shoes shine with this look, but opt out of chunky footwear. Try it with boyfriend jeans! Double Cuff (Thick Cuff): First cuff the hem 1 inch (2.5 cm), then again, this time 2 inches (5 cm). This cuff works best with mid- to lightweight jeans; heavier jeans will give this cuff more structure. You can wear mid-weight to chunky shoes. Be aware that the thickness of this cuff can be shortening. Inner Roll: Instead of folding the cuff up, this one is tucked under. The original hemline is concealed, and the look is very smooth. Your denim needs to be fairly hefty to maintain this tuck. Depending on the jean width and how far you tuck under, it can work with a variety of footwear. Another bonus is that it can be quite lengthening.
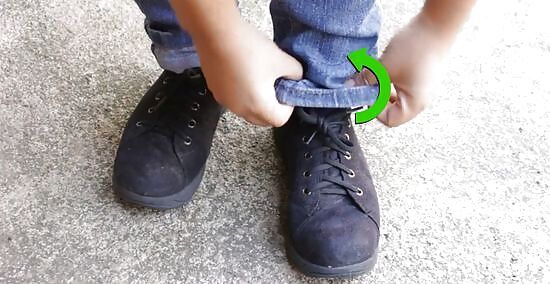
Try on the jeans and make your cuff. Stand in front of a full-length mirror if you can. Wearing your favorite shoes and top helps give you a better overall sense of how the cuff works. You can use a tape measure or ruler to help you make the initial cuff, and then adjust according to your taste.
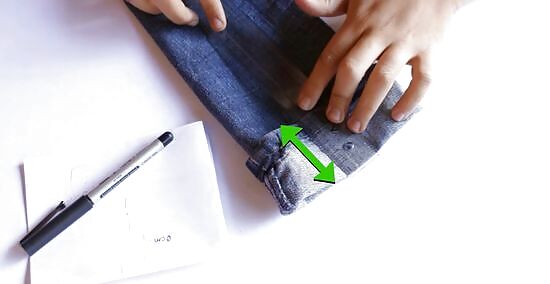
Note the measurement of the cuff's folds. Use a tape measure or ruler to measure the length of each fold in the cuff, and write down this information. You'll need in the next section.
Making the Test Cuff
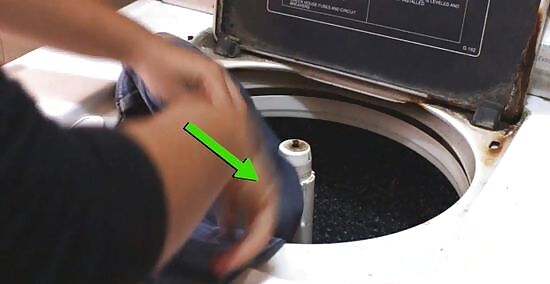
Wash the jeans. Use cold water on the gentle cycle to prevent fading or shrinking. Follow the care instructions on the jeans' inside label, if there is one. It may suggest washing the jeans inside out. Remove the jeans from the washing machine as soon as the cycle has ended to prevent possible wrinkling of the fabric.
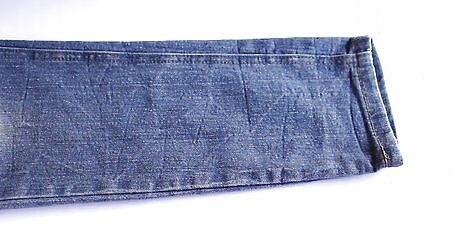
Lay the jeans on a flat surface while they are still wet. Smooth out the material with your hands as much as possible. You can lay out a thick bath towel or two underneath if you're concerned about getting the flat surface wet.
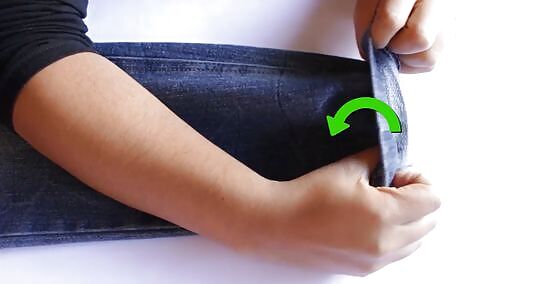
Create the cuff. Using your notes about the fold length(s), manipulate the bottom edge of the jeans until it has been folded over into a cuff. Make sure there are as few wrinkles as possible. Repeat the process with the other jean leg, keeping both cuffs the same length.
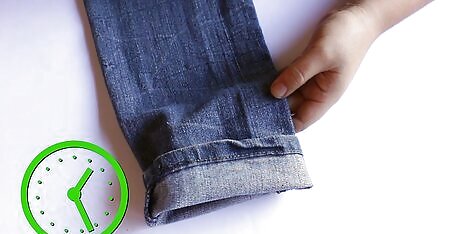
Allow the jeans to dry. Keep them on a flat surface during the drying process. While it may be tempting to hang them on a clothesline or over a shower rack, doing so can cause the cuffs to unfold. It might be useful to use a sweater dryer if you have one (you can let the waist drape off the end if the jeans are too long). Flip the jeans over from time to time to allow both sides to dry evenly.
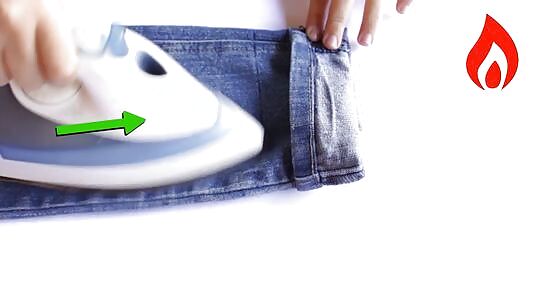
Iron the jeans. Once your jeans are dry, get out your ironing board and heat up your iron. Again, consult the care label on the jeans for iron temperatures. It may suggest a medium or high setting. Press with the hot iron on both sides to ensure all wrinkles have been removed. Press the cuffs (unless you want them bunched, as in the casual version of a long roll).
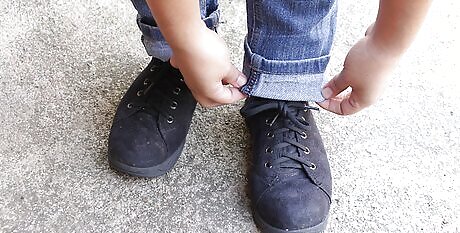
Try on your newly cuffed jeans. Test out your cuffs with a few different outfits and shoes to see how you like it. If you think you've found a cuff you want to keep, you're ready to sew. If you've worn the jeans several times, it might be necessary to repeat Part 2, Steps 1-6 before sewing.
Sewing the Cuff
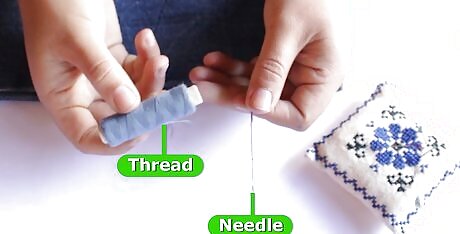
Remove your jeans and gather your thread and needle. Use thread that is of a color similar to the jeans. The needle needs to be sharp and strong enough to penetrate layers of thick denim, so it may be advisable to use a leather needle. If your jeans are lightweight, however, a medium-thick needle may suffice.
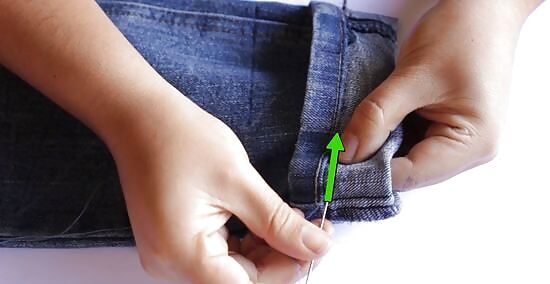
Stitch the jean cuff in place. Do this at two points on either leg, where the vertical hem of the pants meets the horizontal hem of the cuff. Start the needle from the inside of the leg and make enough stitches that the cuff feels securely in place. The needle should not pass all the way to the outside of the cuff. Stitch the first layer of hem only.
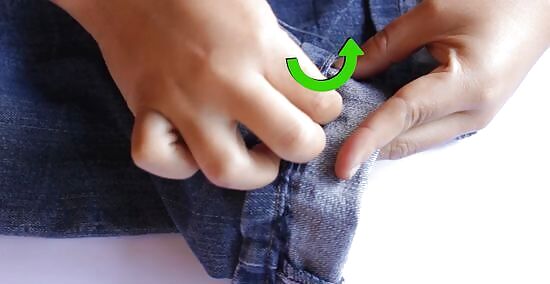
Finish each side with a knot on the inside of the cuff. Repeat the process on the other jean leg. You're done!


Comments
0 comment