views
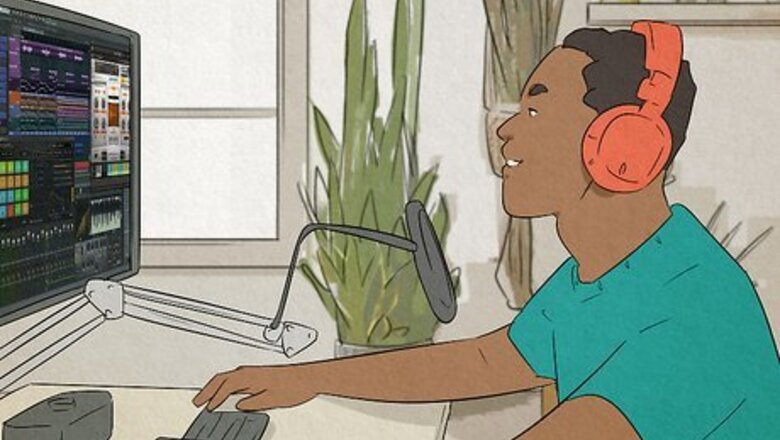
- Set yourself up with a Digital Audio Workstation (DAW), a computer with a high processing speed, mixing headphones, an audio interface, and a MIDI controller.
- Plan out the rhythm of your track and what instruments you want to include. Create a bassline, drum loop, and melody organized into choruses and verses.
- Use an audio editor to mix and polish your track. Use the sound effects and plugins included with your DAW or download more from the program’s website.
Equipping Yourself to Make Music
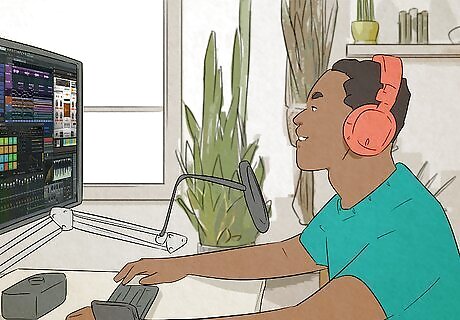
Select a DAW. DAW stands for Digital Audio Workstation. Different DAWs have different system requirements, so knowing which DAW you’ll use can help determine the kind of computer you’ll need to build or buy. There are many DAWs available, so you should research the one best for you, but a few popular options include: Image-Line FL Studio is one of the more robust options in the Fruity Loops brand. As a bonus, this DAW generally includes free updates. Ableton Live is a popular choice among composers and performers. It integrates well with supplemental hardware, like synthesizers and the Push 2 controller. Think of controllers as a physical interface for your DAW. By pressing a button on a controller, you can create sound in your DAW. Steinberg Cubase Pro is a well-balanced DAW with specialized digital tools, like the chromatic adjustment function in the Sampler Track interface. Avid Pro Tools is perhaps the best known DAW among lay-producers. Pro Tools is a dependable DAW that you'll find in many studios. Apple Logic Pro is relatively easy to use, with clear labels and an intuitive graphical user interface. However, this DAW is only available for Apple products. Reaper is a DAW you can download and use for a trial period of 60 days. After the trial, you'll be asked to pay $60 or make a donation. However, you'll still have the option to decline payment and continue using the program.
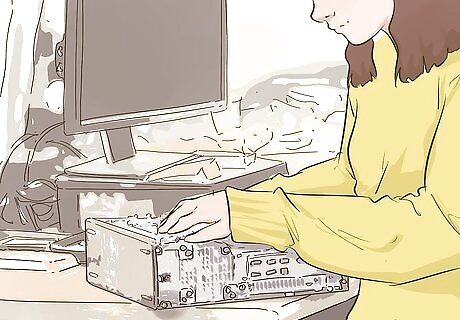
Choose the computer you'll use for making music. When using the DAWs Pro Tools, GarageBand, or Logic, consider buying a Macbook, as these DAWs are either Mac-only releases or run optimally with Mac specifications. Prioritize laptops for live performing. If you don’t plan on performing, a desktop computer will likely save you money, function better, and last longer. Choose a computer with a high processor speed. Your computer should have a minimum 3.0 dual-core processor. Outfit your music production computer with at least 8 GB of RAM and 500 GB of hard drive space. This will ensure you have enough space for a sound library and that your computer runs smoothly.

Collect production equipment and accessories. Although DAWs can digitally reproduce many instruments, samples of live recordings often sound more authentic. For this reason, you may want or need equipment like keyboards, synthesizers, microphones, controllers, electric guitars, and more. Invest in an audio interface. This device links your computer to external hardware like instruments, headphones, monitors, and microphones. While you can use your computer’s internal recording devices instead of an audio interface, the sound will be lower quality and less accurate. Equipment can be very expensive. Prioritize equipment from the most to least useful. Save money over time and buy equipment one piece at a time to build your stockpile. When evaluating equipment usefulness, think about your skills and abilities. For example, a digital drum kit would be useful if you're a trained drummer.
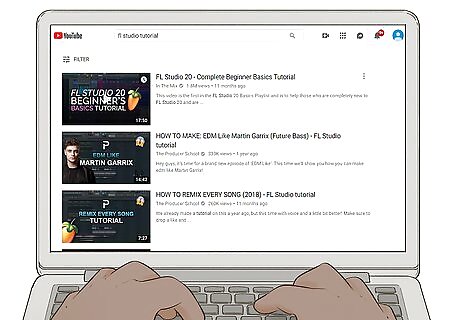
Educate yourself about your DAW and equipment. Watch YouTube tutorials for the DAW you’ve selected. Familiarize yourself with its features. Take notes from experienced users and tutorials on how to make your DAW produce music most efficiently. Each DAW will be different and have different features. Even if you’re somewhat familiar with the general layout of DAWs, it may take time and training before skillful usage comes naturally. There may be free online courses teaching how to use your particular DAW. Professional DAWs often come with tutorials for owners. Search online to find and make use of these resources.
Producing Music with a Computer

Plan the track. Although there are exceptions, you should generally keep the number of parts (including vocals and instruments) in your track to about 5 or 6. Too many parts can create a muddy or oversaturated sound. Choose the tempo (speed) of the music by setting the metronome (sometimes marked by “BPM” (Beats per Minute)). Research the genre of the track you’re trying to create. Some genres have specific characteristics, like the typical 90 BPM range for pop songs or the 120 BPM range for house music. Consider what you, as a listener, want or like to hear in the genre of music you are making.

Compose a bassline. The bassline is made up of low-tone pitches and percussion instruments, like drums. This should be fairly simple and repeatable without being tiresome. The trick of a strong bassline is to make it repetitive but catchy. Low-tone notes on instruments besides drums can be a part of your bassline. Try including low-tone chords and low-tone single notes on the guitar and piano. Loop the main theme of your bassline so it’s steady and plays for most of the track. This main theme may pause during the bridge or change slightly at transitions, like when the verse changes to the chorus. The repetitive, twangy bass of Pink Floyd's hit song "Money" and the simple yet insistent low-note pulse in "My Generation" by The Who are great examples of famous basslines. EXPERT TIP Nicole Levine, MFA Nicole Levine, MFA wikiHow Technology Writer Nicole Levine is a Technology Writer and Editor for wikiHow. She has more than 20 years of experience creating technical documentation and leading support teams at major web hosting and software companies. Nicole also holds an MFA in Creative Writing from Portland State University and teaches composition, fiction-writing, and zine-making at various institutions. Nicole Levine, MFA Nicole Levine, MFA wikiHow Technology Writer "DAWs have built-in instruments that can be tricky to "play" with just a keyboard and mouse. Playing virtual instruments didn't feel natural to me until I got a MIDI controller. I really like the Arturia Keystep, which has a built-in arpeggiator, making it great for basslines. It also comes with Ableton Live Lite."

Organize the song into choruses and verses. A typical song structure is Intro-Verse-Chorus-Verse-Bridge-Chorus-Outro. This structure is familiar to listeners and will make your song more catchy and polished. If you’re struggling to find a structure you like, listen to your favorite songs and mimic their structure. The intro is typically slow and low-key, establishing the song's rhythm and capturing the listener’s attention. The verse is the story-telling part of the song. Each verse typically contains different lyrics that advance or subvert the meaning of the song. The chorus summarizes the main meaning of the song and is typically the catchiest part of the song. The chorus usually repeats without lyrical changes. The bridge appears toward the end of the song with a change in rhythm and tempo. It's an opportunity to say something different or add more dynamic for the listener. The outro signals to the listener that the song is ending. Often, this is done by repeating the intro with a slower tempo or repeating the chorus on a fade-out.

Come up with a melody. The melody is the main part of a track that you would hum along to. The melody is often reflected in the lead vocals. Generally, the melody is created by one instrument, one voice, or the combination of an instrument and a voice. The melody should sync with the pulse of the bassline. There are many instruments you can use to make the melody, but popular choices include the piano, guitar, trumpet, trombone, flute, violin, and more. Try to design your melody so it has contour. The rise and fall of the volume and tone of the melody will be more engaging to audiences. If you intend to have vocals, it’s most common to have the vocals sing along with the melody. Write lyrics for your vocals if you plan on including them in your track. Popular melodies that you might look to for inspiration for your own include "I Want to Hold Your Hand" by the Beatles and "Respect" by Aretha Franklin.
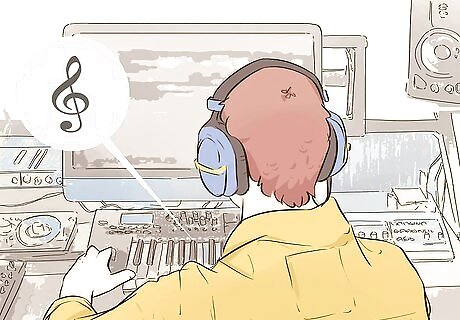
Add in harmony. Choose one or two new instruments to add harmony to your track. Include these instruments at various points throughout the track. Use a note, a run of notes, or a chord with these instruments to create tension, build the sound, emphasize important parts of the song, or highlight lyrics. Add supplemental instruments sparingly to your track. Adding too many or having supporting instruments play too frequently can make your track heavy and the sound quality muddy. Voices, too, can be added as a supplemental “instrument.” Backup or choral vocals can be effective, especially during the chorus or emphatic parts. Listen to the operatic harmony in the internationally famous Queen song "Bohemian Rhapsody" or the equally impressive harmonies of the Beach Boys in "I Get Around."
Emphasize suitable parts of your track. During the middle build of the song, you’ll likely want to increase volume and add instruments little by little for its duration. Add an instrument to highlight your favorite lyrics. Hit home the last chorus hard by using a backup chorus to add a sense of weight and depth. When it comes to emphasizing your track, it’s a matter of preference. Explore different techniques to find what works best for you. Unusual sounds, like air raid sirens, rain, and traffic, can sometimes have an unexpectedly positive effect on a track. The bitter chorus of "Mr. Brightside" by the Killers is emphasized with additional instruments. Don McLean adds and removes instruments throughout "American Pie" to shift mood, heighten emotion, and more.
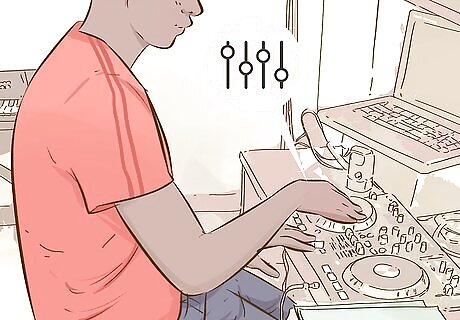
Finish your track. Mix your track. Assemble the different parts of the track in your DAW so they fit together seamlessly. Master the track to ensure the volume is balanced between parts. Check any fades and the overall frequency of the song. Moderate extremes so the transition and quality between sounds are both smooth. Keep the volume low when finishing your track. You’ll likely spend many hours making small adjustments until you achieve your desired sound. Moderate and high volumes can damage your hearing over time. DAWs generally come with finishing tools, like those used for compression. Compression tools help maintain consistent volume throughout a track.
Expanding Your Sound
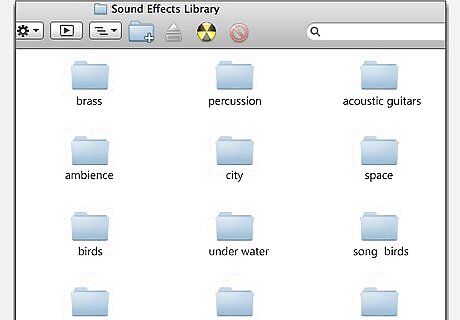
Build your sound library. Your phone can be a powerful tool for capturing unique sounds. Snag samples of natural features, like rain or birds, snippets of catchy conversation, or music being played in the distance on a still day. Download sound packs from your DAW producer's website. Ask to sample local bands, musical friends, and others. Organize your music library in an orderly system, much like you'd organize physical files. Use headings like "brass," "percussion," and "acoustic guitars."
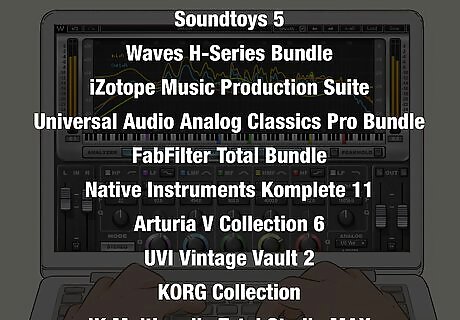
Make use of plugins to save money when starting out. Plugins add new qualities to existing programs, like added-on search engine features in your web browser. Music production plugins can be used for many purposes: sound editing, as a DAW, as a supplemental synthesizer, and more.
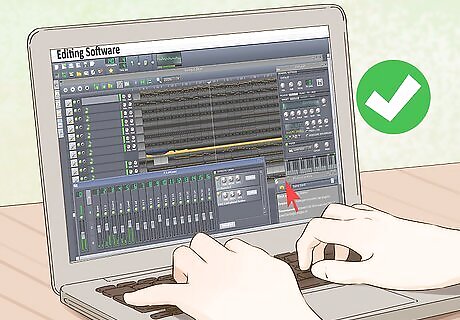
Familiarize yourself with audio editors. Audio editors help you remove static from recorded tracks, modify sound parameters (frequency) to reduce or adjust distortion, add effects, and more. Some highly ranked free audio editors that are useful for gaining familiarity with them include: Audacity is a powerful sound editing program that, even though free, manages to exceed some pay-to-use editing programs. It comes with a comprehensive manual and is approachable for beginners. Free Audio Editor has a clear user interface that makes this editor less intimidating. This program has an array of pre-made filters for things like breath and background noise reduction. Free MP3 Cutter and Editor is an excellent choice for simple edits or light finishing. Though somewhat less robust, this editor is great for things like splitting one long MP3 into multiple segments.


Comments
0 comment