
- Divide all the documents you have into piles either alphabetically, by their subject, or by year, then put them in labeled folders.
- Keep any ongoing or current documents on your desk in a red file or in the front of a file drawer on or next to your desk.
- Scan documents you’d like digital copies of and store them on your computer inside files organized alphabetically, by category, or by date.
Name your folders in a consistent way.
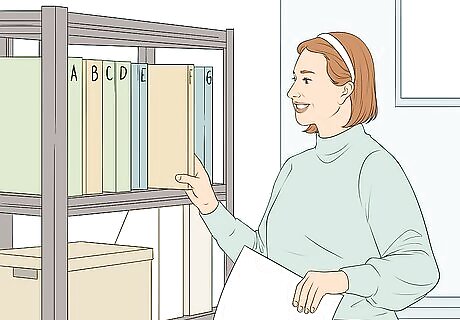
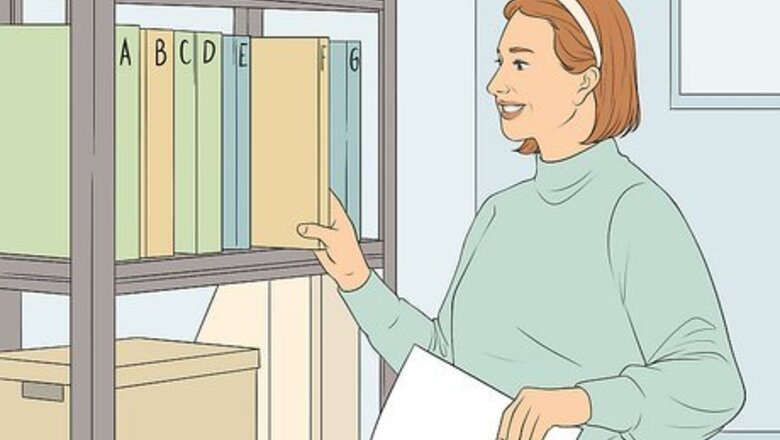
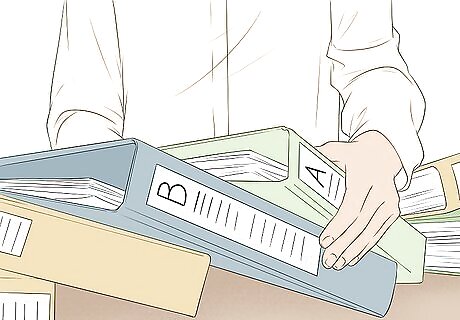
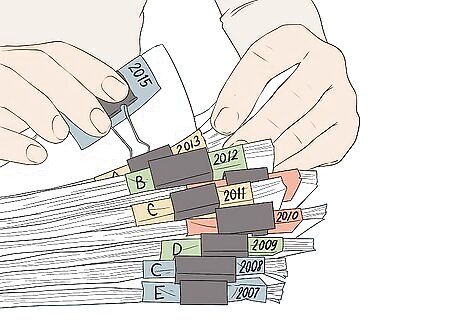
Label each folder alphabetically, by subject, or chronologically. Divide all the documents you have alphabetically, by subject, or by year. Place each pile in document binders or hanging file folders for a file bin or cabinet. By subject: Professional organizer Ashley Moon recommends organizing office files “by category, like ‘Financial’ or ‘Legal.’” Alphabetically: Sort files in order from A to Z. This system might work best if most files are names of patients, clients, or customers you can sort by last name. Chronologically: Separate documents into a hanging folder for each year, then place them in order from newest to oldest so the most recent documents are in front. Organize undated documents by importance or how frequently you use them. Highlight the date on each document to help you find them more easily in the future.
Color code each of your files.
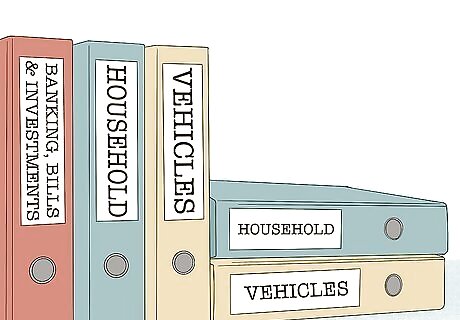
Color code each tab or folder to easily identify different file categories. Differently colored tabs or folders can save you time when searching for documents. You could assign a different color to each category of files (like green for bills and blue for project files) or color-code files you use regularly with a yellow tab and files you need to archive with a purple tab. You might use blue folders for household and individual family files, red folders for banking, bills, and investments, and yellow folders for property and vehicle information. Create a color code key and tape it to the top of the file box or cabinet to keep track of the color assigned to each document category. Use a label maker to create neat, easy-to-read labels to attach to each file tab.
Store all documents related to a project in one folder.
Create a special folder for each major work project in progress. Instead of having one folder for spreadsheets, one folder for reports, and one folder for proposals, consider storing spreadsheets, reports, and proposals that all relate to one specific project in a single folder. This can ensure that you can quickly find what you need by looking for a particular project. Consider placing all plastic tabs on the left or right side of the files to make your file cabinet or box look neat.
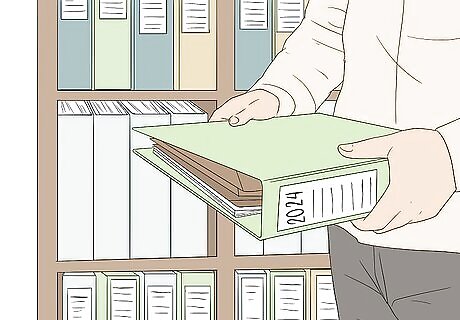
Create subfolders to keep file under 1⁄2 inch (1.3 cm) thick.
Break up multiple documents in one folder into separate folders. If a folder gets more than ⁄2 inch (1.3 cm) thick, try breaking the documents up into smaller subfolders or subcategories. If you have an overflowing folder for a client named “John Wohikiw,” you might divide it into subfolders labeled “Wohikiw, John Bills” and “Wohikiw, John Contracts.” If you have an overfilled hanging folder for the year “2019,” separate the documents into manila folders labeled with each month, like “March 2019,” “April 2019,” and “May 2019.” For a folder called “Household,” divide it into folders like “Utility Bills,” “Tax Statements,” “Receipts,” “Medical Records,” and “School Report Cards.”
Purge unnecessary documents.
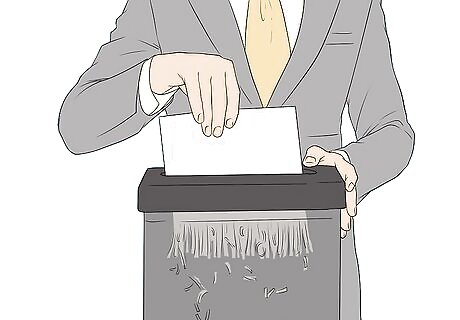
Shred or recycle any irrelevant documents once a week. Disposing of unnecessary files and documents each day can help reduce file build-up and keep your workspace clean and organized. Consider placing a small recycling bin, a paper shredder, or a basket of documents you need to shred near your desk. Shred anything that includes your personal information or confidential company information. Recycle any generic junk mail, envelopes, and loose notes.
Keep a stack of new folders handy.

Place a stack of manila and hanging folders next to the file cabinet or box. Make sure your filing system is in a secure location that’s easily accessible and place a stack of extra folders next to it. This way, you can easily add a folder if you have a document that doesn’t fit easily into an existing folder. Hanging folders can be used as categories, while manila envelopes can act as subcategories that you can remove from the file cabinet or box.
Place current work where you can reach it.
Keep any ongoing paperwork on your desk until you complete it. Professional organizer Ashley Moon recommends keeping any “hot” or immediate paperwork “either in a red file or the front of your file drawer on your desk.” Once the job is done, move the work into the appropriate file folder. Every one or two weeks, move the files you’re no longer working on into the folders where your completed work is stored.
Mount wall organizers for incoming documents.
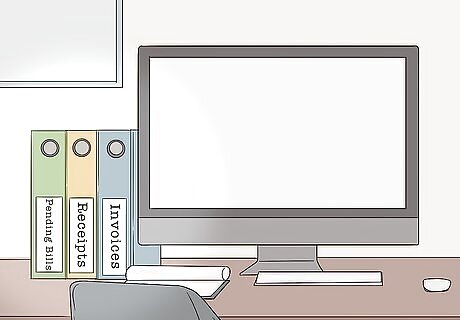
Hang file holders next to your door to hold documents you just received. Instead of cluttering the top of your desk with files and folders, mount a wall file holder and label each space by the type of files that should go in each one. A few labels you can use might include “Invoices,” “Receipts,” “Pending Bills,” “To File,” or “Current Project Documents.” Mount three magazine holders by your desk—one for projects due this week, one for things you plan to do in three months, and one for anything on which you’re waiting for a response.
Store digital copies of paper documents.
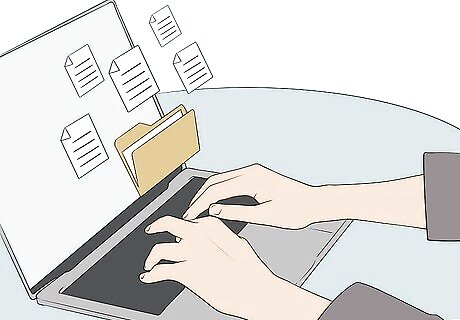
Scan documents and organize them in electronic files on your computer. If you have any archived files or files you’d like to send electronically, use a scanning machine to create digital copies. Create folders on your computer, organize them alphabetically, by subject, or by date, and sort your scanned files into their appropriate folders. Digital copies can also be useful if you don’t have a lot of storage space or if you’d like to store your documents in a more secure place. For folders for specific projects, add subfolders like “Resources,” “In Progress,” “Final,” and “Scrap” so you can easily find what you need. If there’s a folder you’d like to appear at the top when you sort them alphabetically, put a hyphen (-) before the name. Rename photos with the year, month, and a short description of the picture so you can search for those keywords later. If you have a picture of your brother and sister from a family vacation to Florida from March 2018, you might title it “2018-3 Brittany and Josh Florida Vacation.”
Go through all of your files once a year.
Set an expiration date for your files to shred or recycle them. Depending on the type of business you work for or what kind of files you're keeping, an expiration date might be a year, five years, or ten years. Set a day each year to shred or recycle any unnecessary files and go through your old folders to see if anything needs to be archived. To archive files, digitize them or move them to a specialized archive box or drawer organized by year. This can keep your main file system from getting cluttered with old documents. Relabel or replace any folders if necessary to make sure that each section is clean and organized correctly.


Comments
0 comment