
Using Desktop
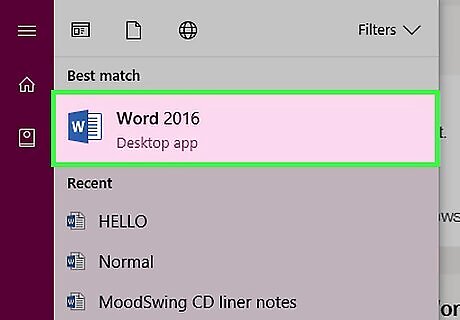
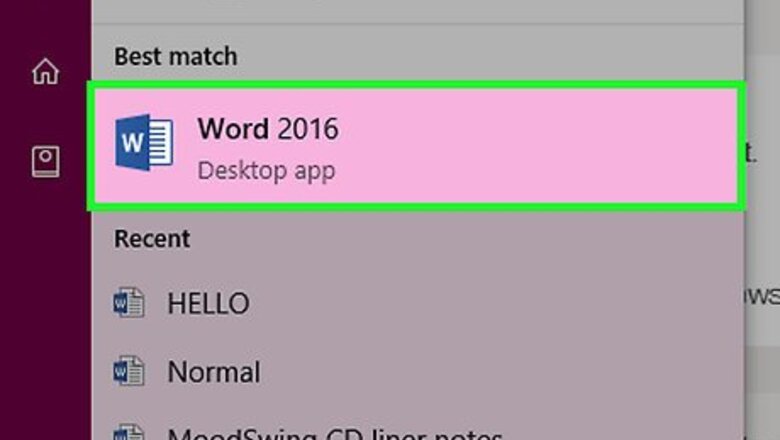
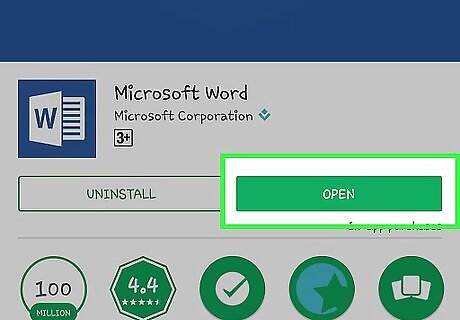
Open Microsoft Word. Its icon resembles a blue background with a white "W" on top. If you'd rather edit an existing document, simply double-click the document in question.

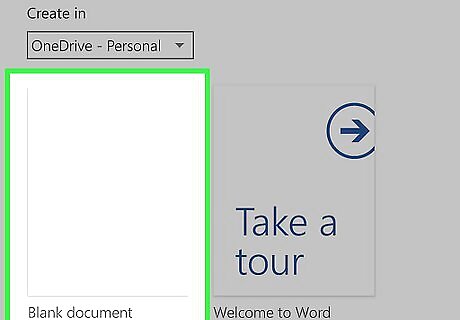
Click Blank document. It's in the top-left corner of the templates page. If you're editing an existing document, skip this step.
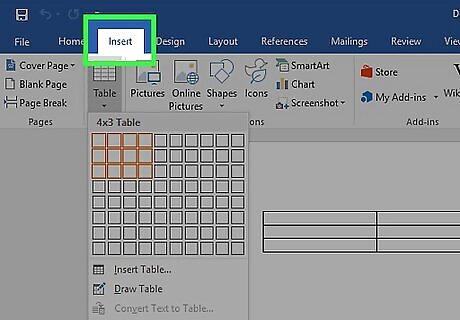
Click the Insert tab. This tab is to the right of the "Home" tab in the top-left corner of the Word window.
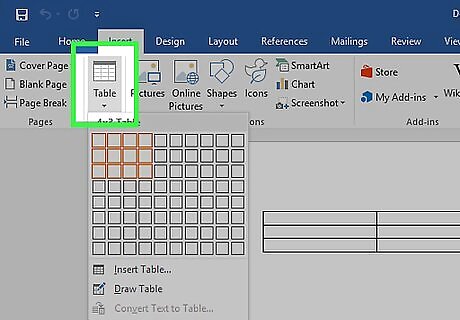
Click Table. It's the grid icon directly beneath the "Insert" tab.
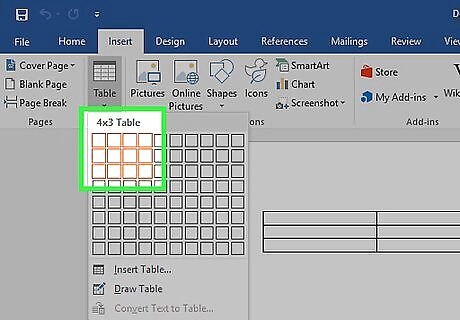
Hover the mouse cursor over a square. You should see a drop-down menu with a series of squares below the Table button; hovering the cursor over a square will cause the pertaining table to appear in your document. For example, selecting a section four squares down and eight squares right will create a table with eight columns and four rows.
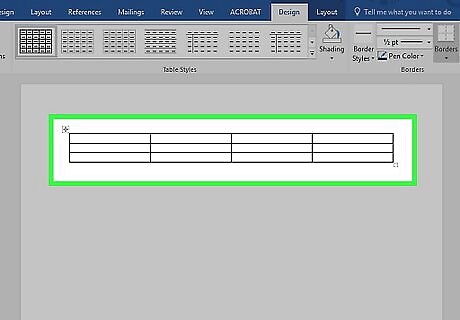
Click your preferred square. Doing so will create a table with your selected number of rows and columns.
Using iPhone or iPad

Open Word. It's a blue app with a blue "W" written on a white folder icon.
Tap New. You'll see this option at the bottom-left side of the screen. If Word opens to a document, tap the "Back" button in the top-left corner of the screen first. If you'd rather load a pre-existing document, tap Open in the bottom-right corner of the screen and then tap a document's name to open it.
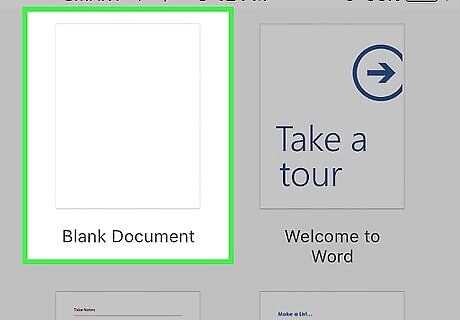
Tap Blank Document. It's in the top-left corner of the page. If you're opening an existing document, skip this step.
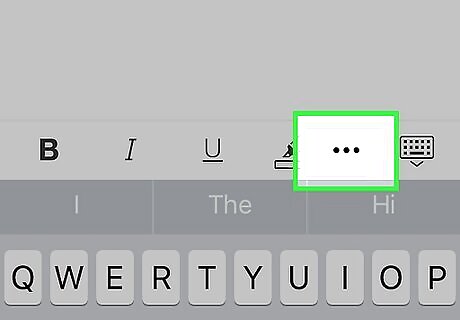
Tap the "..." button. It's in the middle-right section of the screen in the toolbar above the keyboard.
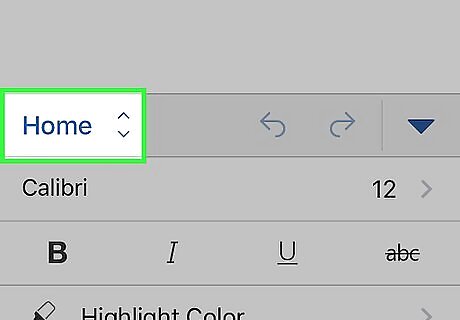
Tap Home. You'll see this option on the left side of the toolbar.
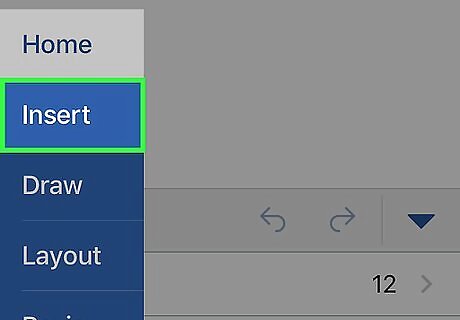
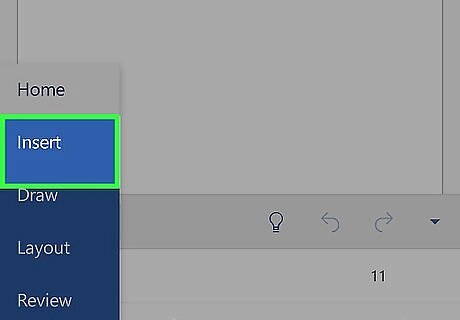
Tap Insert. It's below "Home" in the drop-down menu that appears.

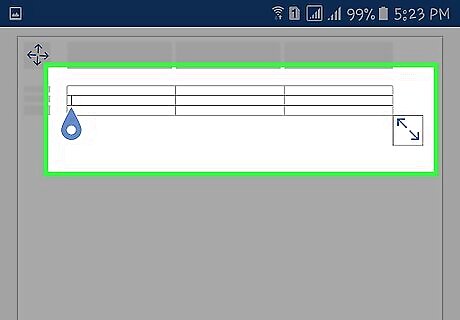
Tap Table. This option is near the top of the options that are listed at the bottom of the page. Tapping it will insert a three-by-three table into your Word document.
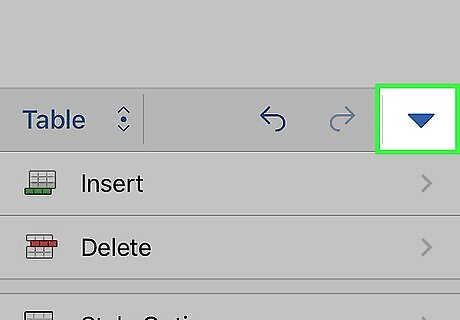
Tap ▼. It's on the right side of the toolbar. From here, you can format your table in a few different ways: Tap a cell to select it for writing. Tap the leftmost button in the toolbar to add a column to the left of your cursor. Tap the button to the right of the leftmost button to add a row below your cursor.
Using Android
Open Word. It's a blue app with a blue "W" written on a white folder icon.
Tap Blank document. It's at the top of the screen. You can also tap a document's name from the left side of the screen to open it.
Tap Insert. You'll see this tab at the top of the screen, to the right of the "Home" tab.

Tap Table. It's directly below the "File" tab in the top-left corner of the screen. A table will appear in your Word document.
Tap a cell in the table. Doing so will place a cursor in your selected cell. From here, you can add columns or rows by tapping the Insert button (below the "Insert" tab) and then tapping one of the following options: Insert Above - Add a row above the row in which your cursor sits. Insert Below - Add a row below the row in which your cursor sits. Insert Left - Add a column to the left of the column in which your cursor sits. Insert Right - Add a column to the right of the column in which your cursor sits.


Comments
0 comment