

Create a New Photo Book
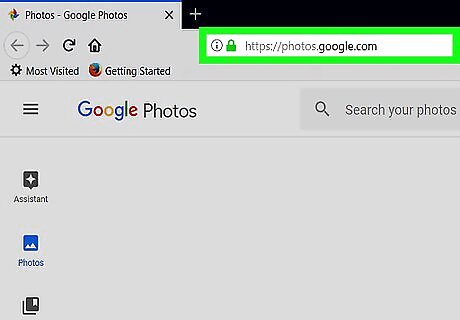
Go to https://photos.google.com in a web browser. Log in to your Google account if you aren't logged in automatically.
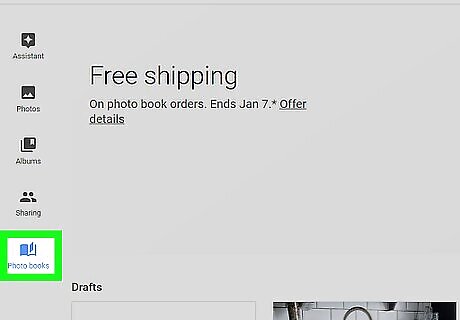
Click Photo books. It's the icon that resembles an open book on the bottom-left of the page
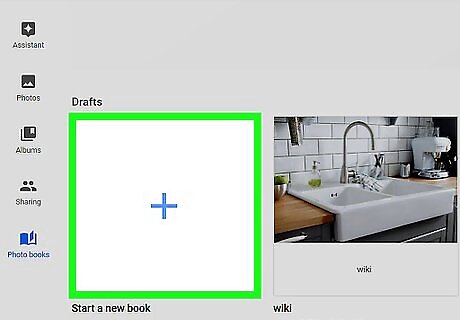
Click +. It's the large blank square with a blue "+" sign in the middle.

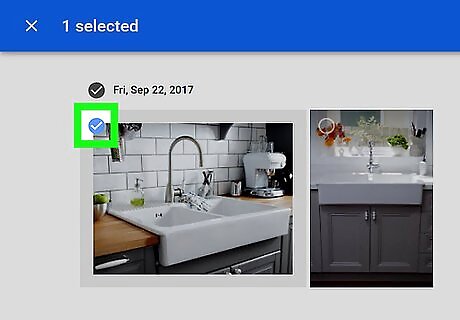
Select the photos you want to include. Click on a photo to select it with a blue checkmark. You can always add or remove photos later. Photo books have a minimum of 20 pictures and a maximum of 100 pictures.

Click DONE. It's in the top-right corner.
Edit the Cover and Title
Place the mouse cursor over the cover photo and click Change Photo. The cover photo is the first image at the top-right, labeled with the words "Cover and Spine" under it.
Select an image and click Done. Click on an image to select it and then click Done in the top-right of the page.
Select an image layout to the right of the cover photo. These are the three squares to the right of the cover photo. Click an option to choose 1. Displays a cropped image at the top, with the title below. 2. Displays a square sized image in the center, with the title below. 3. Displays a full-page image with no title.

Click and drag the photo to adjust the framing. Click on the photo and drag the photo from either side to side or up and down depending on the layout you chose.
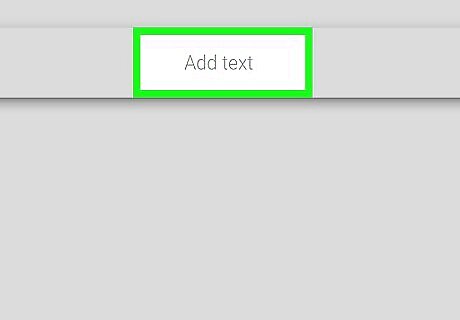
Click Add a Title and type a title for your photo book. This is the text just below the cover photo. Type a title for your photo book's title. Whatever text you enter for the title will also display on the spine.
Edit the Photos
Click and Drag pages to change their order. Click on any page with an image and drag it to a new location and then release the mouse button. You can do this in the preview column on the right side as well.

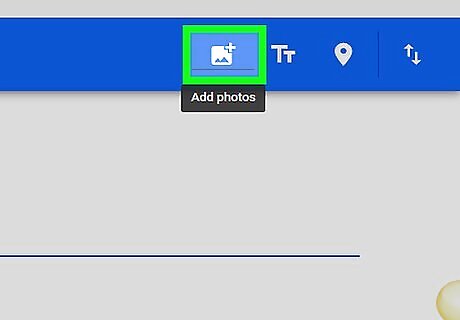
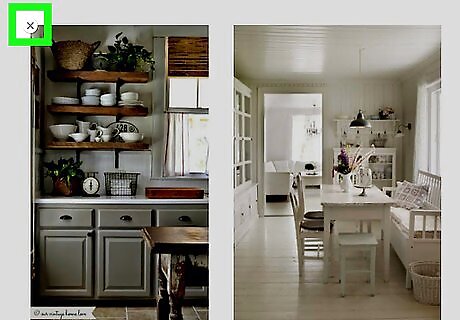
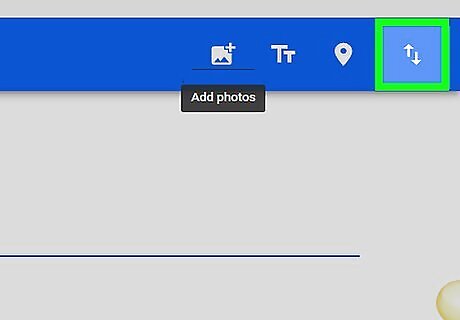
Click ⓧ to delete a photo. It's the icon of an "x" in the top-right corner of a photo. You can also click the "Add Photo" icon at the top which resembles a photograph with a "+" sign in the top-right corner. It's at the top of the page.
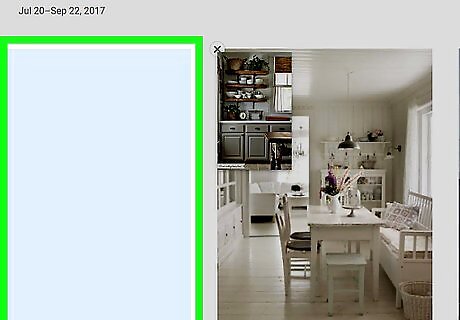
Place the mouse cursor over a photo and select a layout option. This displays the three layout options to the right of the left of each page. Click one to apply it instantly.

Click and drag a photo to adjust how the framing. After applying the layout of the image, click on the photo and drag the photo from either side to side or up and down depending on the layout you chose.
Order the Photo Book
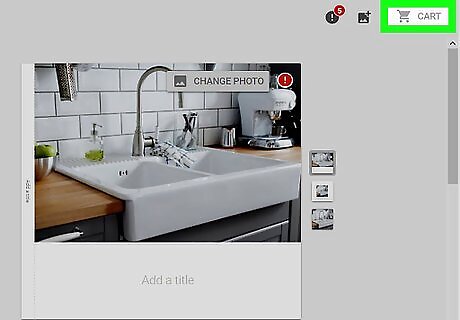
Click CART. When yo've finished editing your photo book, click the blue shopping cart button in the top-right corner.
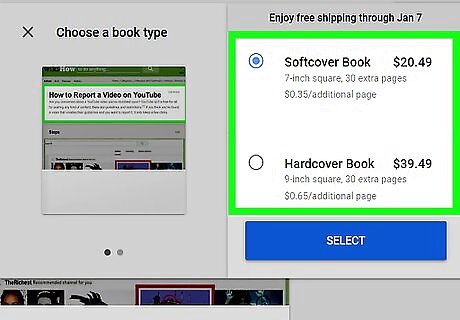
Select "Hardcover" or "Softcover" and click SELECT. Softcover is the smaller and cheaper option. Hardcover is larger and costs a little more.
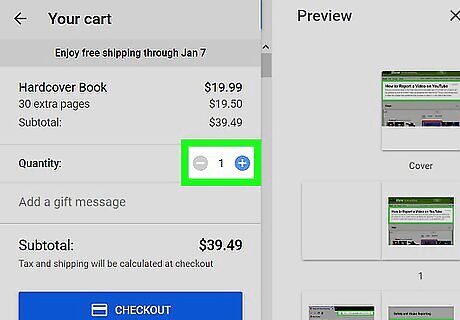
Click the "+" or "-" icon adjust the quantity. Click the "+" or "-" button if you want to change how many copies of the photo book you want to order. You can also a message if you want to ship the photo book to someone else directly.
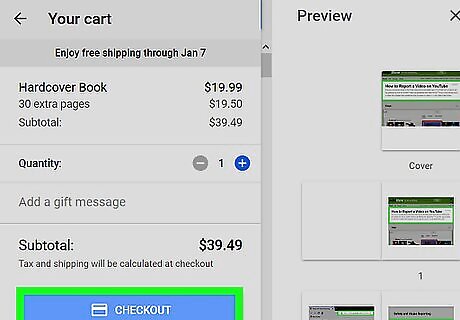
Click CHECKOUT. It's the blue bar with the credit card image.
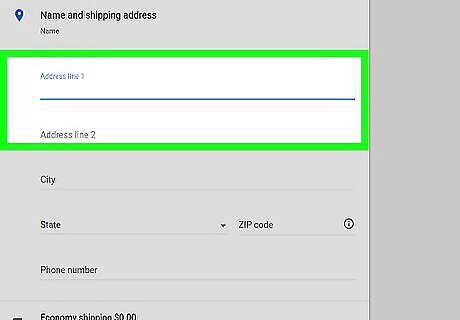
Select or add a shipping address. Click one of the addresses associated with your Google account or click Add shipping address to add a new one.
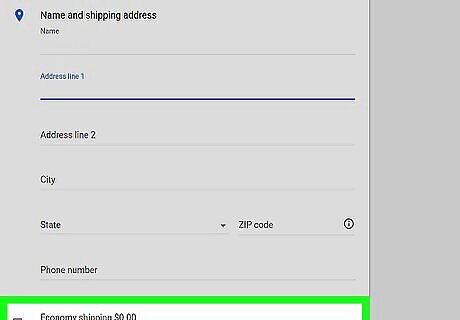
Click the truck icon to choose a shipping method. It's just below the address section on the page. Clicking it reveals three shipping options: Economy Shipping is the cheapest, but takes 10-14 business days. Standard Shipping is moderately priced and takes 5-9 business days. Priority Shipping is the most expensive, but takes 4-6 business days.
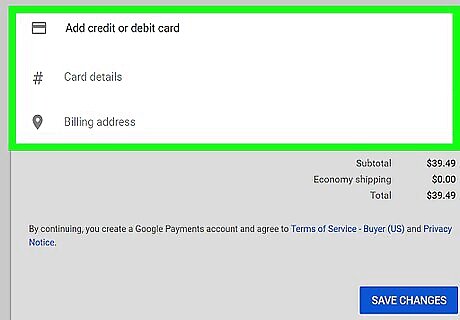
Click the credit/debit card logo and select a payment method. Select a credit card or payment method associated with your Google account. If you don't have a payment method saved in Android pay, you can click Add credit or debit card to add a new card.
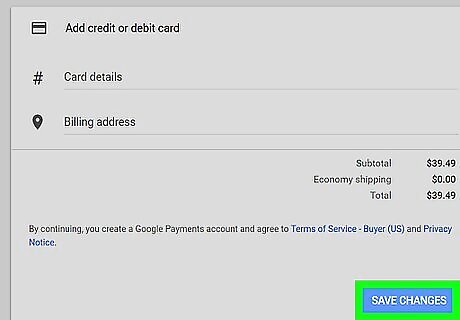
Click BUY. It's the blue button at the bottom. This places your order and begins the process of creating your photo book.


Comments
0 comment