views
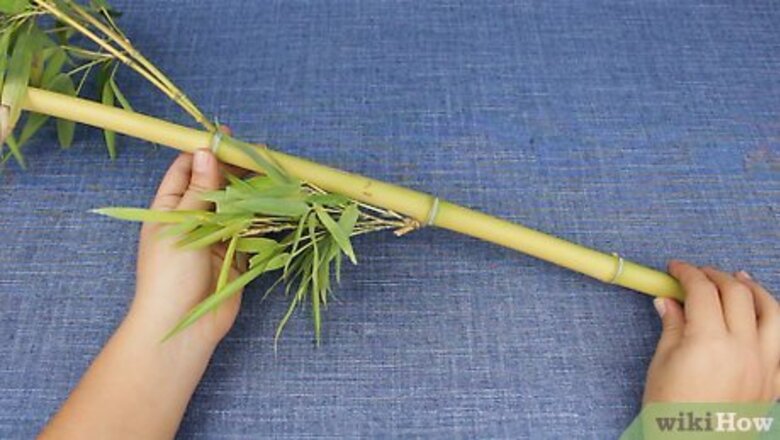
- Select and cut a bamboo stalk at least 14 in (36 cm) long and 3⁄4 in (19 mm) wide, with no visible cracks or holes.
- Use a mallet and a chisel to break each of the inner “walls” of the bamboo, save for the wall at the very end.
- Use the Flutomat tool to determine the size and spacing of your holes, then drill your holes perpendicularly into the bamboo.
Selecting and Cutting Bamboo
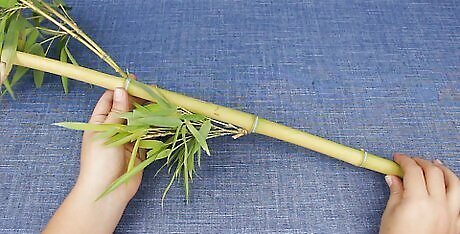
Cut a bamboo stalk between ⁄4 in (19 mm) wide and at least 21 in (53 cm) long. Cut a mature stalk of wild bamboo, or buy some cured stalks from your local hardware or garden store. Make sure that the diameter of the stalk is between ⁄4 in (19 mm) and ⁄8 inch (22 mm) wide, and at least 21 in (53 cm) long. Also, make sure the stalk isn’t dark green, doesn’t have any cracks, and is as straight as possible. Also ensure that the bamboo has at least 2 nodes—the wider sections along the bamboo’s length, and is slightly yellow in color, which means the stalk is mature and you’ll avoid sticky sap. Bamboo stalks with walls that are about ⁄8 in (3.2 mm) thick tend to produce the best sound.
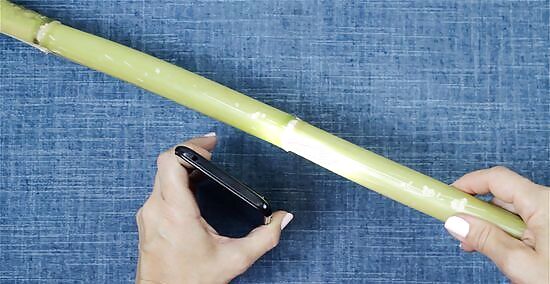
Use a flashlight to make sure the nodes are intact. Shine a flashlight straight down the stalk after it’s cut (or hold it up to a light source) and make sure no light shines through. This means the nodes of the stalk are solid inside, and the stalk is ideal for a flute. If light does shine through, that stalk won’t work for a flute; select another.
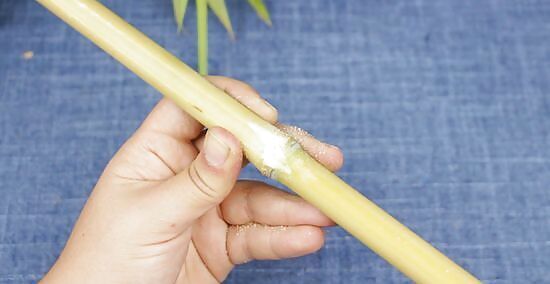
Strip off any branches and sand down any nubs on the stalk. Strip off any small branches protruding from the stalk, using a hacksaw if necessary. Use a bit of 80-100 grit sandpaper to smooth down the leftover nubs.
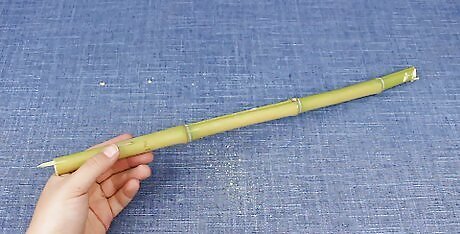
Cut the stalk to size based on your desired key. The length of the stalk determines the key that it plays. To make a flute that plays in the key of A, cut a 14 in (36 cm) length of stalk. For an F flute, cut it to 18 in (46 cm), and for a key of D cut it to 21 in (53 cm). Use a hacksaw to make your cut, and when you do, cut just outside the last node, so that your flute ends with one of these thicker sections intact. The aim is to have one node at the very end of the stalk and another 1-2 nodes near the middle after you cut it to size. Wrap a piece of masking tape around the area that you want to cut, then cut it with the hacksaw. The tape helps stop the bamboo from splintering.
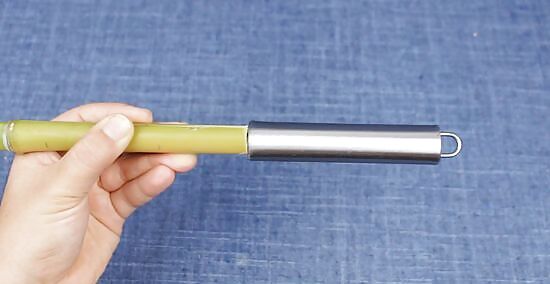
Hollow out the nodes in the center of the stalk. Each node along your stalk has a wall that obstructs the air, and we’ll need to knock out those walls in order to make sounds—but only the nodes in the center; the node at the very end of the flute must remain intact. Stick a long chisel or a sharp tool up against the node inside the tube, then hit the end of the tool with a mallet to chisel away the inner walls of the center nodes. Alternatively, heat up a metal poker over a flame (wearing heat-proof gloves), then insert the poker into the bamboo to burn away the inner node walls.
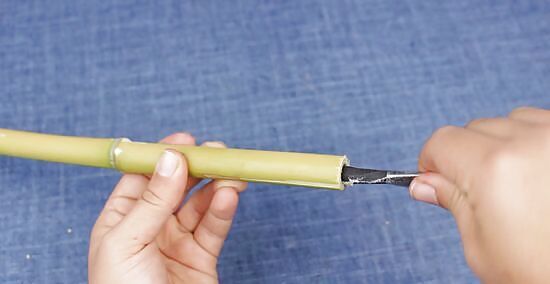
Use a sandpaper-wrapped rod to sand out the inside of the stalk. Wrap and tape 80-100 grit sandpaper around the end of a dowel or other rod that can fit inside the stalk. Then, rub the sandpaper against the inside of the bamboo to smooth the inside of the tube. Also, sand the places where the nodes were located so that it is as smooth as possible. Sand until you can’t feel any bumps or rough patches within the stalk.
Boring Holes in the Bamboo
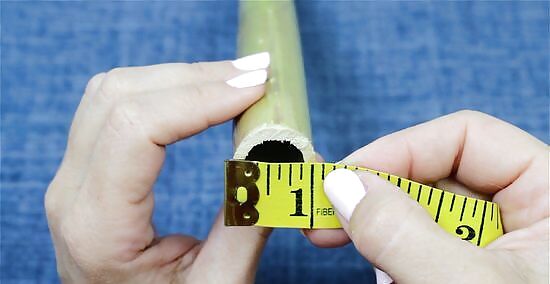
Measure the inside diameter and wall thickness of the stalk. Now we need to find out where to place the holes along the stalk, but first we need to take some measurements that will affect that placement. Looking at the open end of the flute-to-be, use a measuring tape to measure how thick the walls of the bamboo stalk are. Also measure the diameter of the hollow cavity, and jot your measurements down on paper.
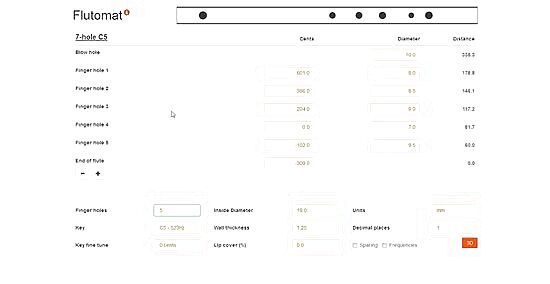
Use a pen to mark your flute’s holes along the flute’s bottom half. Navigate to Flutomat, an online flute creation tool, and input both your wall thickness measurements and your cavity diameter (or “inside diameter”) measurements. The tool will then tell you exactly where to place your blow hole and finger holes along the flute, as well as how wide those holes need to be. In the online tool, you can even select how many finger holes you’d like, as well as the key you’d like the flute to be in. If you cut your stalk to a specific key earlier, be sure to select the appropriate key in the tool.
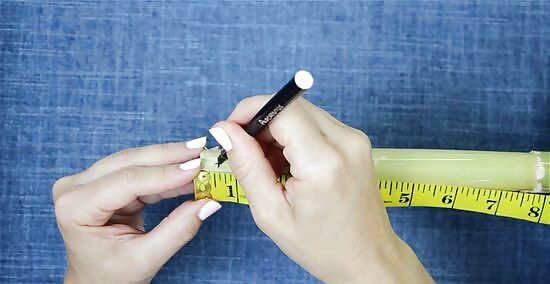
Measure and mark with a pen the exact placement of the blow hole. For a simple flute like this, measure and mark ⁄2 in (13 mm) away from the end node. This mark will be your blow hole, or “embouchure.” If you’d like more precise tuning, place your blow hole one full width of the stalk away from the end node. For instance, if the width of the bamboo is 3 in (76 mm), then measure 3 in (76 mm) up from the end node. This is where we’ll place the center of our blow hole.
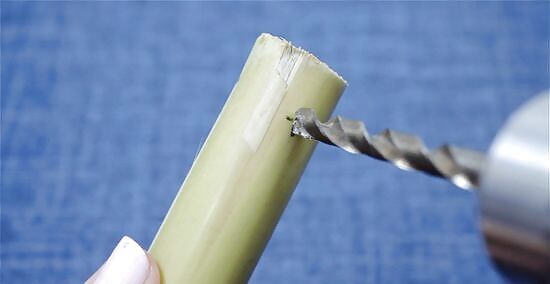
Bore and sand the blowhole into the stalk using your measurements. Consult your Flutomat calculations to find the exact diameter of the blow hole, and take note of it. Then, clamp the bamboo stalk in place, and use an electric drill with a 2 mm (0.20 cm) drill bit to drill perpendicularly into the bamboo, until you create a small hole. Drill into the same hole, gradually increasing the size of your drill bits, until your blow hole is approximately the size indicated by the Flutomat tool. When you’re drilling, hold the bit perpendicular to the bamboo with a steady hand. If you hold the drill at an angle or are unsteady as you drill, you might drill the bamboo improperly or splinter, crack or rip the bamboo. After, gently sand the edges of the blow hole to smooth them. Also, roll a bit of sandpaper into a tube and twist it into the blow hole to smooth out the inside. Test your blow hole by gently blowing perpendicularly across it to see if it makes an even tone. If it doesn’t, file the edge of the hole that faces away from your lips to create a slight, flat surface for air to blow across more easily.
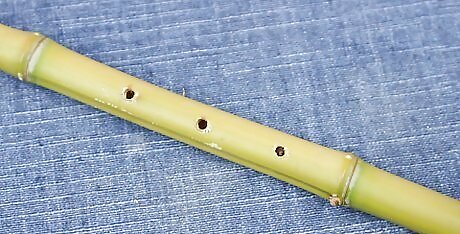
Use a drill to bore your finger holes into the bottom half of the flute. The Flutomat tool tells you the distance each finger hole must be from the open end of the flute (not the blowhole end), as well as how far apart each hole is and the diameter of each hole. Use a measuring tape to mark these measurements in a straight line on your flute, aligned with the blow hole further up. Then, in the same fashion you drilled your blow hole (with drill bits increasing in size), carefully bore each of your finger holes along the length of the flute. Lightly sand the edges of each finger hole to smooth them out and make them more comfortable to play. If you have to drill a hole over a node, this area will be thicker than other areas. Take your time and drill slowly.
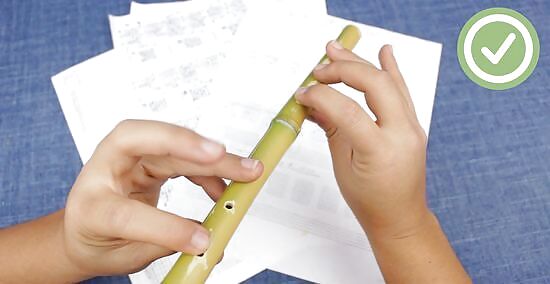
Sand down any bumps or ridges on the outside of your flute to finish. With some 80-100 sandpaper, sand down any rough patches, bumps, or ridges on the outside of your flute to make it more comfortable to hold. You might choose to sand down the nodes, as well, if they make for awkward finger placement over any holes. Then, your flute is finished! If your flute doesn’t make a sound at first, reposition your mouth near the blow hole, or have another person attempt to play it. Remember to blow perpendicularly across the blow hole, not directly into it. Make adjustments to each hole’s tone by drilling the hole wider by one bit, or by twisting a tub of sandpaper inside the hole to widen it. Store your bamboo in a dry place where humidity won’t warp it over time, like in a flute case or a plastic storage container.


Comments
0 comment