views
Creating a Grid
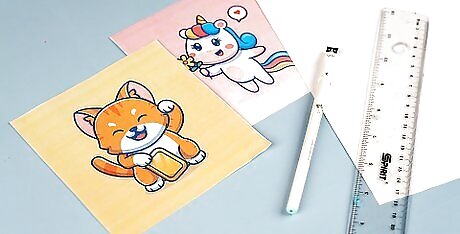
Select a picture to copy. To start, you'll want to select a picture to copy. You may already have a picture in mind that you want to copy. If you're new to drawing, it's a good idea to pick something simple. Go for a picture without a lot of detail with a clear shape. For example, the image of a child's cartoon may be easier to draw as shapes may be more simplistic.
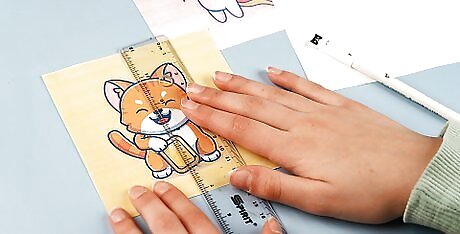
Measure the dimensions of the drawing or picture. To create a grid, you'll need to know the dimensions of the original image. This is to make sure the image you draw is to scale. To do this, take a ruler and measure the length and width of the drawing or image. Write this measurement down. For example, say your drawing is 5" by 7".
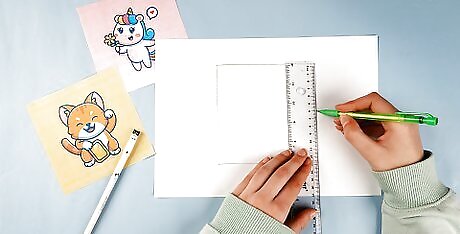
Decide on the size of the copy you're drawing. From here, determine the size of your canvas. If you're drawing on a canvas that's 5" by 7", you will not have to do much extra work to do. However, if you want a larger image, make sure you choose sizes of the same ratio. This will assure the drawing gets copied correctly. If the drawing has the same ratio, you will get the same number if you divide the width by the length. For example, say you want to make a drawing that's twice as large. You would want the drawing to be of the dimensions 10" by 14." Five divided by seven is roughly .714. Ten divided by fourteen is also roughly .714. If you want to make the drawing bigger, make sure you multiply the length and the width by the same number to assure you have the same ratio. For example, say you want the drawing to be 3 times as large. Five times three is fifteen. Seven times three is 21. You would need to copy the image onto a canvas that was 15" by 21."
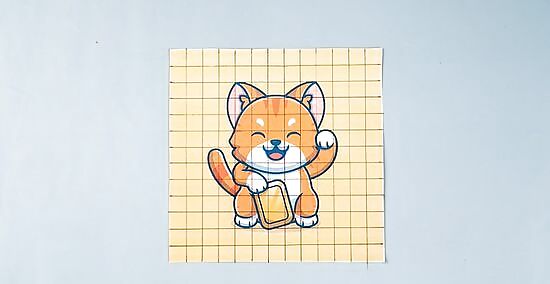
Draw a grid on the reference photo or picture. From here, you'll need to draw a grid on the reference photo. This will allow you to map out you're drawing. If you do not want to draw directly on the picture or photo you're copying, copy the image using a scanner or a copy machine. You can do this at home, if you have a scanner, or at a local office supplies store. Place a ruler on the top of the drawing or picture. Make a small mark at every inch. Then, do the same thing at the bottom of the paper. Use the ruler to draw a series of straight lines connecting the top and bottom marks. Set the ruler on the left side of the paper and make a mark every inch. Do the same on the right side of the paper. Then, use the ruler to draw straight lines between the left and right marks. When you're finished, a grid comprised of one-by-one inch squares should be drawn over the image you're copying.
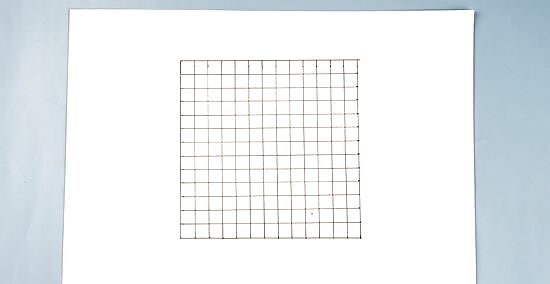
Create a grid of your own with the appropriate sized squares. Now, draw a grid over your own canvas using the same method. Use squares of an appropriate size given the size of your canvas. If you're making an image twice as large, you will need two-by-two inch squares. If you're making an image three times as large, you will need three-by-three inch squares, and four-by-four inch squares for an image four times as large, and so on. If you're using 2 inch squares, mark the top, bottom, left, and right sides in two inch increments instead of one inch increments and then connect. If you're using 3 inch squares, mark the top, bottom, left, and right sides in three inch increments and connect. Your grid surface should more or less match your reference photo.
Drawing the Image
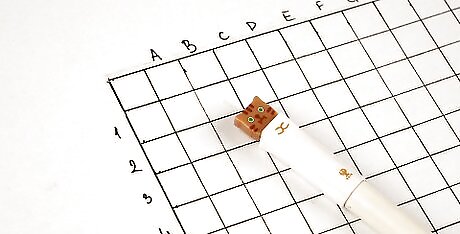
Write numbers and letters into your squares. It can help to write numbers and letters along the columns and rows of your grid. This can give you a framework by which to track what portion of the drawing you're copying. Make sure to write numbers and letters small and light so they can easily be erased later. Write numbers along the top and bottom of the grid. Write letters along the left and right side. You can mentally think of the sections in terms of how the columns and rows connect. For example, say you're drawing in a box that falls in a column labeled 3. The row corresponding to this column is labeled B. You can think of this box as B3 or 3B.
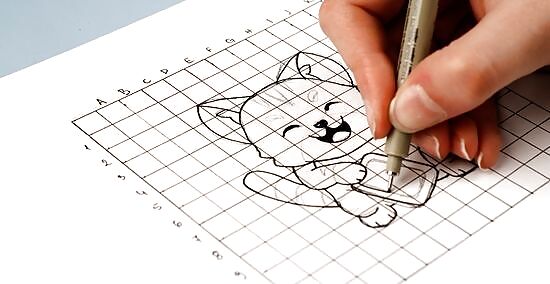
Copy the image square-by-square. You will want to copy the image moving from one square to the next. For example, start in the corner, where you'll find box A1. Focus only on the shapes and images you see in that square. Slowly copy these shapes onto the corresponding square on your blank grid. An image will probably be broken down into basic shapes when it is splayed out on a grid. This can make it less overwhelming to copy. For example, the corner of a cartoon character's ear in one box may look like two semi-circles. Focus only on drawing the semi-circles without thinking about other areas of the grid. Copy exactly what you see in the square. One benefit of drawing by grid is that you're copying what you see rather than what you think you see.
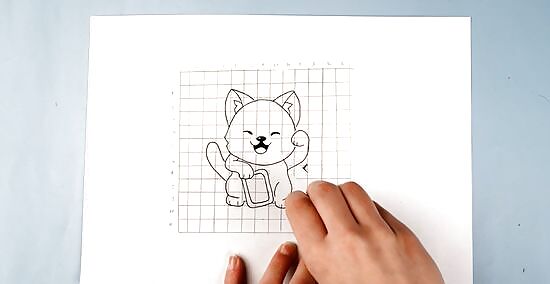
Gently erase the grid when you're finished. Once you've filled in all the boxes, gently erase your grid and the corresponding numbers and letters. Do so slowly and pay attention to where you're erasing. You do not want to accidentally erase any of your copied drawing. You may want to outline your drawing in pen before erasing any of the grid. This can make sure your drawing stays in tact.
Assuring a Quality Drawing
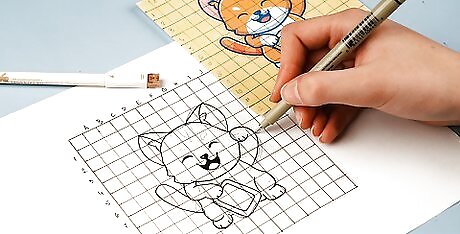
Grip your pencil correctly. One way to make sure you copy accurately is to grip your pencil correctly. Hold your pencil in a way that allows you to maintain control. The closer to the end of the pencil you place your hand, the more control you'll have over the pencil. However, if you're going for lighter strokes, you may want to move your hand further up the pencil. The closer you place your hand to the tip of the pencil, the darker the marks will be.
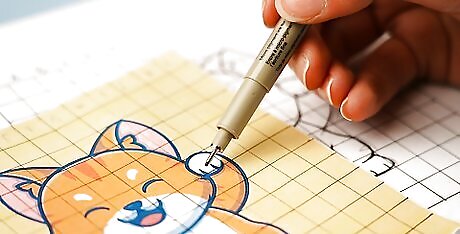
Look for basic shapes in each square of the grid. There are basic shapes in every image. Most people feel more comfortable drawing basic shapes than they do drawing complex images. Try to look at images as shapes to help you draw them better. For example, see the corner of a cartoon character's mouth as a triangle. Just try to draw a simple triangle to help yourself focus.
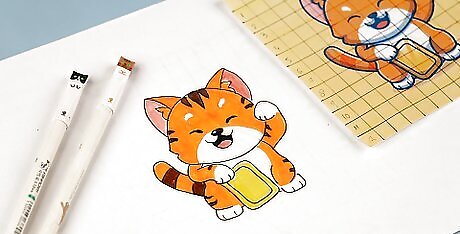
Pay attention to line quality. Line quality means the thickness or thinness of a line. When you're drawing, keep line quality in mind. You want to make sure the lines you draw are of the right quality for the image. Try to use thinner and thicker lines when appropriate. In some portions of your drawing, for example, you may notice lines are thicker. There may also be shadowy portions of the drawing where it would be appropriate to draw thicker lines. Make sure to pay attention to line quality as you copy your drawing. Keep your lines of an appropriate thickness or thinness for the image.


Comments
0 comment