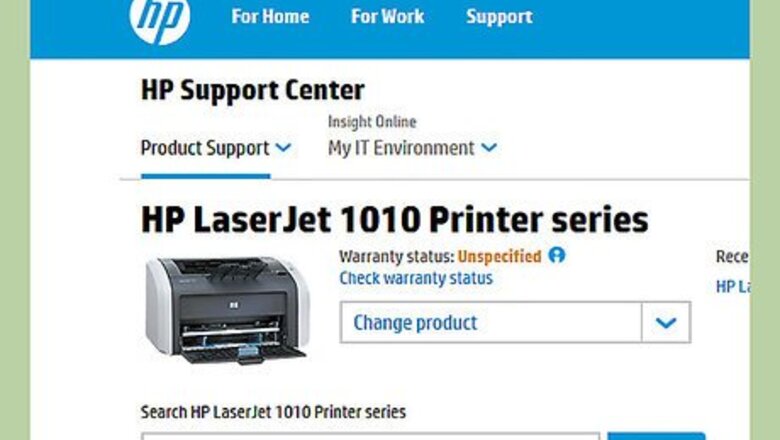
views
Connect the Printer to Your Computer
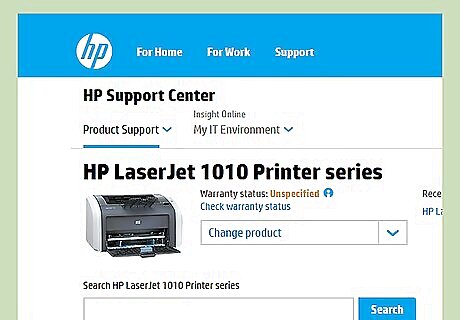
Connect your HP LaserJet 1010 to your computer. Do this using the USB data cable. Plug the ends of the cable, respectively, into the compatible ports on each device.
Plug the printer to a power supply. Then, switch it on.
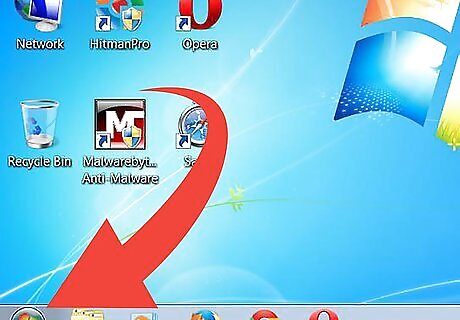
Click on the Orb button. It is located on the lower-left corner of the screen.
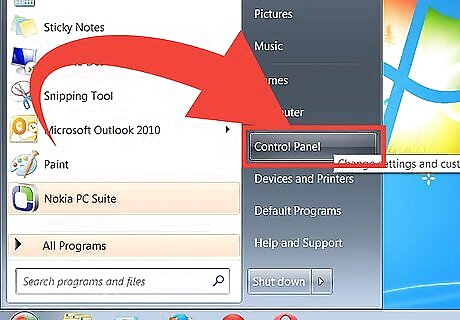
Select “Control Panel.” Click on “Devices and Printers.”
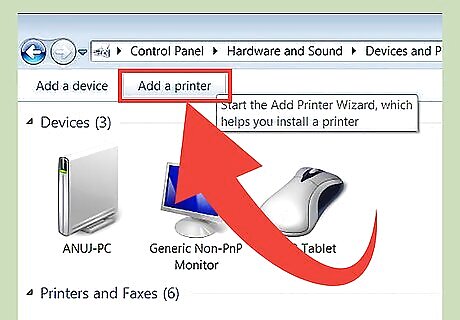
Click on “Add a Printer.” This is found on the upper-left corner of the window.
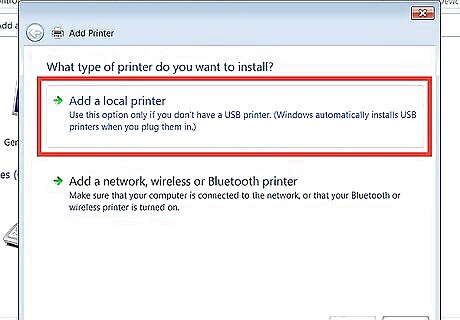
Choose “Add a Local Printer.” Click on “Next” to proceed.
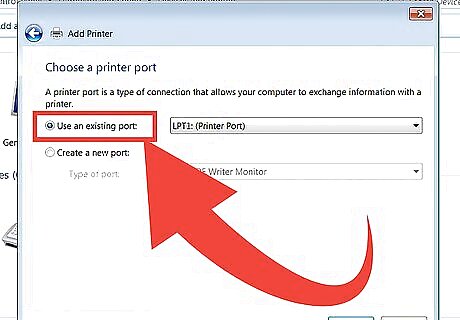
Select “Use an existing port.” A drop-down list will show; select “DOT4_001” from the options. Click on “Next” to go to the next page.
Configure the Settings
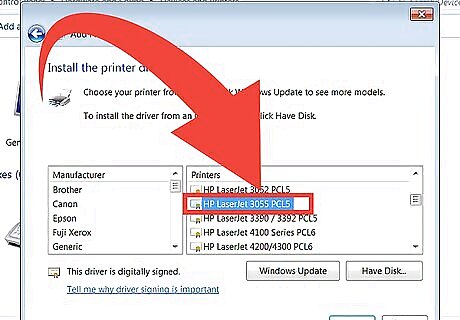
Choose “HP” from the list of manufacturers. Then select “HP LaserJet 3055 PCL5” under the list of printers.
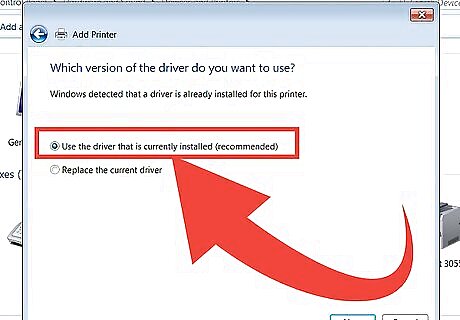
Select “Use the driver that is currently installed.” Click on “Next” to proceed.
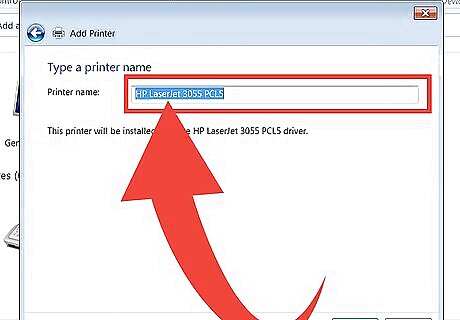
Type in the name you want for your printer.
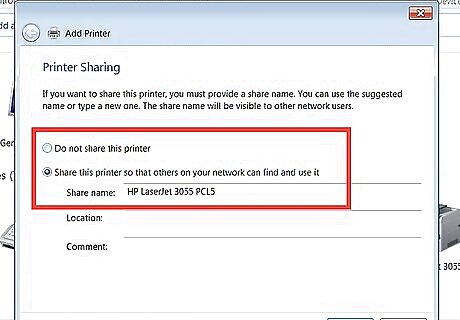
Choose whether to share the printer or not. Choose whether to set it as the default printer. Once you’re done, click on “Finish” to complete the settings.Connect HP LaserJet 1010 to Windows 7 Step 11Bullet1 Version 3.jpg


Comments
0 comment