
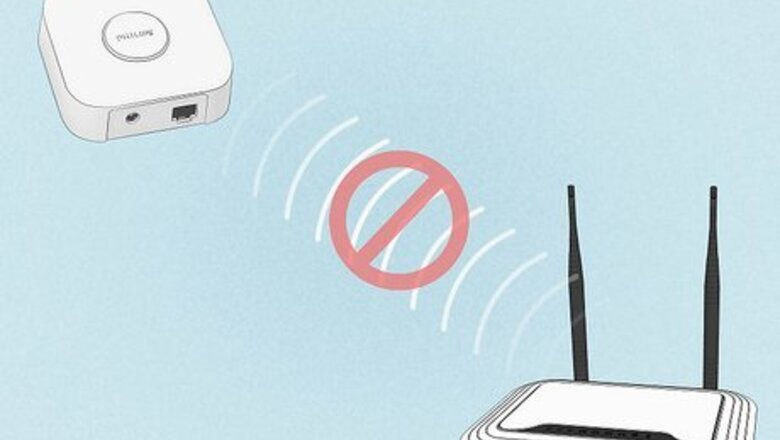
- The Hue Bridge lets you connect your smart bulbs to the internet wirelessly. However, the Bridge itself must be connected to a router with an ethernet cable.
- One way to connect the Bridge to Wi-Fi is to connect it to a router configured to run in bridge mode.
- If you are skilled at electronics and programming, you can tinker with the inside of your Bridge to make it compatible with Wi-Fi.
Is It Possible to Connect the Bridge to Wi-Fi?
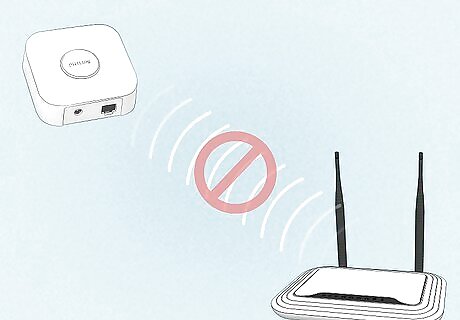
The Hue Bridge is not designed to connect to Wi-Fi directly. The biggest advantage of connecting a Hue Bridge to Wi-Fi is being able to place it anywhere you want. Unfortunately, there’s no practical way to do this. However, there are some workarounds you can do to extend the range of your Bridge. You will need to plug the Bridge into your Wi-Fi router with a cable to enable it to connect wirelessly to your lights.
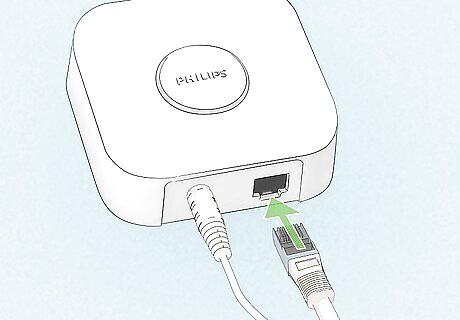
Connect the Bridge to your router with an ethernet cable. The Hue Bridge connects to any available ethernet port on your wireless router using an ethernet cable. This is the standard way to connect a Hue Bridge to the internet. Plug the provided ethernet cable into the Bridge and the opposite end into an open ethernet slot on your router. Once the four lights on the Bridge light up, it is ready to set up.
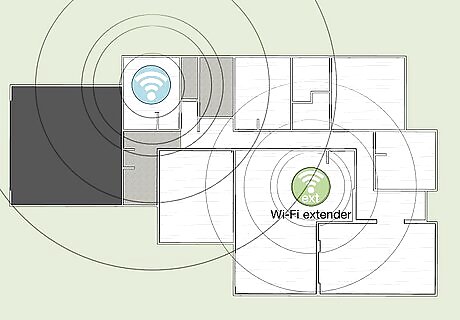
Use Wi-Fi extenders to increase the range of the Bridge. Wi-Fi extenders expand your Wi-Fi network coverage. You plug them into your wall, and they pick up the Wi-Fi signal from the router and boost it. If you have a Wi-Fi extender set up and it has an ethernet port on it, you can connect your Hue Bridge to the Wi-Fi extender. This allows you to place your Hue Bridge in a more centralized location.
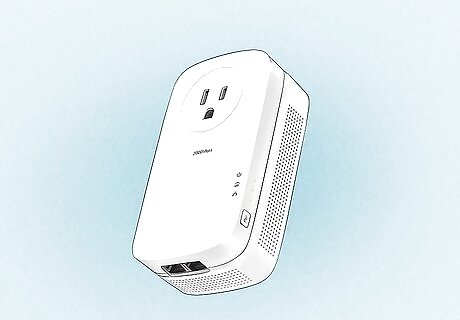
Try a powerline adapter so you can place the Bridge more centrally. Powerline adapters work similarly to Wi-Fi extenders. To set up your Bridge with powerline adapters: Connect one powerline adapter connected to the router via an ethernet cable and then plug it into the wall. You can then plug a second powerline adapter into another electrical outlet. The first powerline adapter can send an internet signal to the second powerline adapter via the powerline. Connect your Hue Bridge to the second powerline adapter to connect it to the internet in a more centralized location.
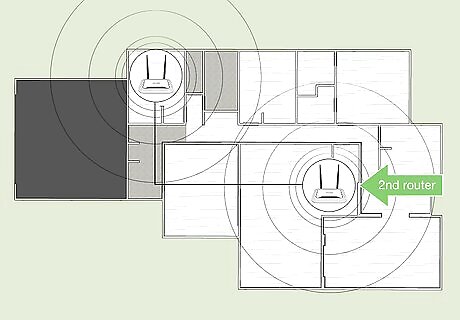
Set up a second router in bridge mode to boost your signal. In addition to Wi-Fi extenders and powerline adapters, you can also use another router as a Wi-Fi extender. To do this, you must connect the second router to the main router using an ethernet cable. Then you need to set up the second router to function in bridge mode. This turns the router into a Wi-Fi extender. You can then connect your Hue Bridge to the second wireless router using an ethernet cable.
Configure the Hue Bridge to work wirelessly if you’re tech savvy. If you have a Hue Bridge generation 2.1 or higher, the good news is it has a Wi-Fi module built in. The bad news is, it's disabled by default. Activating it requires knowledge of circuit boards and computer programming. It will also void your warranty. To get this to work: You will need to open the Hue Bridge case and solder a 1x6 header to J1. Then you will need to connect a 3.3V board connector to the pins. Next, you will need to connect it to your computer and open a remote connection using an SSH program, such as PuTTY. Finally, you’ll have to gain root access and change the settings. This will require knowledge of the Linux OpenWrt operating system. You can find a complete guide here.
Connecting the Bulbs
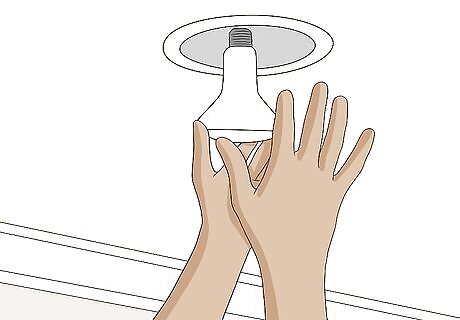
Install any Philips Hue bulbs into available light fixtures. If you're wanting to connect Philips Hue lights to the Bridge, it can be easiest to have them plugged in when you set up the Hue Bridge. The Hue smart bulbs are designed to fit any standard-sized A19 and E12 light sockets.
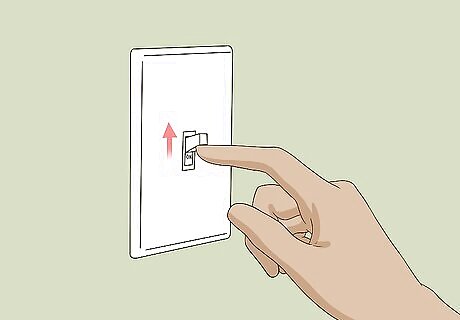
Make sure the light switches for the Hue bulbs are turned on. The Hue smart bulbs will turn on automatically when they are plugged in properly, have power, and are ready to be paired.
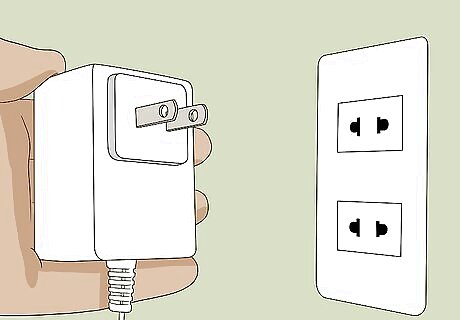
Plug in the Bridge and connect it to your router. Use the AC adapter to plug the Hue Bridge into any available power outlet near your wireless router. Then, use the ethernet cable to attach it to your router. Once the Bridge is connected to the internet, you can begin the process of connecting it with the lights.
Installing the App

Open the app store on your mobile device. Open the app store on your phone or tablet to search for and download the Philips Hue app. On Android, open the Google Play Store Android Google Play . On iPhone or iPad, open the App Store iPhone App Store Icon .
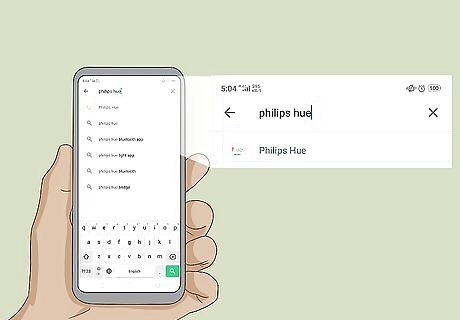
Tap the search bar and type philips hue. The search bar is at the top of the screen. As you type, suggested apps will appear below the search bar. Tap the Philips Hue app when you see it. On iPhone, tap the "Search" tab first and then tap the search bar at the top.
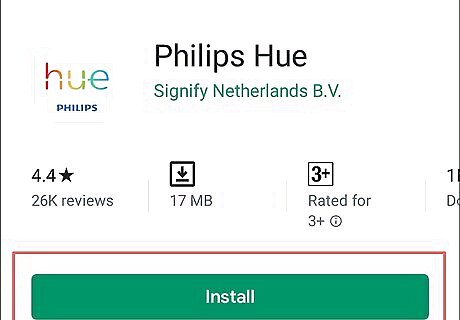
Tap GET or Install next to the Philips Hue app. It's the app that says "Hue" in colorful letters above the Philips logo. There are a number of third-party Philips Hue apps, so make sure you download the official Philips Hue app. Allow a few moments for the App to install.
Connecting the Lights
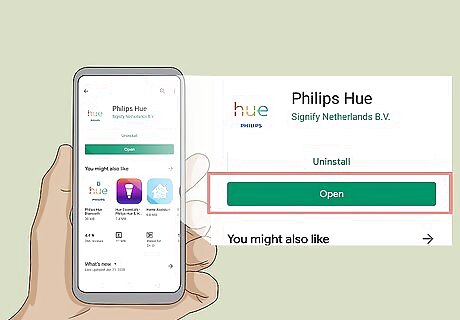
Open the Philips Hue app. You can tap "Open" from the app store if you just finished installing it, or tap the app's icon on your home screen. It's the app that says "Hue" in colorful letters above the Philips logo.
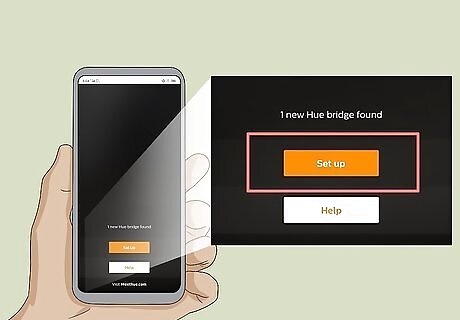
Tap Set up. It's the orange button that appears once the app has found the Hue Bridge on the wireless network.
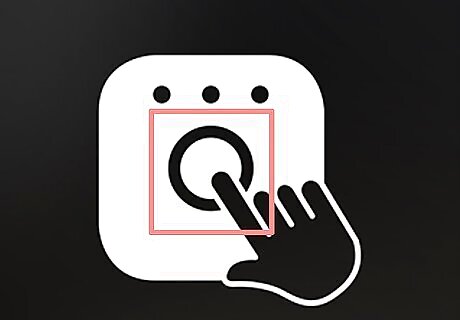
Press the Push-link button. It's the button in the center of the app that looks like the Bridge device.
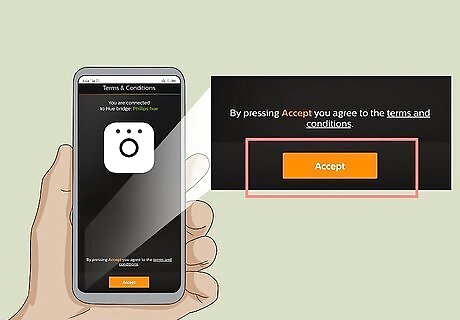
Tap Accept. It's the yellow button at the bottom of the screen. This indicates that you agree to the Terms and Conditions. Tap the underlined text that says "terms and conditions" to read them.
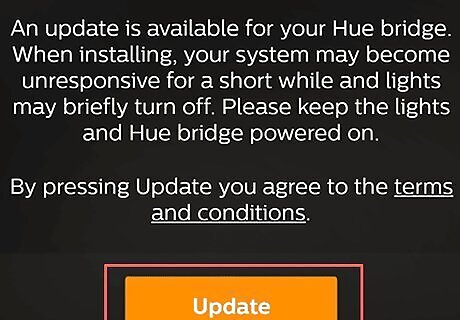
Tap Update. Once the app discovers the bridge, it may need to update the Bridge. Tap Update to update the Bridge with the latest firmware.
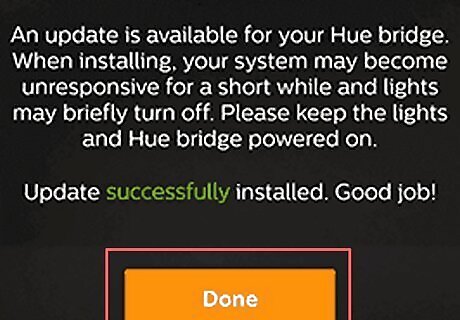
Tap Done. Once the bridge is finished updating, tap Done to continue.

Tap Pair Bridge (iPhone only). It's the yellow or green button at the bottom of the screen. You will now begin the process of setting up your home.
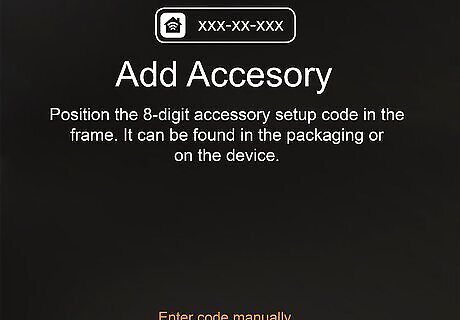
Scan the code on the Bridge (iPhone only). The code is on the inside of the box and on the bottom of the Bridge. Hold your phone up to it so that it appears on camera. Your phone will scan the code automatically. You can also tap Enter manually and enter the code with your phone keyboard.
Adding Lights
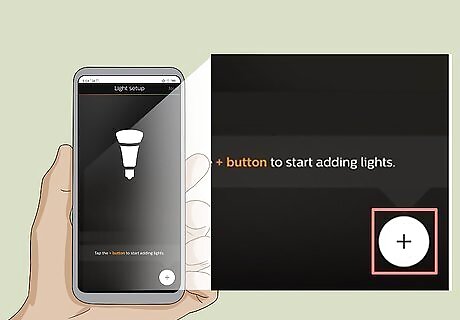
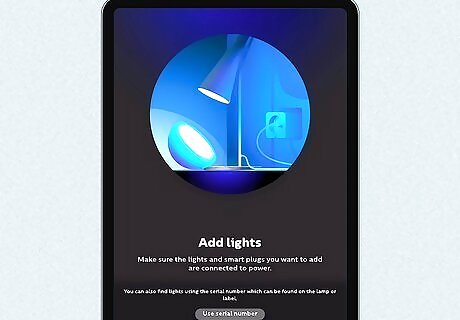
Tap iPhone Note Tools or Add Lights. It's the circle with the plus sign in the middle in the lower-right corner. This will start the process of adding bulbs.

Tap Search. It's the yellow or green button at the bottom of the screen. This will start searching for your bulbs. It will take several minutes. Once it is done, it will tell you how many bulbs it found at the top of the screen. If it doesn't find all your bulbs, tap the "+" icon again, and then tap "+ Add serial number" and type the serial number of bulbs to add them manually.
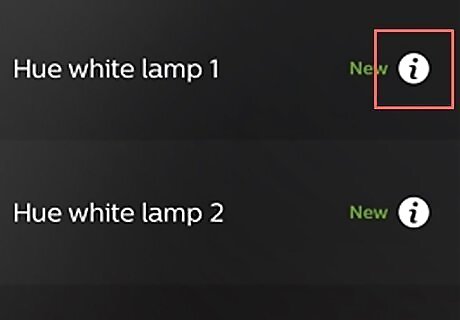
Tap i to rename the bulb (optional). Once the app finds the bulbs, they will appear on screen. Tap the "i" icon next to the bulb and then type a name for the bulb in the bar at the top.
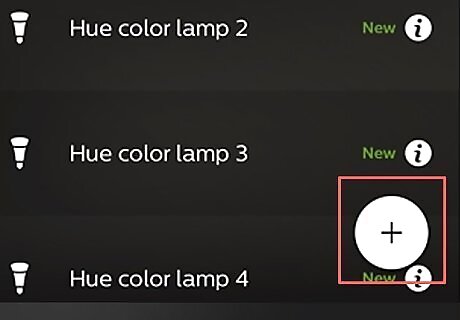
Tap iPhone Note Tools or Add Lights to add more bulbs. On iPhone, it's the white icon with the plus sign (+) in the lower-right corner. On Android, it's the button that says Add Lights in the upper-left corner.
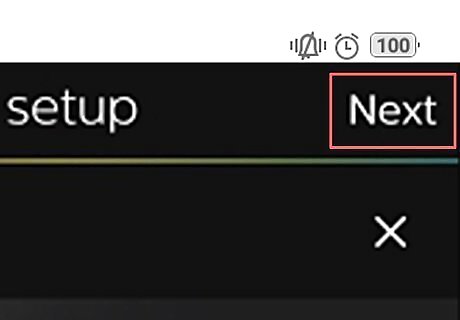
Tap Next or the arrow icon. Once all your bulbs are added, tap "Next" in the upper-right corner.
Creating Rooms
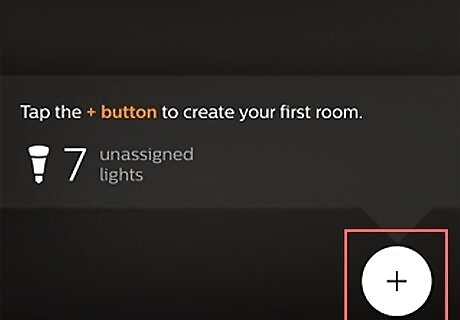
Tap iPhone Note Tools or Create Room. On iPhone, tap the white button with the plus (+) sign in the lower-right corner to add a new room. On Android, tap Create Room at the bottom of the screen.
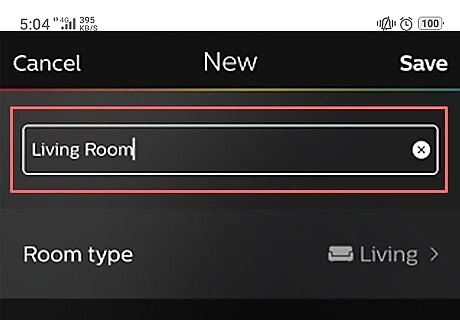
Type the name of the room. Use the text box at the top of the screen to give the room a name. It can be something generic like "Living Room" or "Bedroom".
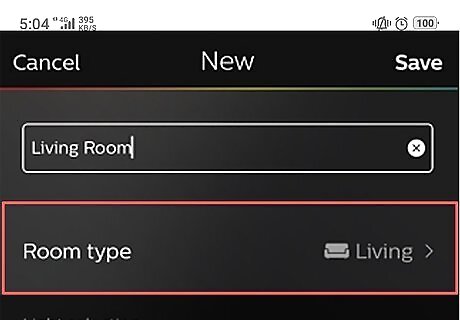
Tap the drop-down menu for Room Type. It's below the text where you name your room. This opens a page that allows you to select a room type.
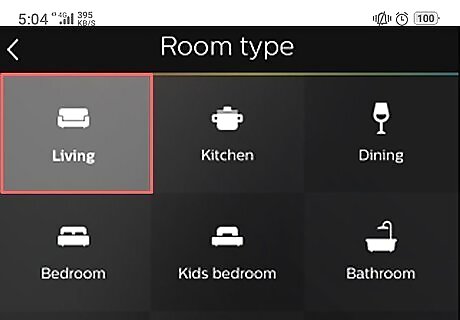
Select a room type. There are a number of room types you can choose from such as the living room, kitchen, dining room, bedroom, etc. Check the bulbs associated with the room. Tap the checkbox next to any lights that are a part of this room. Uncheck any lights that you don't want associated with the room you are creating.
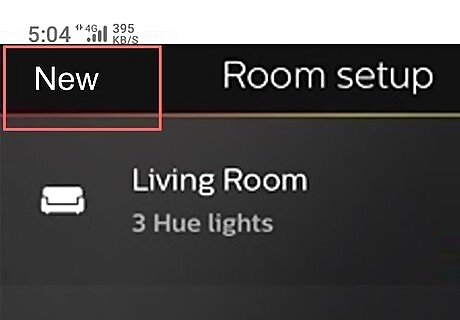
Tap New to add more rooms. If you want to add more rooms, tap New at the top of the screen to create a new room.
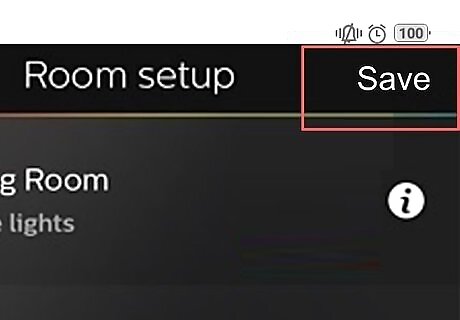
Tap Android 7 Done or Save. When you are done setting up your rooms, tap the button in the upper-right corner to continue. On Android, it's a checkmark icon. On iPhone it's a button that says Save.

Tap Let's Go. It's the button at the bottom of the screen. You are finished setting up your lights and rooms.
Controlling the Lights
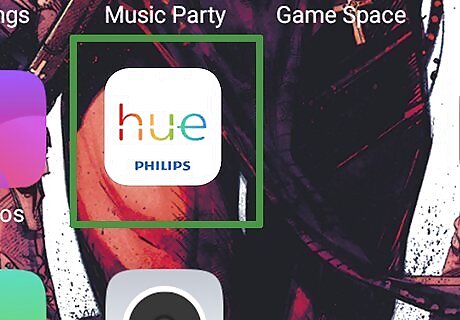
Open the Philips Hue app. It has a white icon that says "hue" in colorful letters. Tap the app icon on your home screen or apps menu to open the Hue app.
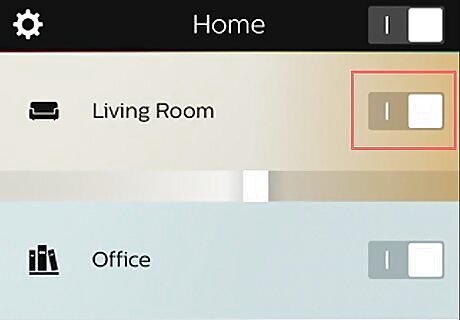
Tap the toggle switch next to a room to turn the lights on or off. It's to the right of the room names in the Philips Hue app. This will toggle all the lights on or off in the room.
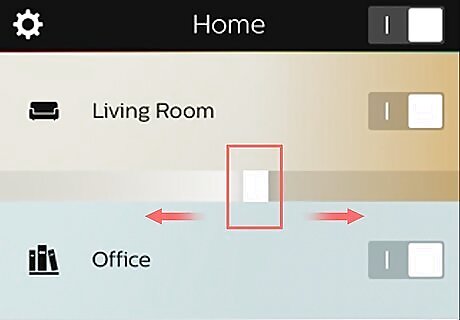
Use the slider bar below a room to control the brightness. You can adjust the brightness level for all the bulbs by tapping and dragging the slider bar below the room name.
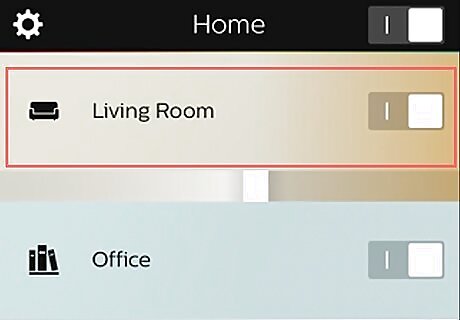
Tap a room to view all the lights in the room. This will display a list of all the lights in the room with individual controls.
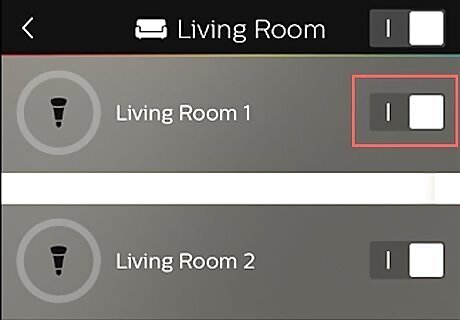
Tap the toggle switch next to a light to turn it on or off. This allows you to control individual lights in a room.
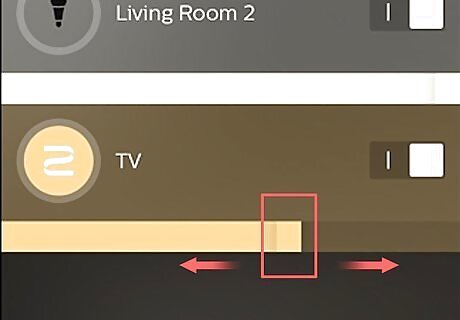
Use the sider bar below a bulb to adjust the brightness. You can adjust the brightness for each individual light.
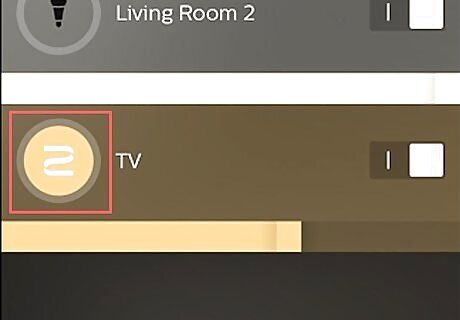
Tap a light to select it. If you want to change the color of a bulb, tap it to select it.
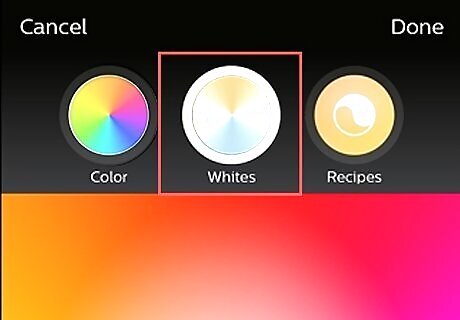
Adjust the light whiteness. You can adjust the tint to the white lights. You can have set it to a pure white, a blueish-white, or a yellowish-white. Tap the icon that resembles a list on Android to view the whiteness color selector. On iPhone, tap the icon that says "Whites". Then tap a tint you want to set the light at. You must use color-changing bulbs to use this feature.
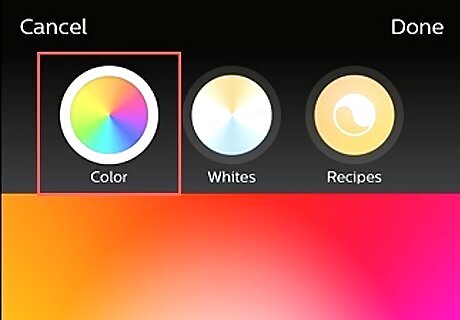
Change the color of bulbs. To change the color of a bulb, tap a bulb listed in a room and then tap the rainbow-colored icon. Tap a color you want to set the lights to.
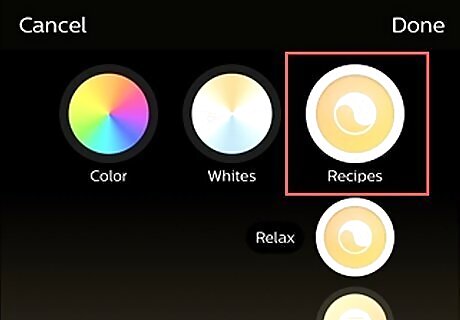
Select a scene for the light. You can select preset color pallets called scenes. To select a scene, select a light then tap the icon that resembles a painter's palette on Android, or the icon that says "Scenes" on iPhone. Tap a scene to set the light to the preset.


Comments
0 comment