views
Opening Google Account Settings
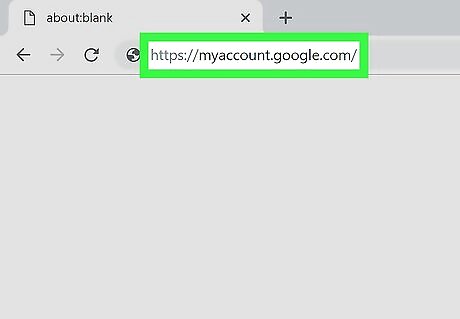
Go to Google Accounts. Open any web browser on your computer, and visit Google Accounts.
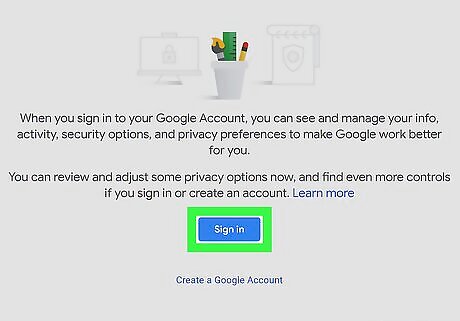
Log into your Google account. Sign in with your Google account ID, or email address, and password in the fields provided, and then click “Sign in” to access your Google account. You only have one Google ID for all the Google products you’re using. Once you’re logged in, you will be brought to your Account Settings page.
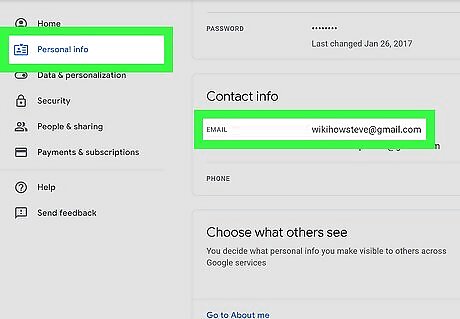
View your primary email. Under the Personal Info section, next to “Email,” you will find your Gmail address.
Adding a New Address
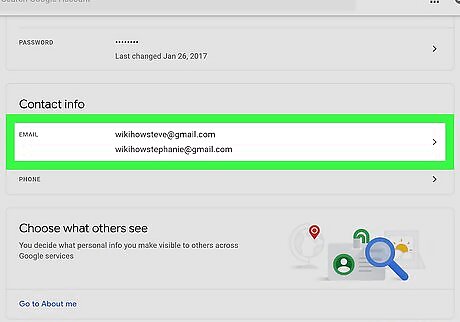
View more emails. Click on your email address to get to the Email Settings page. All the other email addresses you’ve linked to your Google account will be listed here: the Recovery Email, and the Other emails.
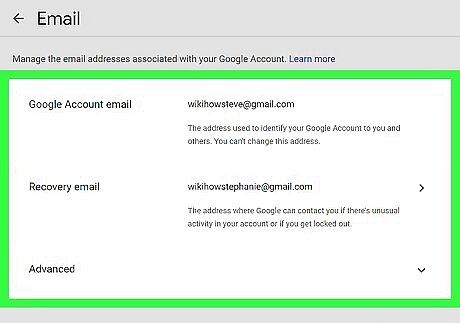
Edit the emails. An Edit link sits beside the Recovery email and the Other emails. Click on this to modify your emails. You can only edit the Recovery email and the Other emails. The Primary email cannot be edited, since this is your primary Google ID. Changing the Recovery email. Click on the Edit link beside the “Recovery email” to change it. The Recovery email is the one used when Google detects an unusual activity in your account or when your account gets locked. Enter your recovery email on the field provided and click on the “Done” button. Changing the Other emails. Click on the Edit link beside the “Other emails” to change them. The emails you indicate here are your alternate email addresses that can be used to log into Google and to recover your password. Add a new alternate email address on the field provided, and click on the “Save” button. You can add as many alternate email addresses as you need.
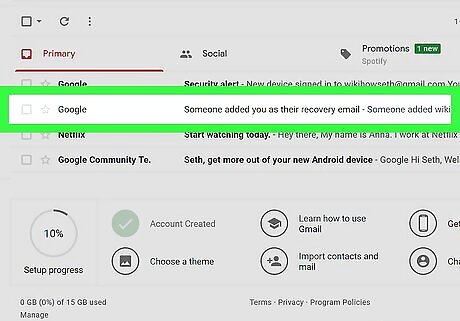
Verify the new email address. Google will send an email verification to the email address you’ve entered. Go to your email’s Inbox and check for the email verification. You have to click on the link embedded in the email to verify your new email address. Once done, Google will recognize this new email and associate it with your Google account.
Removing Alternate Addresses
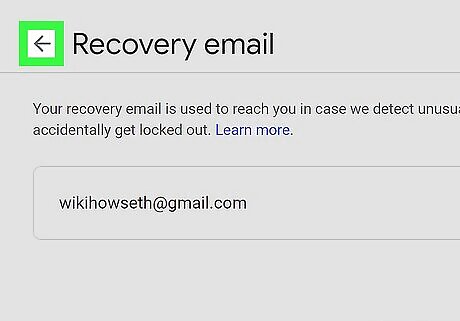
Go back to the Email Settings page. If you want to remove an email account, you can, but only alternate emails. In the Email Settings page, notice that only emails under the Other Emails heading has an “X” icon beside it.
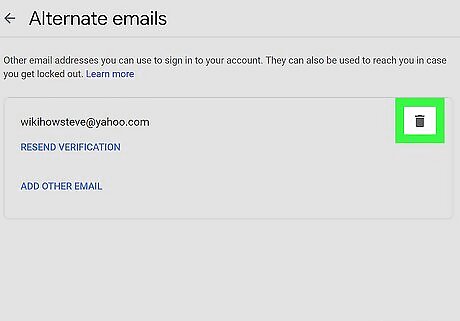
Click on the “X” icon. The removed email will appear with a strikethrough. This email address is no longer associated with your Google account. You can undo this by clicking on the Undo link beside it.
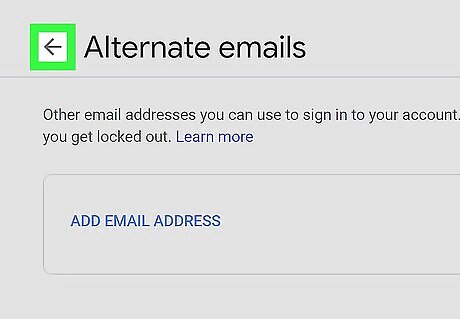
Save all your changes. Once you’re done changing your email addresses on Google, click the “Save” button at the bottom of the page.
Switching Between Accounts
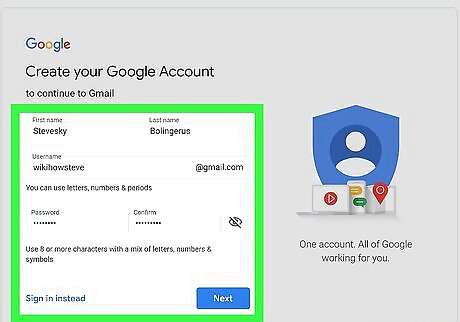
Create that second account. If you already don't have a second Gmail account, then go ahead and create one. You will be doing this from scratch, like when you first signed up for your first Gmail account.
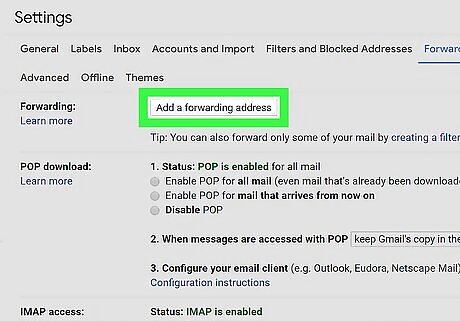
Set up forwarding. To receive emails from the second account, set up forwarding. Remember: you can also forward emails from your primary to your secondary account if you want all your messages from both accounts in both inboxes. Click the gear in the top right. Select Settings. Select the Forwarding and POP/IMAP tab. Click Add a forwarding address in the “Forwarding” section. Enter the primary email address. You will receive a verification email for security purposes. Sign out of your new account and open your primary email. Find the confirmation message. Click on the verification link. Once you are back in your secondary account, refresh the page. Select the "Forward a copy of incoming mail to" option. (Be sure your new forwarding email is listed in the first drop-down menu!) In the second drop-down menu, choose what you want Gmail to do with your messages in that new account. Click Save Changes at the bottom of the page. You should be able to see messages from both accounts in the same place.
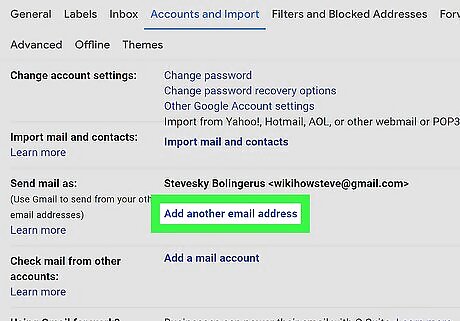
Send emails from the new account. For you to be able to send out emails from the primary and the secondary account from the same inbox, go ahead and set up the “send mail as” feature. Click the gear icon in the top right. Select Settings. Select the Accounts tab. Under Send mail as, click Add another email address. In the 'Email address' field, enter your name and alternate email address. Choose one of two options: Use Gmail's servers to send your mail Use your other email provider's SMTP servers.
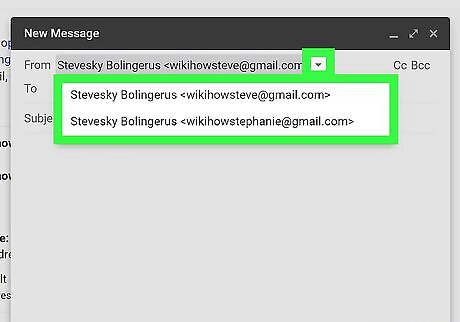
Choose which email account you want to send a message from. When you're sending an email in your inbox, click "from" and choose the email address you'd like to send from.


Comments
0 comment