

Remove the old string. Loosen it by twisting its tuning peg in the appropriate direction, and pull the string out of the hole in the tuning peg. Then unhook the other end from the fine tuner. If there is no fine tuner, unhook it from its hole in the tailpiece. Only take one string off at a time because if you don't then your bridge, tail piece, and sound post can fall off.
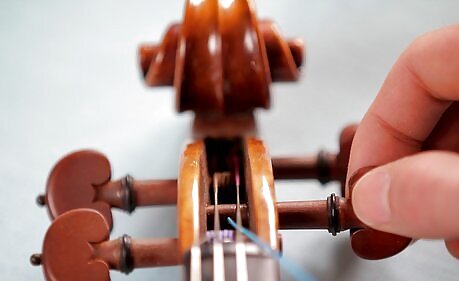
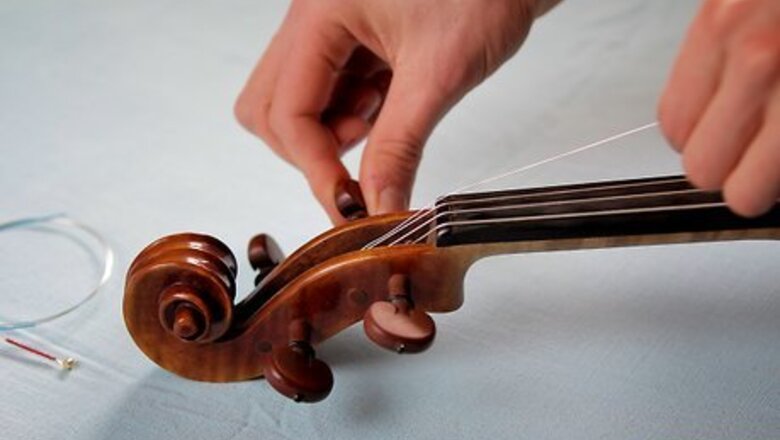
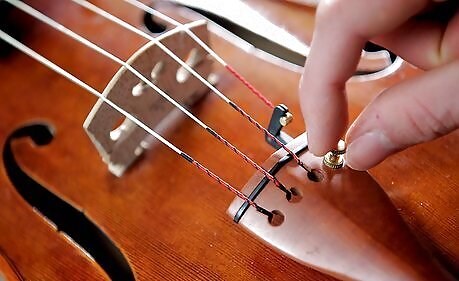
Install the new string. Insert the ball-less end of the string into the hole in the tuning peg, and push it all the way through, so that about 2 centimeter (0.8 in) of it sticks out the other side. Bend this end back so that the string does not come out of the hole easily. Place the ball end of the string into its fine tuner or the hole in the tailpiece.
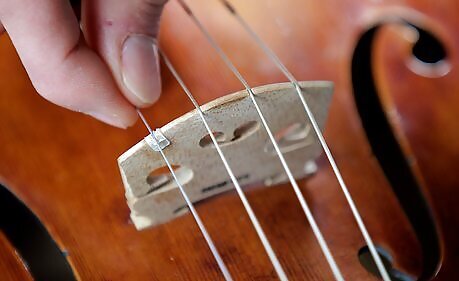
Make sure the string is in the proper notches in the bridge and the nut, and begin to tighten the string with the tuning peg. Tighten it until it is approximately at the pitch it should be.
Do this for the rest of the strings. It is best to wait a day before changing the next string.

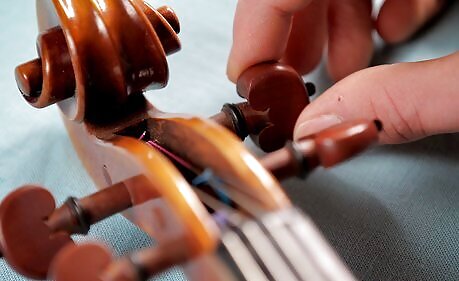
Continually check the bridge! Since you will be tightening the new strings a lot with the tuning pegs, your bridge will start to lean toward the fingerboard. Just straighten it out by gently pulling the top toward the tailpiece.
Tune the new strings.

Stretch the strings. After you have tuned your new strings, stretch them back and forth rapidly and vigorously (be careful when stretching them if they are not dominant strings). Then, tune them again. You should notice that they have gone flat. This is because they have stretched. Repeat this process until they will not stretch anymore. This will make your instrument stay in tune much better.

Test your new strings!


Comments
0 comment