

Open your iPhone or iPad's Settings app. Find and tap the iPhone Settings App Icon icon on your home screen to open the Settings menu.
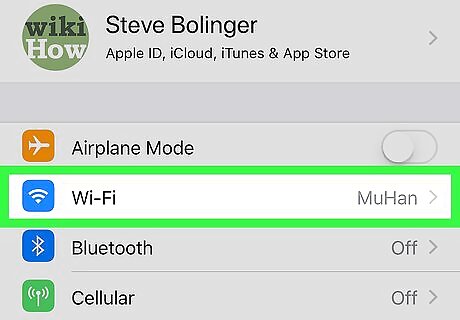
Tap Wi-Fi on the Settings menu. You can find this option at the top of the menu. It will open a list of all the available Wi-Fi networks around you.
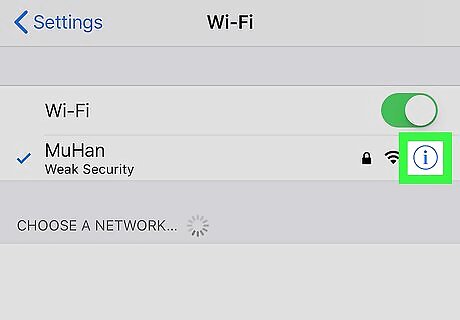
Tap the blue ℹ︎ icon next to your Wi-Fi network. Find the Wi-Fi you're currently connected to, and tap the blue "Info" icon next to its name on the right-hand side. The Info button looks like a blue "ℹ︎" in a circle. This will open the selected Wi-Fi's details on a new page.
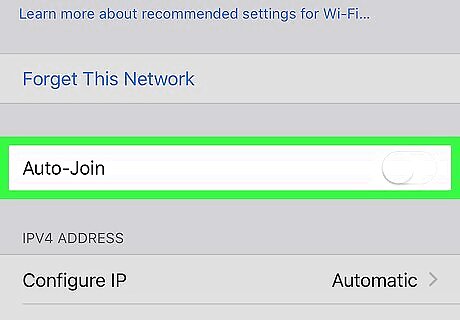
Slide the Auto-Join switch to iPhone Switch Off Icon. This will prevent your iPhone or iPad from automatically connecting to this Wi-Fi network whenever it's available. You can still connect manually by tapping the network's name on the Wi-Fi list.
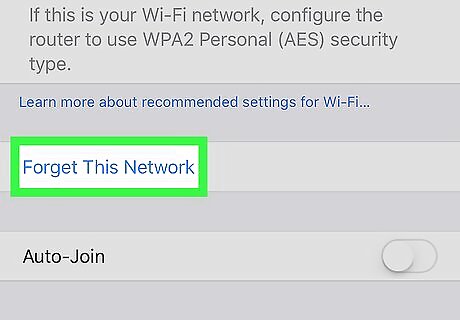
Tap Forget This Network at the top. This option is written in blue letters at the top of the Info page. You will have to confirm your action in a pop-up window.
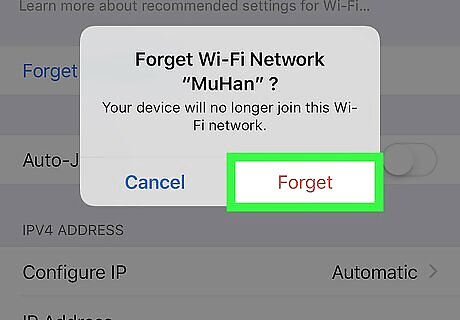
Tap Forget in the confirmation pop-up. This will disconnect from the selected Wi-Fi, and remove its settings and password from your iPhone or iPad. If you want to reconnect to this Wi-Fi, you'll have to enter its password.


Comments
0 comment