
views
On iPhone
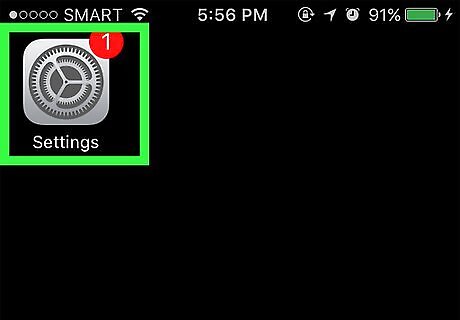
Open your iPhone's Settings iPhone Settings App Icon. Tap the grey app with gears on it to do so. You'll likely find Settings on the Home Screen.
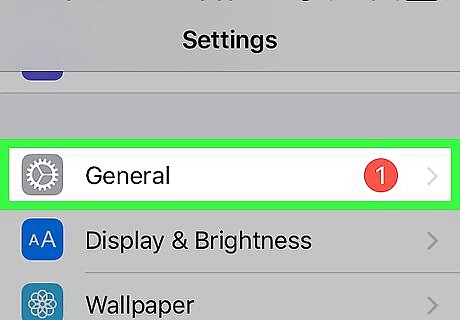
Scroll down and tap iPhone Settings General Icon General. It's at the top of the third main group of options near the top of the Settings page.
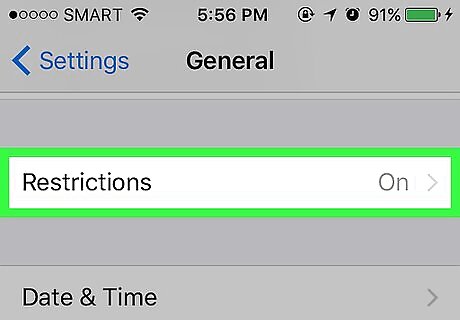
Scroll down and tap Restrictions. It's in the middle of the page.
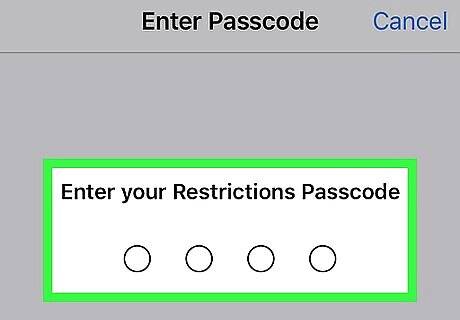
Enter your Restrictions passcode. This is the code you set when you turned on Restrictions—not necessarily the same as your iPhone's regular passcode. If you haven't yet turned on Restrictions, instead tap Enable Restrictions and then enter your preferred passcode twice.
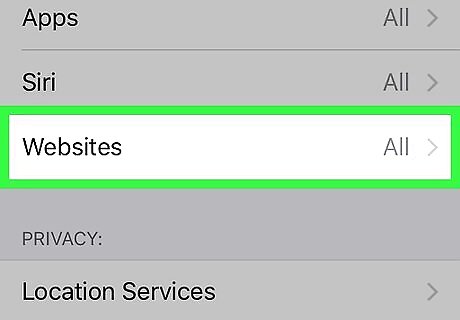
Scroll down to the "ALLOWED CONTENT" section and tap Websites. This area is about halfway down the page.
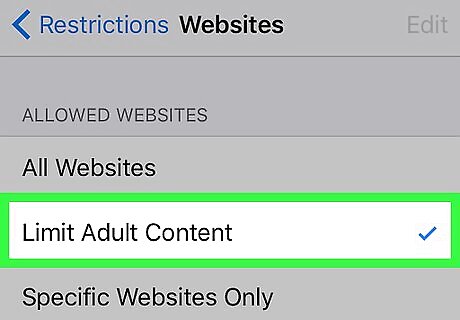
Tap Limit Adult Content. It's near the top of the page. A blue checkmark will appear to this option's left, signifying that it is active.
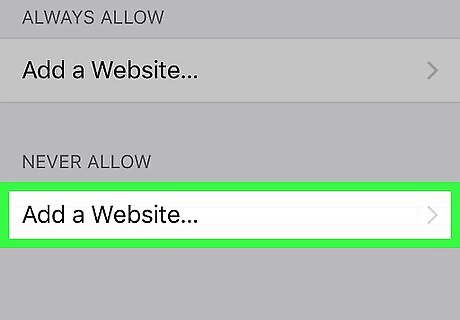
Tap Add a Website. Do this in the "NEVER ALLOW" section (not the "ALWAYS ALLOW" section) near the bottom of the page.
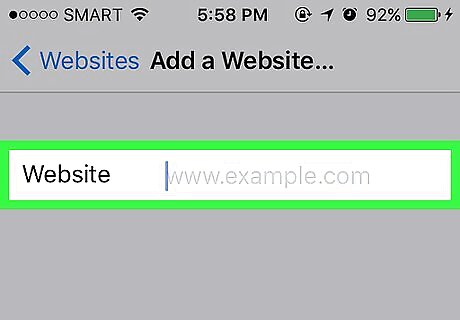
Type in your website's URL. This should be the website you want to block; make sure you include all parts of the website's URL (e.g., "www.example.com" rather than "example.com").

Tap Done. It's a blue button in the bottom-right corner of the keyboard. This will block your selected website in Safari.
On Desktop

Open Spotlight Mac Spotlight. Click the magnifying glass icon in the top-right corner of the screen.
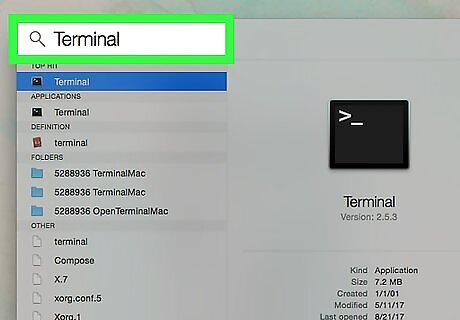
Type terminal into Spotlight. This will search your Mac for the Terminal app.
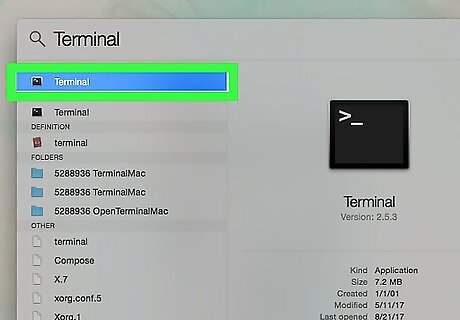
Click Mac Terminal Terminal. It should be the top result beneath the Spotlight search bar.
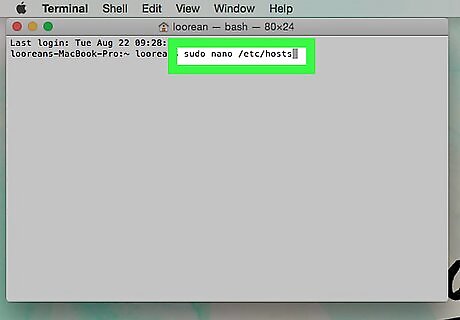
Type sudo nano /etc/hosts into Terminal and press ⏎ Return. This will run a command to open the hosts file, which is a file on your Mac that controls the websites you can access in all web browsers—Safari included.
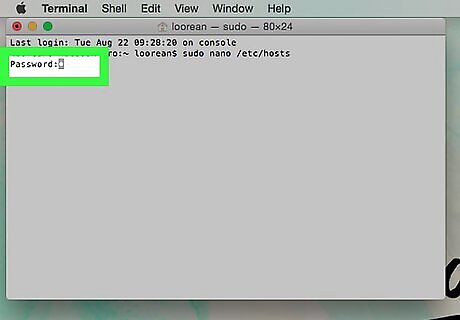
Enter your Mac's administrator password and press ⏎ Return. This is the password you use to log into your Mac. You won't see the characters appear as you type, but they will be entered into Terminal nonetheless.
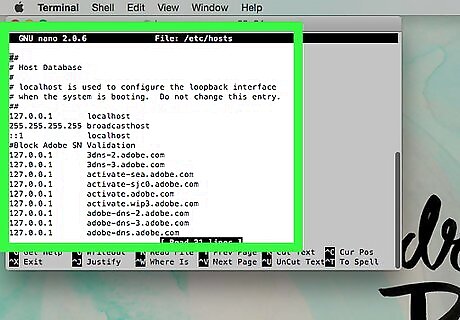
Wait for the hosts file to open. This may take a few seconds. Once the file opens in a new window, you can proceed with editing it.
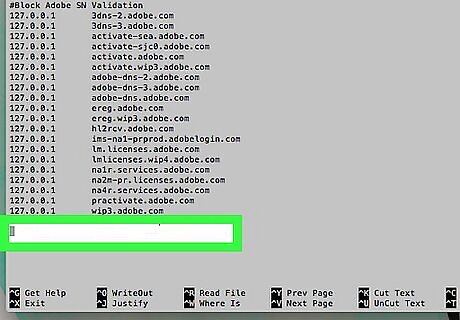
Scroll to the bottom of the file and press ⏎ Return. Use the ↓ arrow key to navigate to the bottom of the file. Pressing ⏎ Return will create a new line.
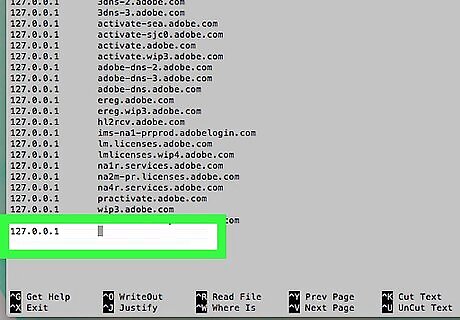
Type in 127.0.0.1 and then press Tab ↹. This should leave a few spaces' worth of room between 127.0.0.1 and the next piece of text.
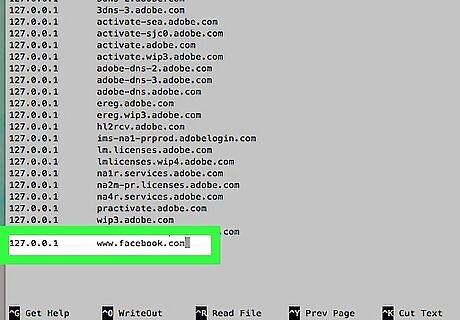
Type in the URL of the website you want to block. This will typically consist of typing www., the website's name (e.g., Google), and .com, .net, or .org. The line will look something like this: 127.0.0.1 www.facebook.com. If you're blocking multiple websites, each URL must be on its own line.
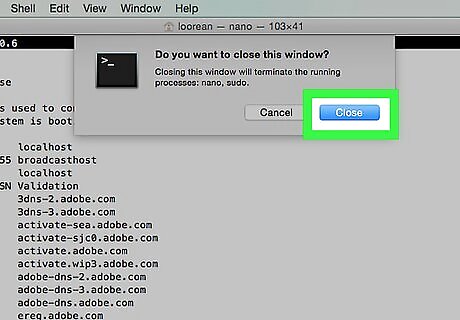
Save and exit the editor. Once you have entered all of the sites that you want to block, save and exit by pressing Control+O and then pressing ⏎ Return. To exit the hosts file, press Control+X.
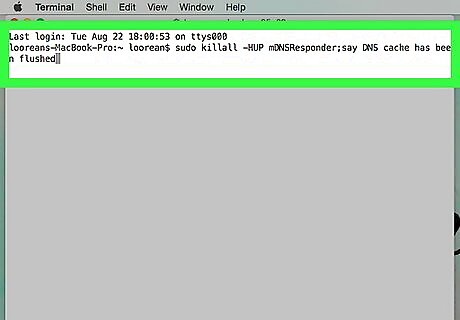
Flush your DNS. In order for the settings to take effect, you will need to flush your DNS cache. You can do this by typing sudo killall -HUP mDNSResponder;say DNS cache has been flushed and pressing ⏎ Return.


Comments
0 comment