views
Choosing the Right Vase
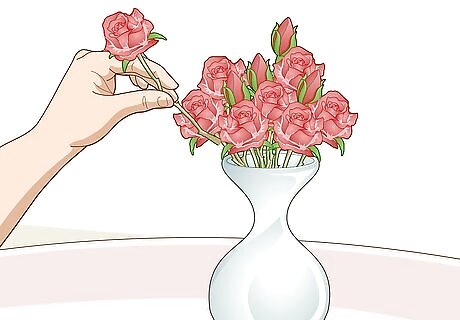
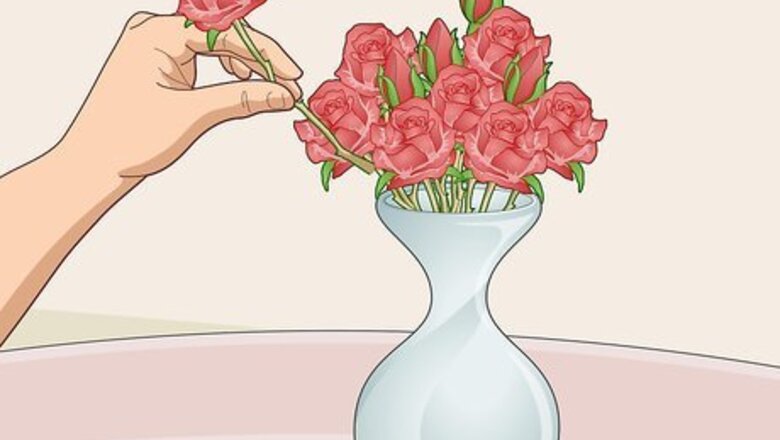
Opt for a vase with an hourglass shape for single bouquets of flowers. This kind of vase should be round at the bottom and narrower at the neck, with a flared opening at the top. The narrowness of the neck is important because it helps keep the flowers together, making the arrangement look coherent and complete. If you have more than one bouquet of flowers, an hourglass vase might not be the best option– you'll have a hard time fitting a larger quantity of flowers through the vase's narrow neck.
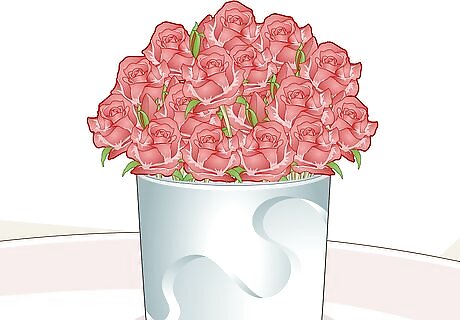
Choose a large, wide-mouth vase if you have multiple bouquets. If you have a lot of flowers, then you may have enough to fill a wide-mouth vase. In that case, it's the best option, since you don't want to crowd your flowers in a smaller vase. Alternatively, split a group of bouquets up into smaller bunches and place them in multiple vases.
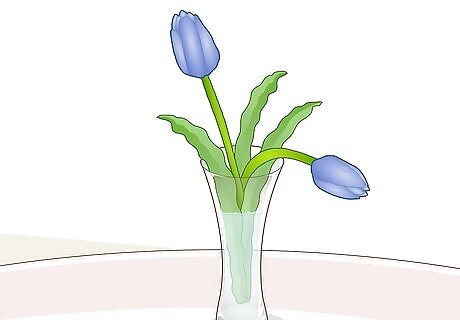
Pick a tall cylinder vase for tulips and other drooping flowers. Tulips need some support, so opt for a vase that will support at least 2/3 of the height of the tulips after you cut them to the size you want. Then, the blooms can hang over the edge at the top of the vase, creating an artistic, draped look. If you need a bit of structure, group some in the middle together with a rubber band. The rest of the blooms can droop gently over the vase's edge. Other flowers that work well in tall cylinder vases include irises and hyacinths.
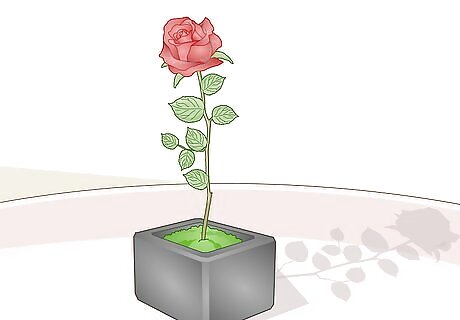
Try a low cube for flowers that have stiff stems. Roses and other similar flowers with stiff stems, such as sunflowers, do well in small, low, cube-shaped vases. Because the stem supports the flower well, it's easy to create a cohesive arrangement without a lot of support from the vase. Criss-crossing the stems across the middle of the cube will create a pretty, dome-shaped arrangement.

Go for a small bud vase if you only have a few flowers. These diminutive vases work well for smaller buds. They are also a great way to show off flowers that are unique and striking– they can stand alone without additional accent flowers. For instance, a delphinium is an unusual flower that stands well on its own. You could also try small roses or daffodils. For small flowers with short stems, like rosebuds, lavender, and wildflowers, try using a teacup!
Providing Structure for Your Flowers
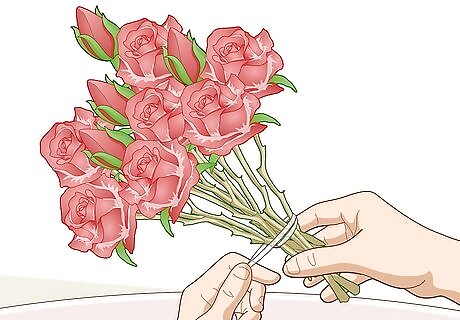
Use a clear elastic hair tie to gather flowers together. If you find your flowers are falling over in the vase or just won't group together well, pull a clear elastic hair tie over the stems. If you pull the rubber band down so that it sits at the water line, you won't be able to see it at all. If you don't have a clear hair tie, pick something green to hold your flowers together, such as a rubber band or twist tie.
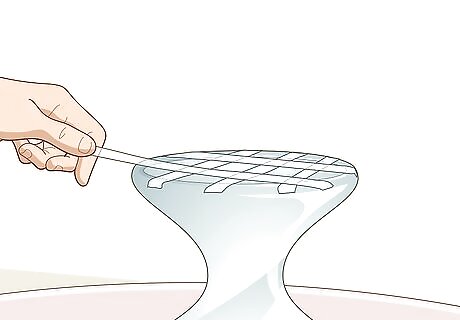
Create a tape grid across the top of the vase to establish structure. Place several parallel lines of thin, transparent tape over the top of the vase. Space them far enough apart that you can fit stems between them. Then, place another few strips of tape perpendicular to the first set, forming a grid with small squares where you'll place the stems. This grid will keep your flowers from falling over, helping you create an attractive, dome-shaped arrangement. Try waterproof floral tape or thin office tape. You can even cut office tape in half to make it thinner.
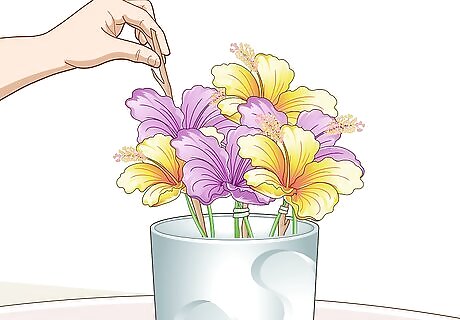
Use tree branches to support your flowers. You can use tree branches as backing for your arrangement if you plan to place the arrangement against a wall or on a shelf. If your flower arrangement will be visible from all sides, tie a few branches together with a clear tie and place them in the middle of your vase to create a central support for your bouquet. This way, the branches will offer structure to your floral display, but they won't be as visually distracting as a wall of branches arranged at the back of your vase. Lean the flowers against the branches, which will help hold them up. You can even use floral tape or clear rubber bands to attach your blooms to the branches.
Placing Flowers in Your Vase
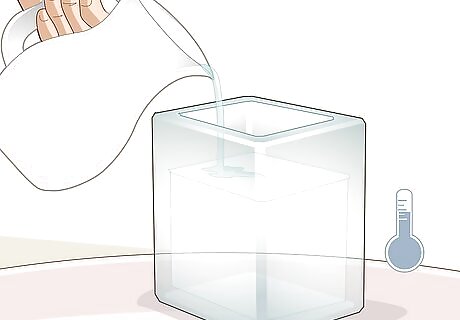
Pour fresh, cool water in your vase. Add enough cool water to the vase to fill it up 3/4 of the way. If you go any higher, the water may spill over as you add the flowers in. However, you want enough water to keep your flowers hydrated.
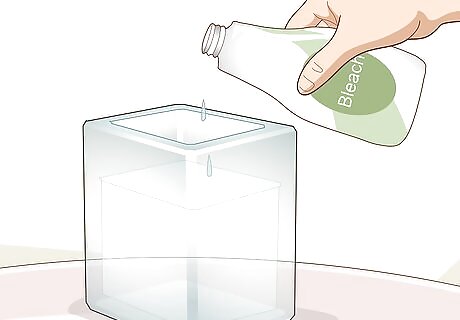
Add a couple of drops of bleach to the water. If your flowers don't come with a packet of formula to add to the water, bleach is a good substitute. The main purpose of these packets is to keep bacteria out of the water, and bleach will serve a similar function. Make sure to only add a couple of drops. If you add too much, you could kill the flowers, too. Another option is to add a few drops of vodka to kill off bacteria, as well as a sprinkling of white sugar to feed the flowers.
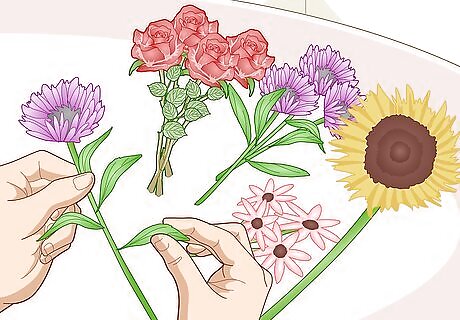
Organize your flowers and trim off leaves. Open up the bouquet and sort the flowers into 2 main categories: a couple of flowers you want to show off, and some filler flowers and leaves to arrange around these primary flowers. Hold the stems up to the vase and snip off the leaves that would be submerged underwater; if you don't cut these leaves off, they could rot and cause your flowers to prematurely die. Divide the fillers by size so you can begin with the biggest ones. The showy flowers can be any size, color, or variety, as long as they're the ones you want to display most prominently. Check for any rotten flowers and dead leaves, and be sure to remove them before placing your flowers in the vase.
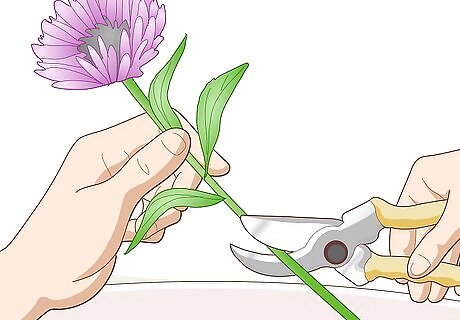
Cut the flower stems with a sharp knife or garden clippers. When cutting each stem, decide what height you want it to be by holding it up to the vase. Then, cut the stem at a 45-degree angle. Doing so provides more surface area for the flower to absorb water. Using sharp knives or clippers instead of scissors will give you a cleaner cut, making it easier for the flower to absorb water. Scissors may crush your flower stems, so avoid using them whenever possible. You don't need to cut all the flowers at once. In fact, you may want to cut as you go along so you can see the height you want for each stem as you arrange your flowers.
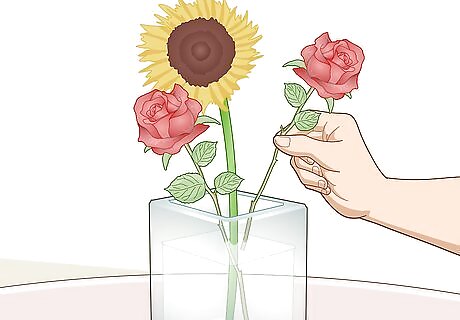
Place the largest filler flowers in the center, crisscrossing the stems as you go. Start with the filler flowers that take up the most space. Place the first stem in the vase so the bottom of the stem sits on the opposite side of the vase from where the bloom emerges at the top. When you add the next flower, place it next to the first one, crossing the second stem diagonally over the first.Turn the vase as you add more flowers, laying each stem diagonally over the previous one. If your flowers are clustered together on stems, cut off the smaller flowers on the smaller stems. Then, you can place your flowers at varying heights, using both the smaller stems and longer ones across the arrangement.
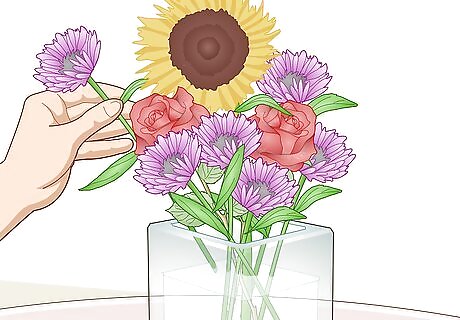
Work on medium-sized blooms next. Add medium-sized filler flowers wherever you notice gaps, trying to place blooms of similar colors next to one another. Trim the stems as you go along so that these blooms sit at different heights. Save some of the smaller filler flowers and leaves for the final touches.
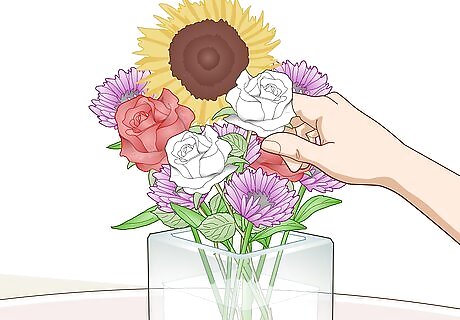
Put a few showy flowers in near the end so they're prominently displayed. You add these flowers now so that they're not buried by other flowers. Place them at varying heights with at least 1 or 2 in the center of the arrangement. These flowers don't need to be particularly big; they just need to be the ones that you like the best. However, they can be bigger, as long as you only keep a couple to put near the top.
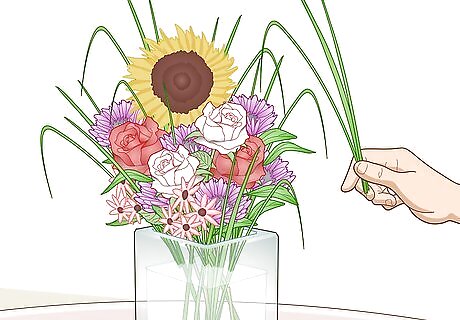
Add in filler flowers, leaves, and grasses. Once you have the arrangement mostly how you like it, fill in any holes you have left. Add greenery like grasses or leaves around the edges to fan out of the vase, for instance, or put some smaller flowers around the edges where the arrangement looks bare. Remember to group by color for the most part. You may need to cut the stems so that you can fill in the lower part of the arrangement around the edges.


Comments
0 comment