views
- Open the Animation Assist tool by taping the wrench icon followed by "Canvas." Then toggle "Animation Assist" on.
- Use the frames in the Timeline at the bottom to create animation frames. Tap "Add Frame" to add a new frame.
- Use the Settings menu in the timeline to edit the animation speed and loop settings.
Creating an Animation
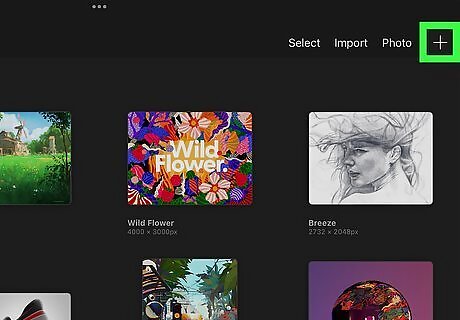
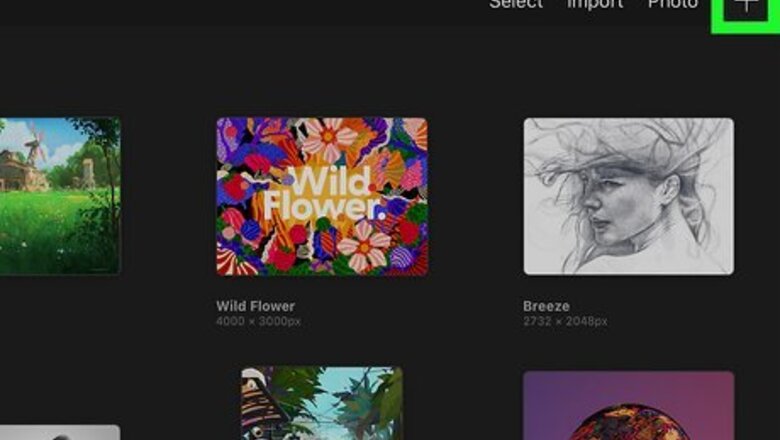
Open a new canvas in Procreate. To do so, open the Procreate app on your iPhone or iPad. Then tap an existing canvas in the Gallery, or tap the plus (+) icon in the upper-right corner to create a new canvas. Tap the size of the canvas you want to create.
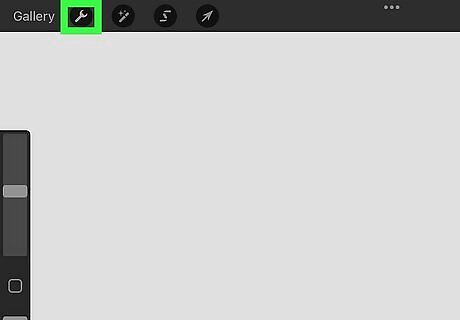
Tap the wrench icon. It's in the upper-left corner next to where it says "Gallery." This displays the Actions menu.
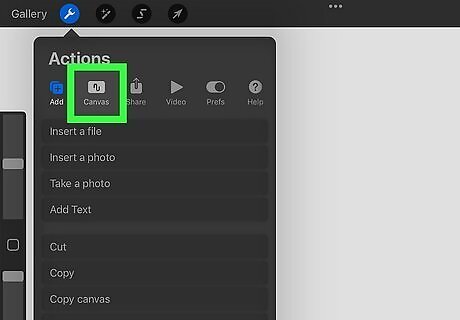
Tap Canvas. It's the icon that resembles a screen with a curvy line on it. It's the second tab at the top of the Actions menu.
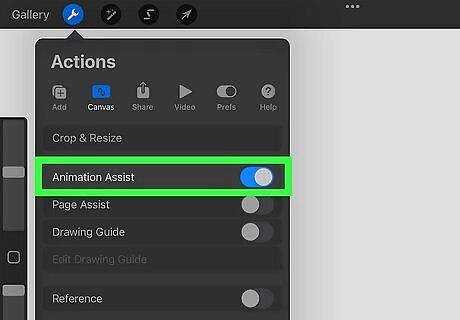
Toggle on "Animation Assist." It's the first toggle switch at the top of the Actions menu under "Canvas." This displays the timeline at the bottom of the screen.
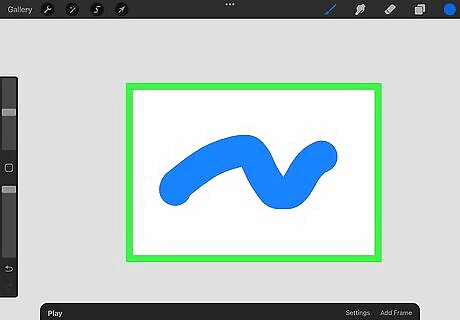
Draw your first frame. Use the drawing tools to draw the first frame of your animation just like you would with any other drawing.
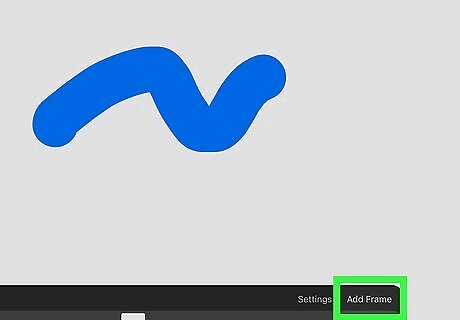
Tap Add Frame. It's at the far right side of the timeline at the bottom of the screen. This adds a new frame to your animation. You can also add new frames by adding new layers. If you have more than one object in your animation, grouped layers act as a single frame.
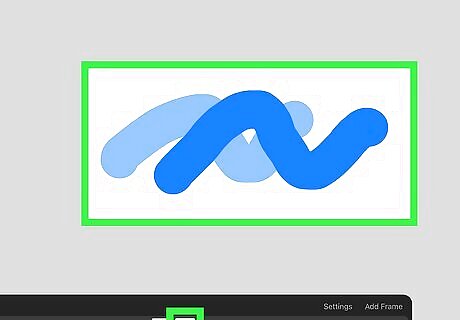
Draw your next frame. To do so, tap the second white square in the timeline at the bottom of the screen. This selects the second frame. Then start drawing your second frame using the drawing tools. When you select a new frame, you will see a faint outline of the previous frame. This is called an "onion skin." You can use this as a reference to draw your next frame.
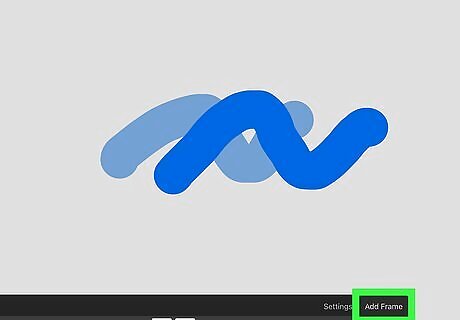
Add more frames. To do so, tap Add Frame and then draw the next frame. Keep adding frames until all frames in your animation is complete.
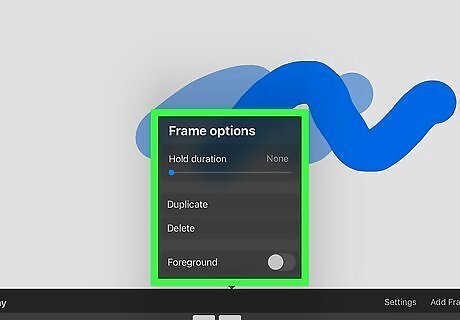
Open the Frame Options menu. To do so, tap a frame in the timeline at the bottom of the screen. Then tap the frame again to display the Frame options menu.
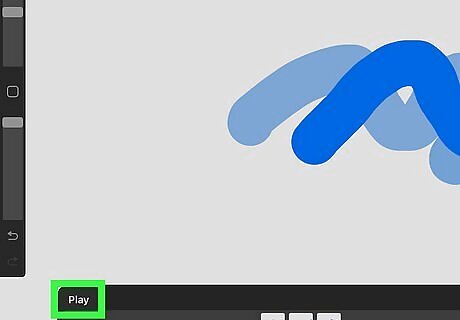
Tap Play. Whenever you want to preview your animation, tap the Play button on the left side of the timeline at the bottom of the screen.
Adjusting the Settings and Options
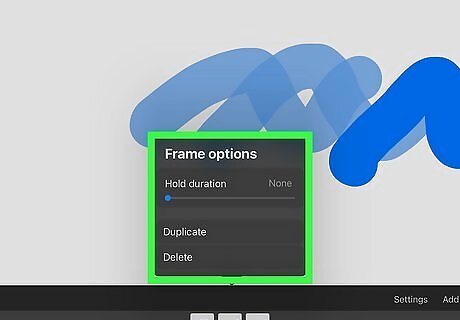
Adjust the Frame Options. The frame options menu has the following options: Hold duration: Use the slider below "Hold duration" to select how many frames you want the current frame to hold for. This creates a pause in the animation motion. Duplicate: Tap this option to duplicate the current frame. Delete: Tap this option to remove the current frame.
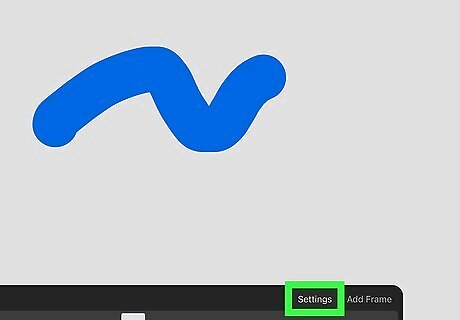
Tap Settings. It's on the right side of the timeline at the bottom of the screen next to "Add Frame." This opens the settings menu.
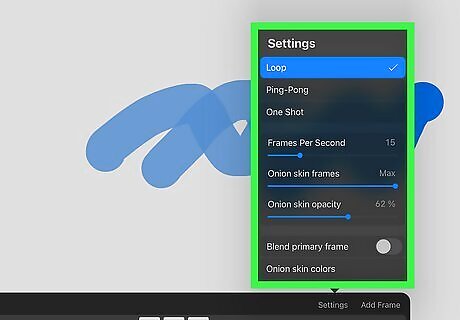
Edit your animation settings. Use the following options to edit your animation settings in the Settings menu: Loop: Tap this option if you want the animation to repeat when it reaches the last frame. Ping-Pong: Tap this option if you want your animation to reverse when it reaches the last frame and then repeat. One Shot: Tap this option if you want your animation to stop when it reaches the last frame and not repeat. Frames Per Second: Use the slider bar below "Frames Per Second" to adjust the speed of your animation. Onion skin frames: Use the slider bar below "Onion skin frames" to adjust how many of the previous frames show as an onion skin when a frame is selected. Onion skin opacity: Use the slider bar below "Onion skin opacity" to adjust the faintness of the onion skin frames. Blend primary frame: Tap this option to dim the opacity of the current frame so that it blends with the rest of the frames. Onion skin colors: To change the color of the onion skins, tap this option and then use the color wheel to select the color you want the onion skins to appear as.
Exporting the Animation
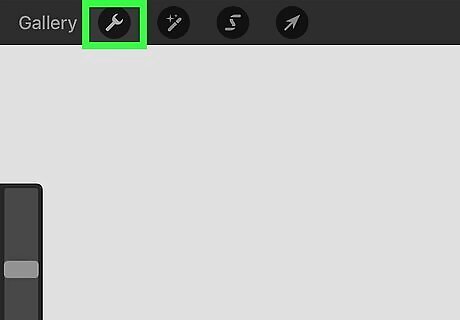
Tap the wrench icon. It's in the upper-left corner next to where it says "Gallery." This displays the Actions menu.
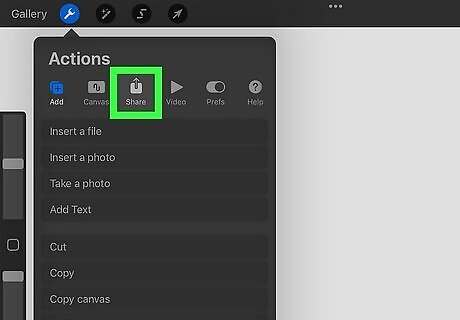
Tap Share. It's the third tab at the top of the Settings. It has an icon that resembles a square with an arrow pointing up.
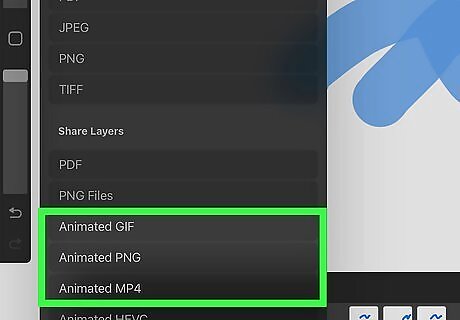
Scroll down and tap Animated GIF, Animated PNG, or Animated MP4. Tap whichever format you want to export your file in. Animated GIF: Animated GIFs are one of the most common and most widely supported file formats for short animations. However, the image quality tends to be lower. Animated PNG: PNG files are similar to GIFs, but the image quality tends to be a little better. However, PNG files are not as widely supported as GIF files. Animated MP4: MP4 is the most commonly used video file format. This is the best option if you intend to upload your animation to YouTube.
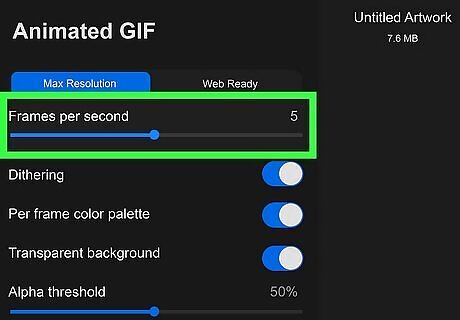
Adjust the speed of your animation Use the slider bar below "Frames Per Second" if you want to change the speed of your animation. By default, it will use the same frames-per-second speed that you set in the Settings menu.
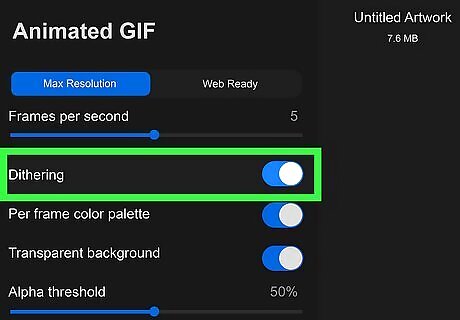
Toggle Dithering on or off. If you are using a GIF format that has a limited color palette, you can turn on dithering to blend pixels in a way that simulates more color.
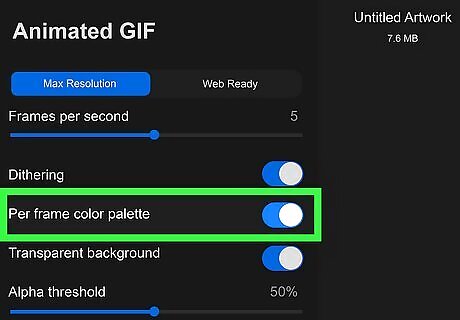
Select if you want to use per-frame color palettes. If you want each frame in your GIF file to have its own color palette, toggle "Per frame color palette" on.
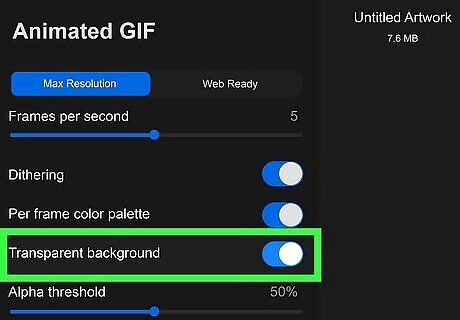
Activate transparent backgrounds. With GIF and PNG images, you have the option to remove the white background and have a transparent background. Toggle this option on if you want your file to have a transparent background.
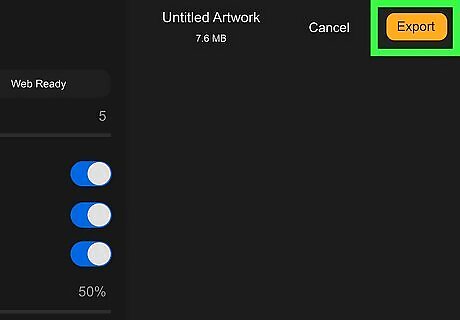
Tap Export. It's the yellow button in the upper-right corner. This exports your animation in the file format that you selected.
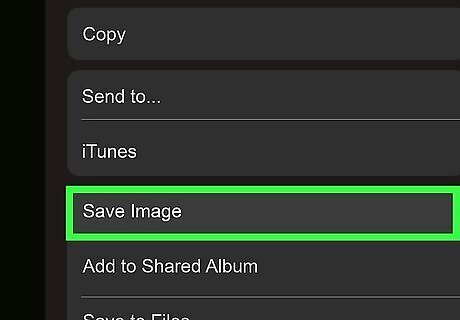
Tap Save Image. This saves the animation to your iPhone or iPad. You can find your animation in the Files app.





Comments
0 comment