
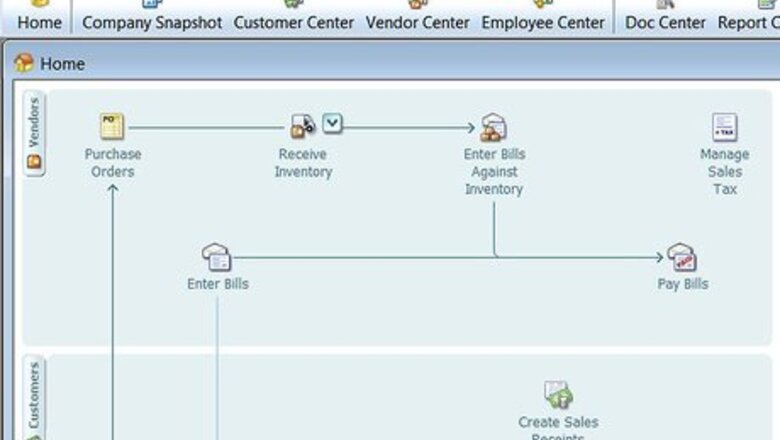
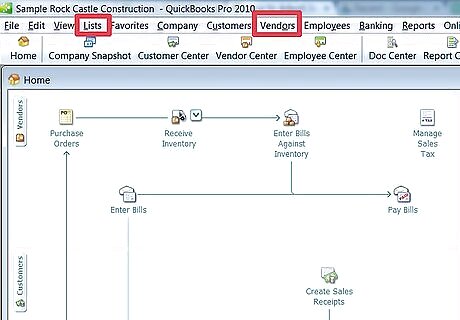
Select "Lists" or "Vendors."
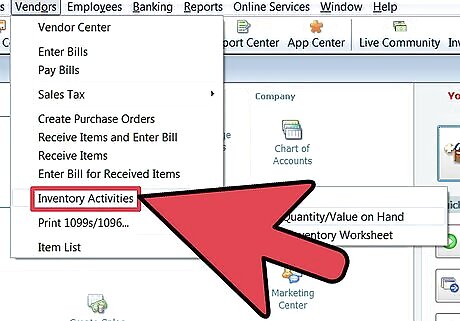
Select "Items" under Lists or "Inventory Activities" under Vendors.
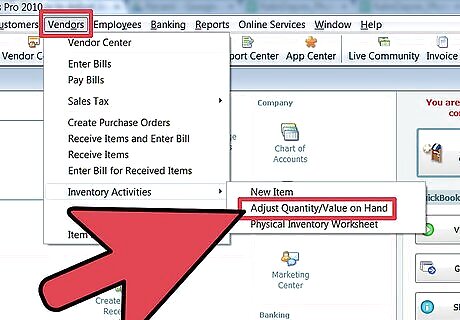
Select "Adjust Quantity/Value on Hand" in the drop-down list under either Lists or Vendors.
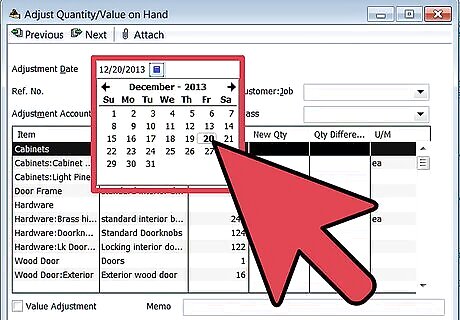
Enter the date that you made your physical count of your inventory.
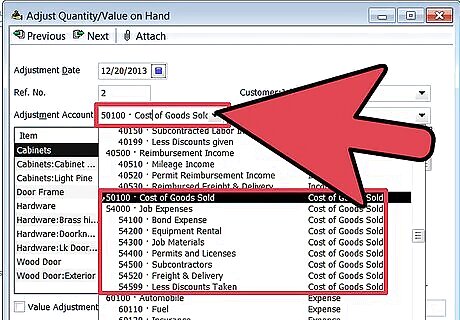
Select an expense account (an inventory item) from the adjustment list you opened up. This is the account you selected to track your inventory decline.
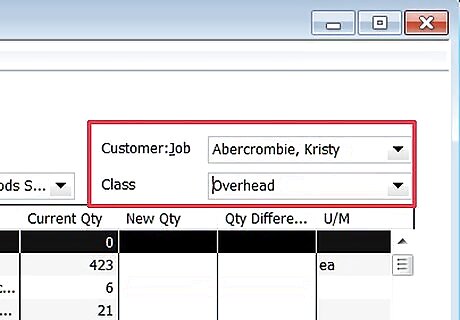
Identify the customer job and class, if applicable, from the drop-down list.
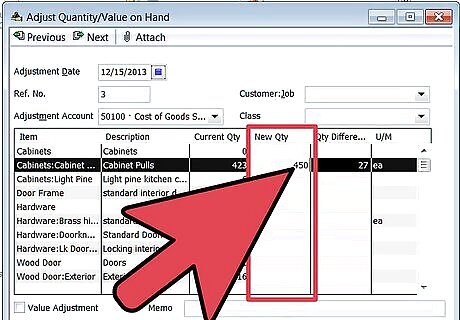
Type in the new physical count in the column named "New Qty" or enter a new value in the "Qty Difference" column and QuickBooks will calculate the adjusted quantity for you.
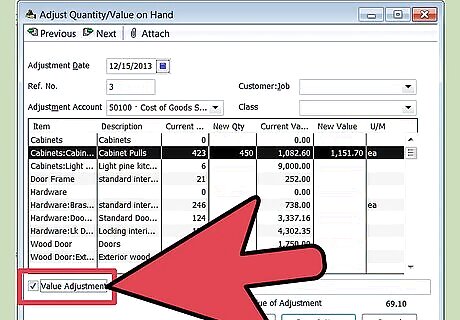
Check the box named "Value Adjustment" if you want to see an expanded version of the open window; however, this is not necessary to change or adjust your inventory.

Enter the new count in the "New Qty" column if using the expanded method for value adjustments. This allows you to mark down the items as the market value decreases.
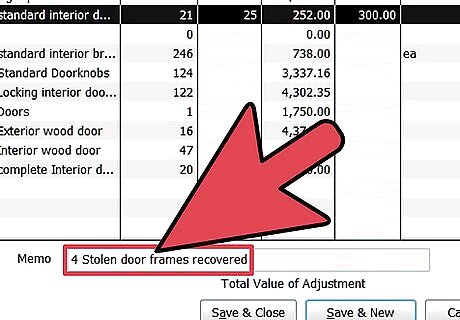
Use the "Memo" text box to write a short description or note to describe what you've done, who was involved in counting inventory or other notes, if necessary.
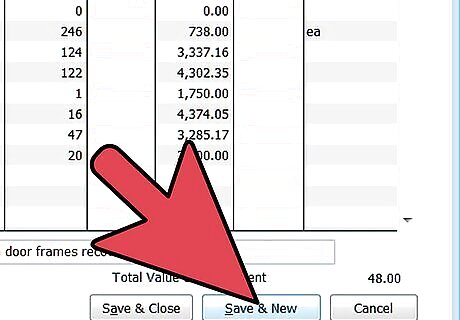
Click the button marked "Save & Close" or "Save & New" to record your revisions.


Comments
0 comment