views
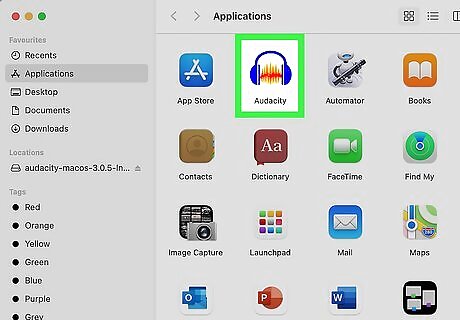
Open your project in Audacity. You can label virtually any audio track in Audacity. If you haven't installed Audacity yet, you can get it from https://www.audacityteam.org/download.
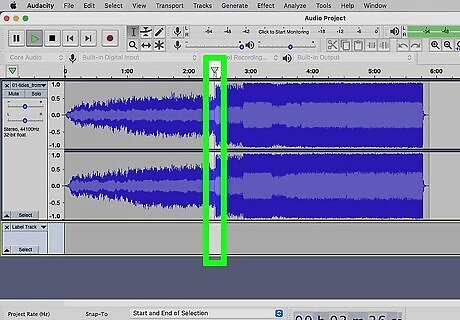
Click or select the location you want to mark. You have two options: To mark a single moment in the track, just click the mouse where you want to add a marker. This is called a point label. To label a longer segment, use the mouse to highlight that region. This is called a region label.
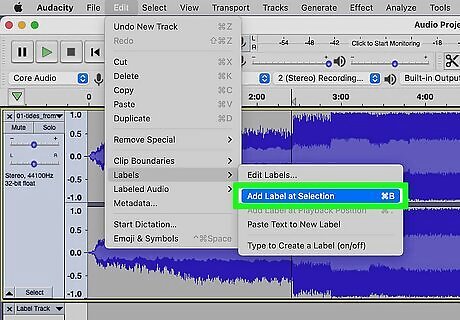
Press Ctrl+B (PC) or ⌘ Cmd+B (Mac) to add the label marker. This inserts a label track into the project and places a marker at the selected location. Alternatively, you can click the Edit menu, select Labels, and choose Add Label at Selection. If you want to add labels quickly during playback, press Ctrl + M (PC) or Cmd + M (Mac) to add a label at the current playback position. This is especially handy when making transcription notes.
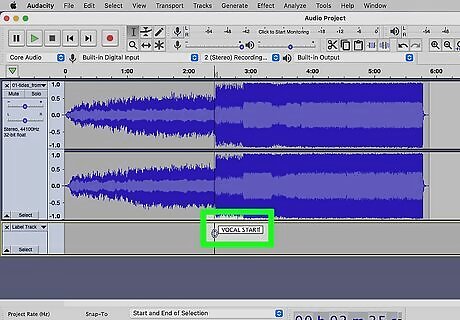
Type a name or any other information you want in your label. The marker's label should not exceed 260 characters to avoid performance issues in the editor.
Press ↵ Enter or ⏎ Return. This saves the text to the label track. You can edit a label at any time by right-clicking it and selecting Edit label. To remove a label, right-click it and select Delete label.


Comments
0 comment