views
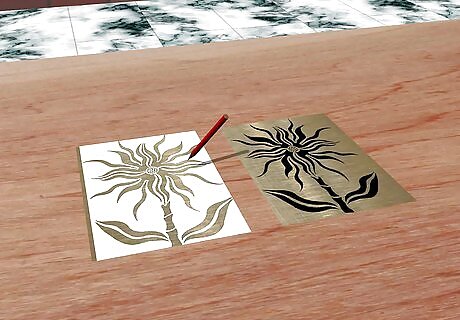
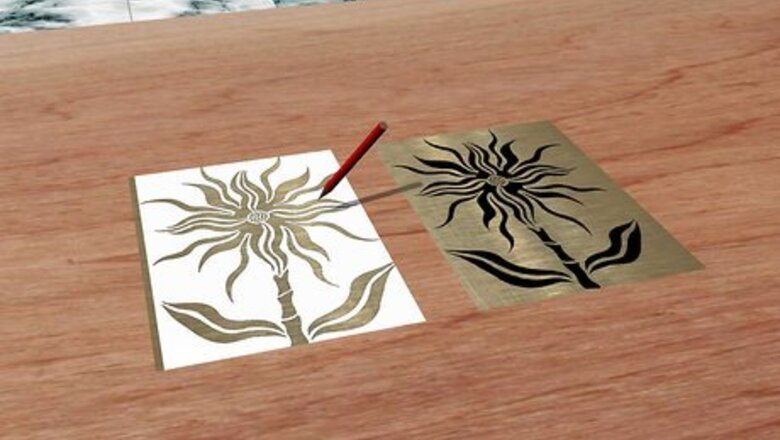
Transfer your design to the metal sheet. Print out or draw your design on a piece of paper. It can be helpful to use a piece of paper that is the same size as your metal sheet. Tape the edges of your metal sheet to the piece of paper with your template design. Place a piece of tape on all sides to ensure the page does not slip. This will ensure that your lines are true to the design. Using the stylus, trace over the lines of your template design. Use as little pressure as possible, so that you are not committed to a high relief. This cannot easily be undone, so follow the lines as close to exact as possible.
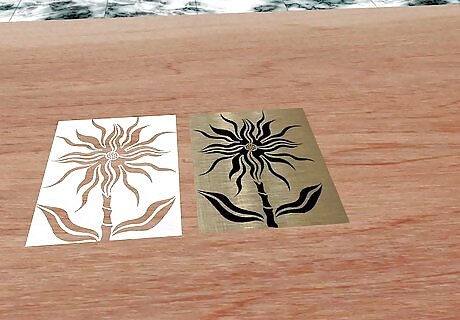
Remove the paper and tape from the metal sheet.
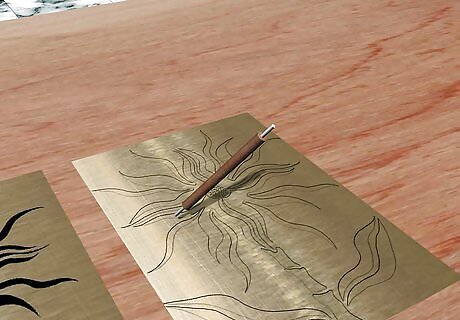
Deepen the lines on the metal sheet using the stylus to your preference. The harder you press, the deeper the line.
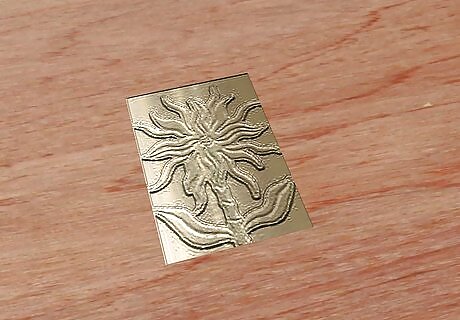
Fill in the lines with the embossing tool. Again, more pressure yields more relief (negative from the side you're working, positive from opposite side).


Comments
0 comment