views
Setting up a VPN App
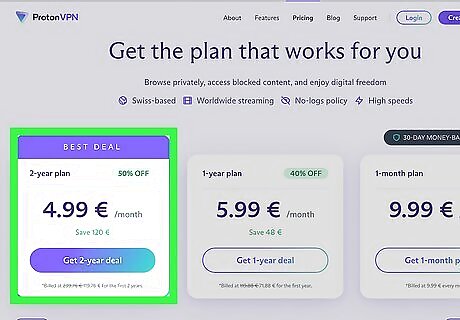
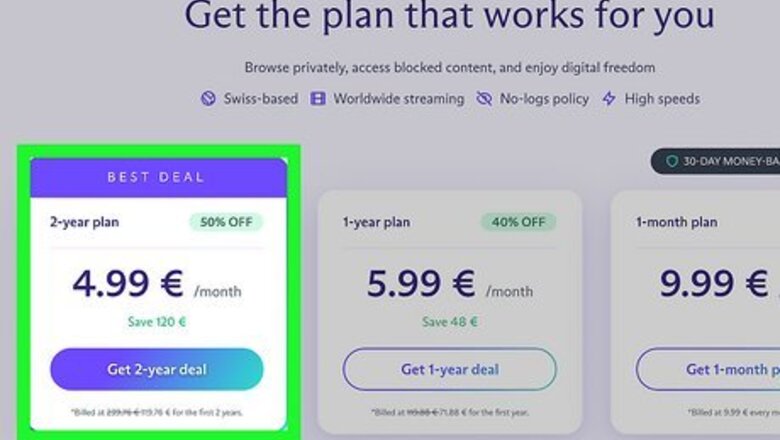
Make sure you've purchased a VPN subscription. The majority of VPN services are not free, and most VPNs that will allow you to download their app require you to pay for their services before doing so. Do your research on VPN companies and what services they offer. Make sure you purchase a VPN subscription from a trusted company.
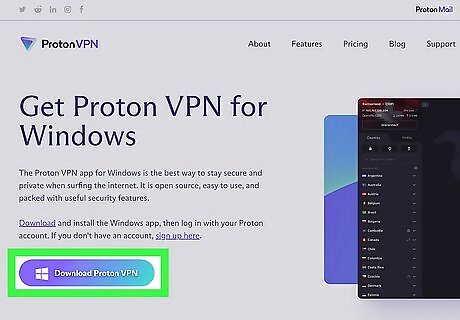
Download the VPN's software. Go to the "Downloads" page on the VPN service's website, select your operating system if necessary, and click the Download link.
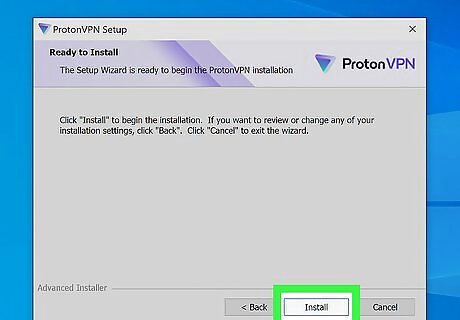
Install and open the VPN. You can install the VPN by double-clicking the downloaded setup file and following the instructions; once the installation is complete, you can open the VPN by double-clicking its app icon.
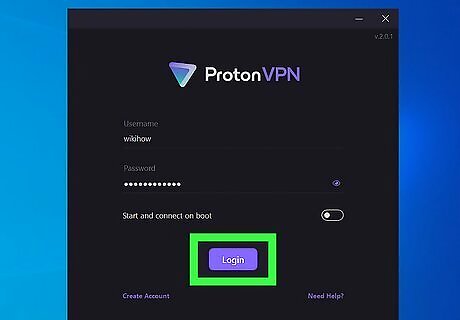
Sign into your account. Enter the email address (or username) and password that you used to sign up for your VPN subscription.
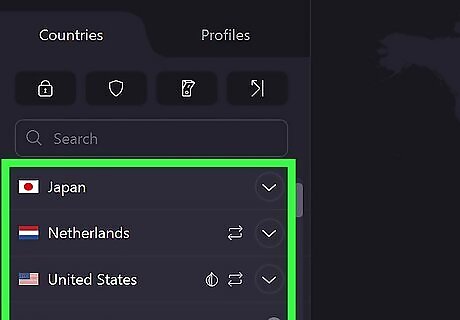
Select a specific location if necessary. If your VPN service allows you to select a specific server by location, you can select the Map or Server tab and then click a location to do so.
Connect to the VPN. Click the "Connect" switch or button in the VPN's window to do so. Your VPN will attempt to connect to your selected server (or, if you didn't select a server, the best fit for your network). It may take your VPN a few minutes to connect.
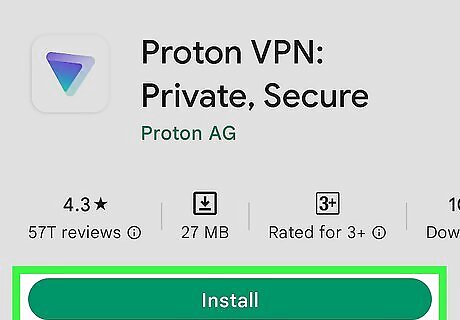
Try using a VPN app on mobile. Most major VPN services, such as NordVPN or ExpressVPN, have mobile apps for iPhone and Android users: Download the app from the App Store (iPhone) or Play Store (Android). Open the app, then sign in with your VPN's account information. Allow the VPN any permissions it asks for. Select a server if necessary/possible, then tap the "Connect" switch or button.
Adding a VPN Connection on Windows

Open Start Windows Start. Click the Windows logo in the bottom-left corner of the screen.
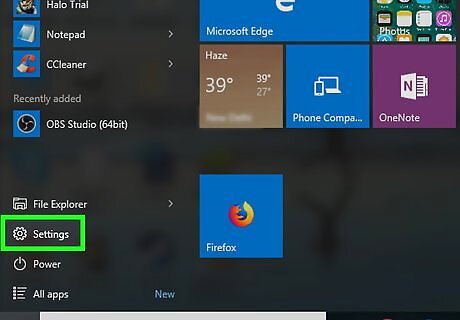
Open Settings Windows Settings. Click the gear-shaped icon in the lower-left side of the Start window.
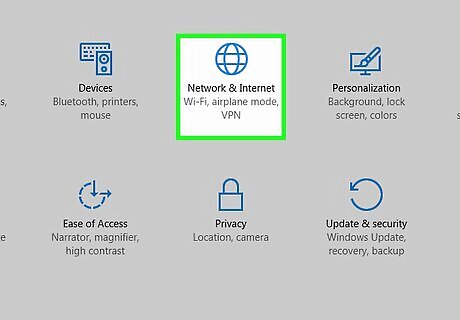
Click Windows Network Network & Internet. It's in the middle of the Settings window.
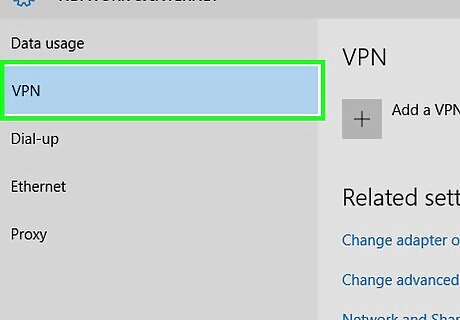
Click VPN. This tab is on the left side of the Network & Internet menu.
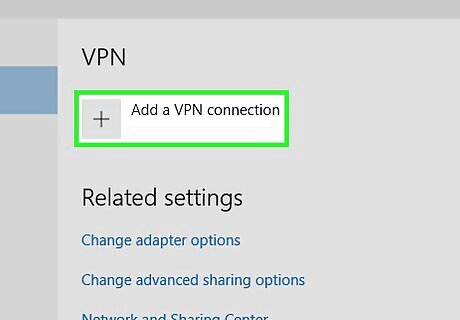
Click + Add a VPN connection. It's at the top of the page. A VPN form will open. If you want to edit an existing VPN configuration, click the name of the VPN you want to configure, click Advanced options, and click Edit in the middle of the page.
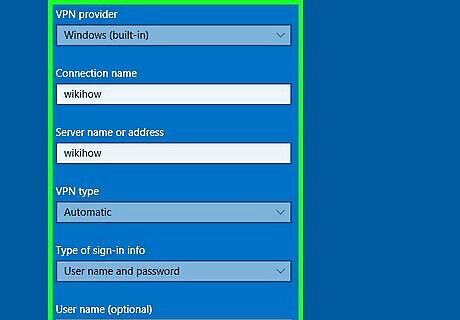
Configure your VPN's information. Enter or update any of the following information: VPN provider — Click this drop-down box, then click the name of the VPN you want to use. Connection name — Add the name of the VPN on your computer. Server name or address — Enter or change the VPN's server address. VPN type — Enter or change the connection type. Type of sign-in info — Select a new type of sign-in (e.g., Password) if necessary. User name (optional) — If necessary, change the username that you use to sign into the VPN. Password (optional) — If necessary, change the password that you use to sign into the VPN.
Click Save. It's at the bottom of the page. Doing so will save your changes to the VPN and apply them.
Adding a VPN Connection on Mac

Open the Apple menu Mac Apple. Click the Apple logo in the top-left corner of the screen. A drop-down menu will appear.
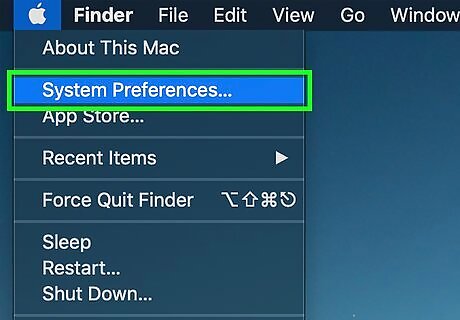
Click System Preferences…. It's near the top of the Apple drop-down menu.
Click Network. This purple, globe-shaped icon is in the middle of the System Preferences page. Doing so opens the Network pop-up window.
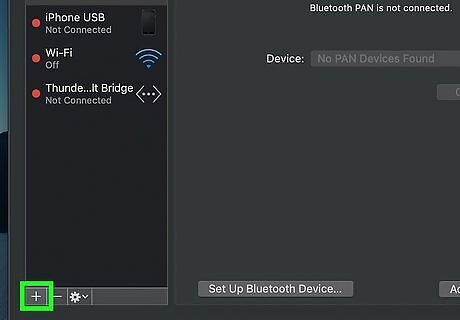
Click +. It's below the left-hand column of options. A drop-down menu will appear. If you want to edit an existing configuration, click the connection's name in the left-hand window and then skip the next step.
Click VPN. It's in the drop-down menu. You should see the VPN's settings form open on the right side of the window.
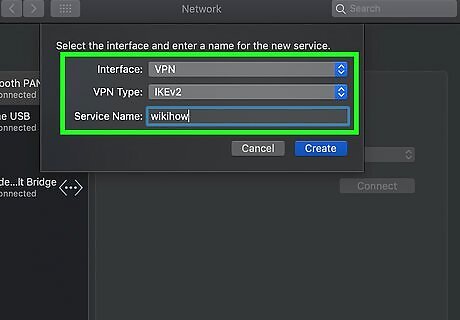
Configure your VPN. Enter or update any of the following settings: Configuration — Click the drop-down box at the top of the window, then click a different configuration type (e.g., Default) in the drop-down menu. Server Address — Enter or update the server address. Account Name — Enter or change the account name that you use for the VPN. This is usually the email address you used to sign up for the VPN.
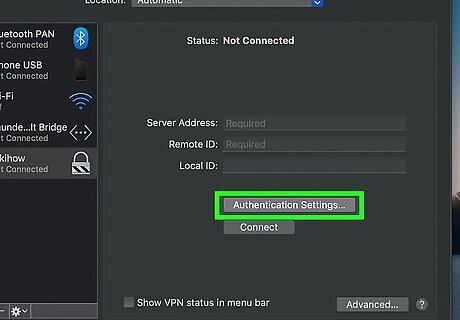
Click Authentication Settings…. It's below the Account Name text field.
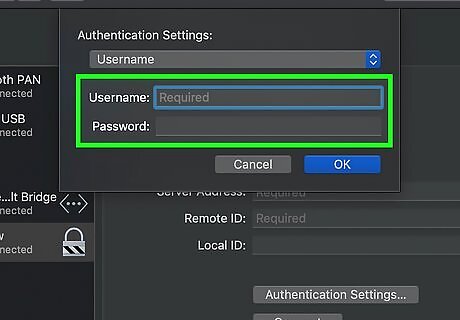
Configure the authentication settings. Edit any of the following options: User Authentication — Check the box to the left of your preferred authentication option (e.g., Password), then enter the answer. Machine Authentication — Select your VPN's machine authentication option.
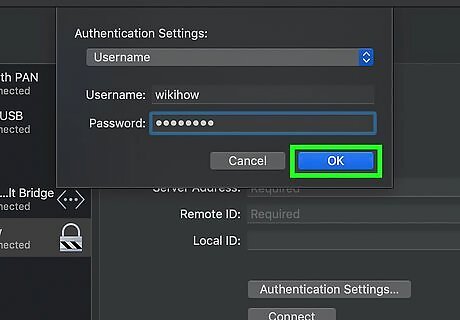
Click OK. It's near the bottom of the Authentication Settings window.
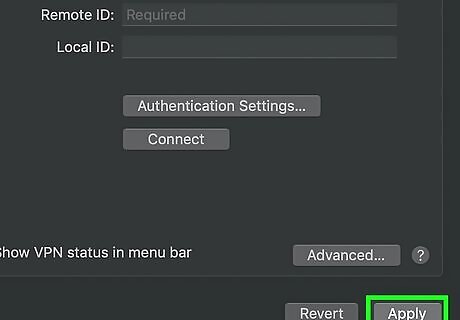
Click Apply. This saves your VPN settings and applies them to your connection.
Adding a VPN Connection on iPhone
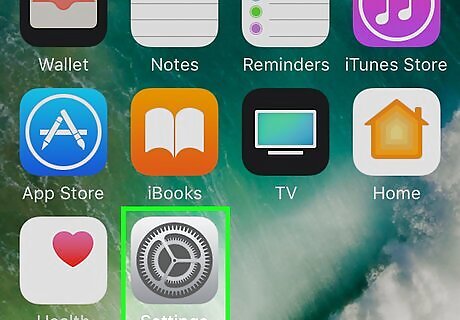
Open your iPhone's iPhone Settings App Icon Settings. Tap the Settings app icon, which resembles a grey box with gears on it.
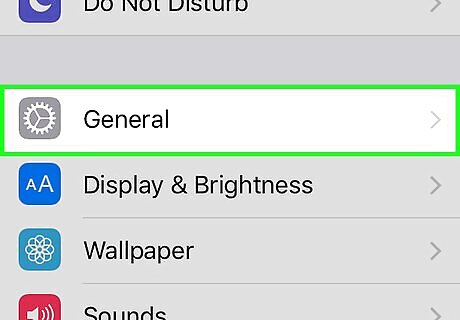
Scroll down and tap iPhone Settings General Icon General. It's near the top of the Settings page.
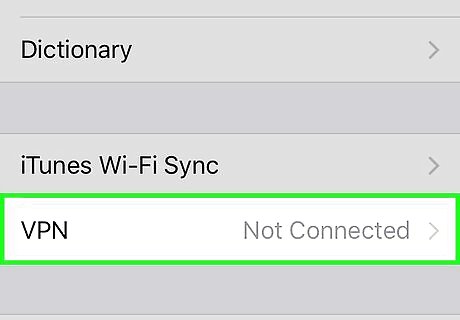
Scroll down and tap VPN. This is near the bottom of the General page.
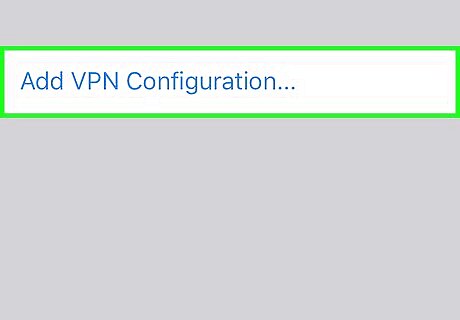
Tap Add VPN Configuration…. It's on the VPN page below the bottom-most VPN configuration. If you don't have any VPN configurations, this option will be at the top of the screen. If you want to edit an existing VPN option, tap ⓘ to the right of the option, then tap Edit in the top-right corner.
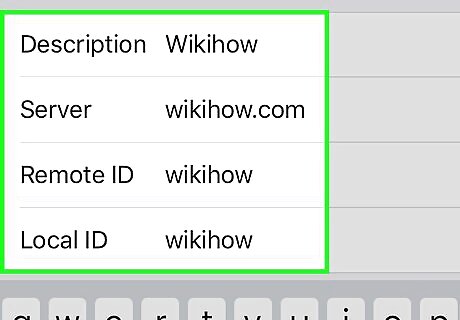
Configure your VPN's information. Add or update following information, keeping in mind that you may see more fields here due to your connection type: Type — Select the type of VPN connection you want to use (e.g., IPsec). Server — Enter or update the server address you use to connect to the VPN. User Authentication — Tap this, then select Username or Certificate to change the authentication method. Username or Certificate — Enter or update the username or certificate you use to log into your VPN service. Password — Enter or update your VPN subscription account's password. This is the information you use to log into your VPN service.
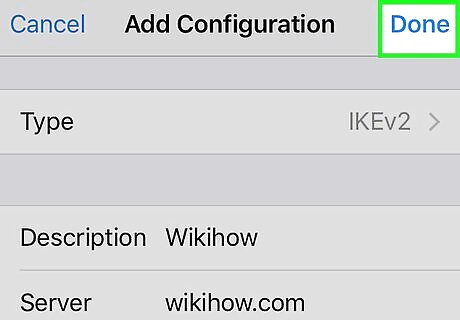
Tap Done. It's in the top-right corner of the screen. This will save your changes and create (or update) your VPN.
Adding a VPN Connection on Android
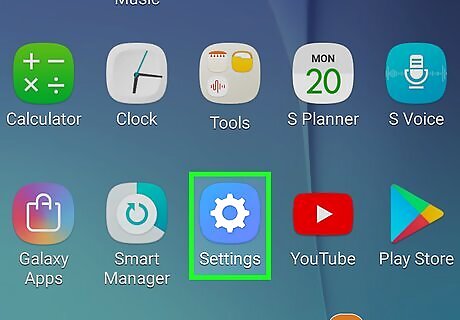
Open your Android's Settings. Swipe down from the top of the screen, then tap the "Settings" gear icon Android 7 Settings in the top-right corner of the resulting drop-down menu. On some Androids, you'll need to swipe down using two fingers to get the "Settings" gear icon to appear.
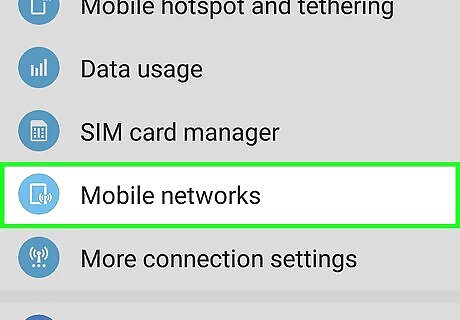
Tap Network & Internet. You'll find it near the top of the Settings page. On some Androids, you'll need to tap More under the "Wireless & networks" heading. On a Samsung Galaxy, you'll tap Connections at the top of the Settings menu.
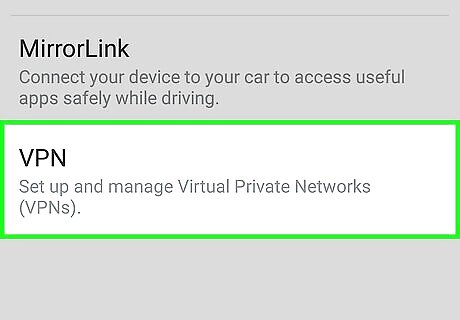
Tap VPN. It's on the Network & Internet page. On a Samsung Galaxy, you must first tap More connection settings near the bottom of the page before you can tap VPN.
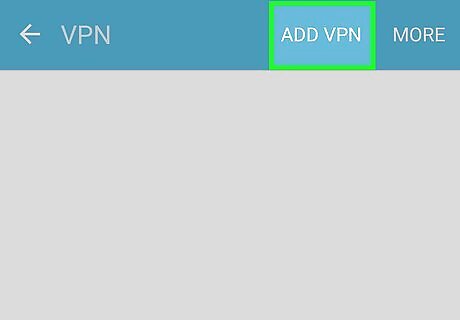
Tap +. It's in the top-right corner of the screen. Doing so opens the VPN configuration menu. On a Samsung Galaxy, you'll tap ADD VPN in the top-right corner of the screen. If you want to edit an existing VPN configuration, tap the gear to the right of the VPN's name.
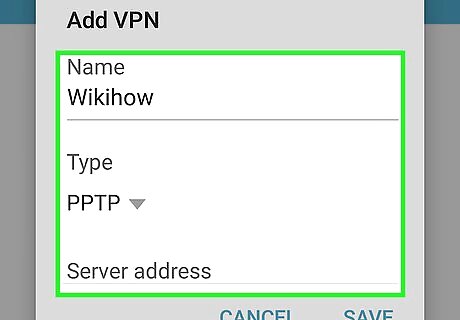
Configure your VPN. Add or change any of the following information: Name — Enter or update the name for the VPN. Connection type — Tap this option, then select a new type of connection (e.g., PPTP). Server address — Enter or update your VPN's server address. Username — Enter or update your username. This is the information you use to log into your VPN service. Password — Enter or update your password. This is the information you use to log into your VPN service.
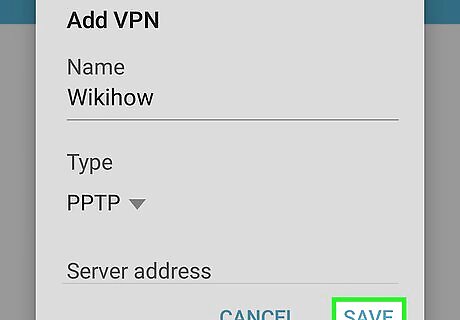
Tap Save. It's in the bottom-right corner. Doing so will save your changes and create or update your VPN.


Comments
0 comment